
|
|
 02/19/2015, 09:13 AM
|
#26 |
|
Not afriad to admit wrong
Join Date: Jun 2012
Location: South of WashDC in Maryland
Posts: 7,774
|
Very nice. So next week will be D-Day.
Looks like you are ready to go.
__________________
Stock:LPS/SPS|1 hippo|4 OC Clown|4 Pepp shrimp|2 Brittle Star|3000+ Copepods|10+ MiniBrittle|8+ Bristle Worm|2 Anemone|100+ mini-feather|4 boys 14,21,22,22 Current Tank Info: Tank:300g Mixed Reef 300+lb LR|4" LS|5x MP40W|75g fuge|5x RadionPRO|RO DB250 skimmer|Apex |

|

|
|
02/19/2015, 02:02 PM
|
#27 |
|
Registered Member
Join Date: Feb 2014
Location: Kentucky
Posts: 463
|
Never would have thought to lay brick for a monster tank. Great idea and it turned out welL!
|
|
|
|
|
04/27/2015, 06:49 AM
|
#28 | |||
|
Registered Member
Join Date: Jan 2008
Location: Portugal
Posts: 267
|
Hello everyone.
Long since I posted here. The "real" work is consuming all my time. I have one day per week at home for a long time now!  Quote:
Quote:
So back to point ... I had a lot of work just removing all the paint from the Quarantine stand:  Painted.  I leveraged the time to change the lenses to the Radions. Now with 120º lenses  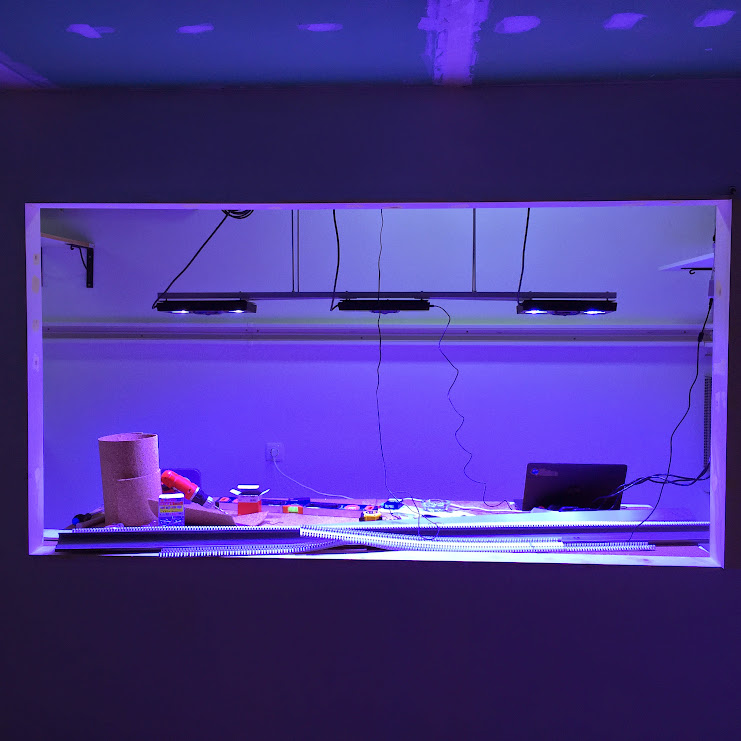 And I made a replica of the hanging kit. 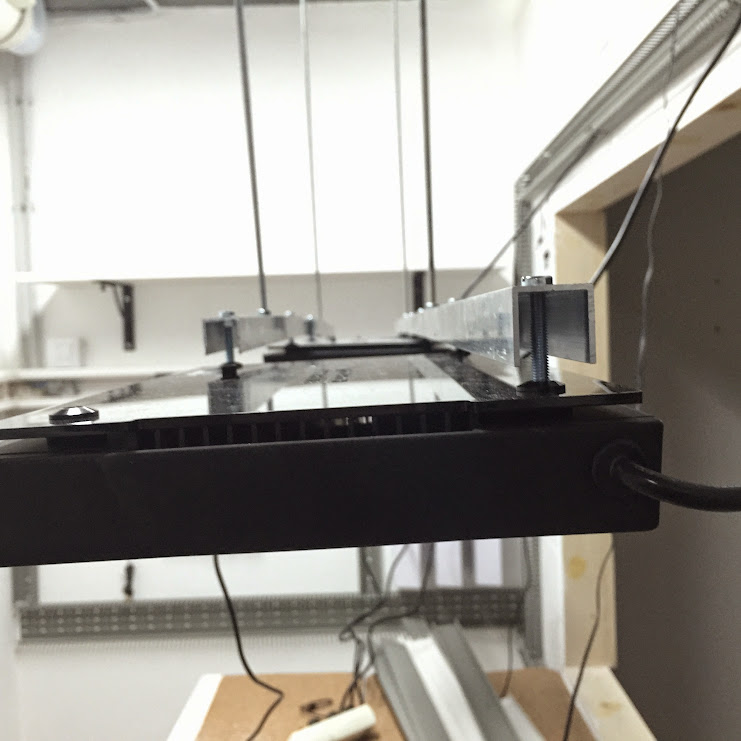 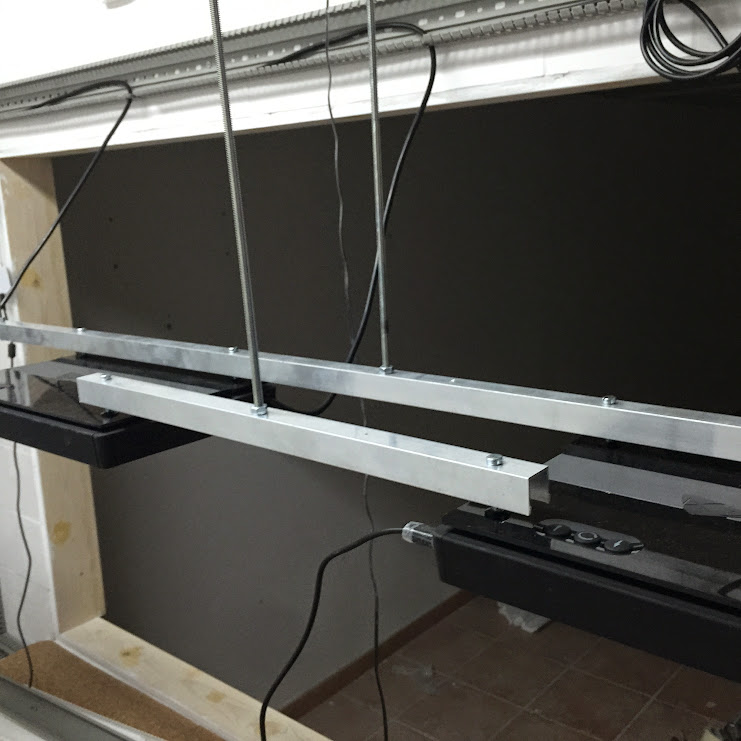 They do not stay straight and I hated. So later you will see that I changed it. I finished the frame also. 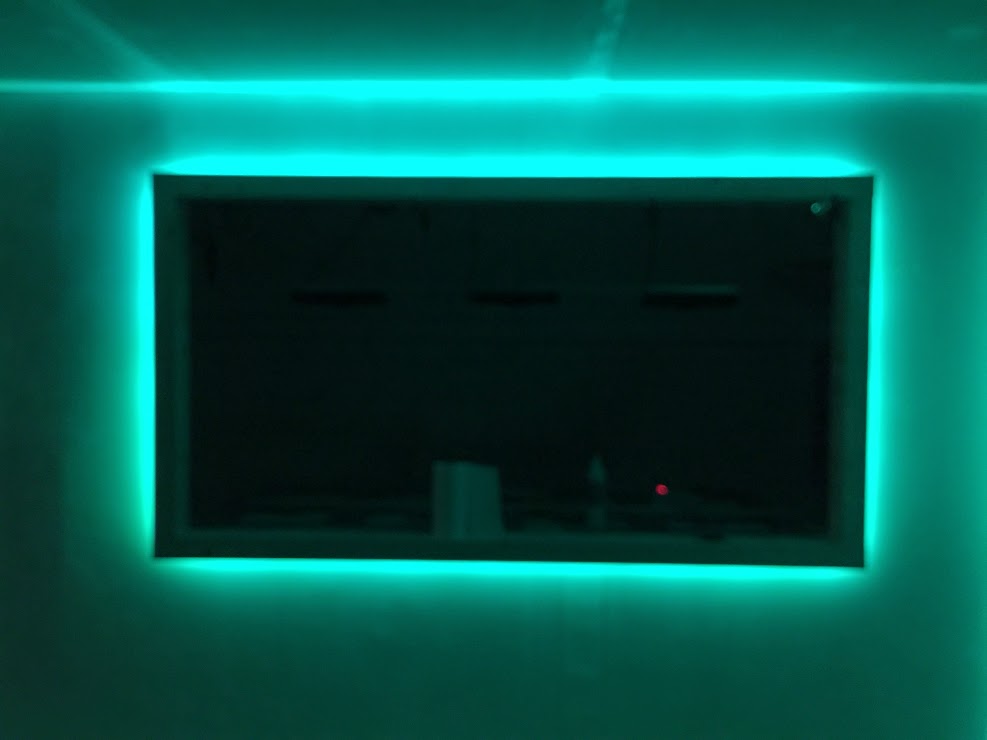 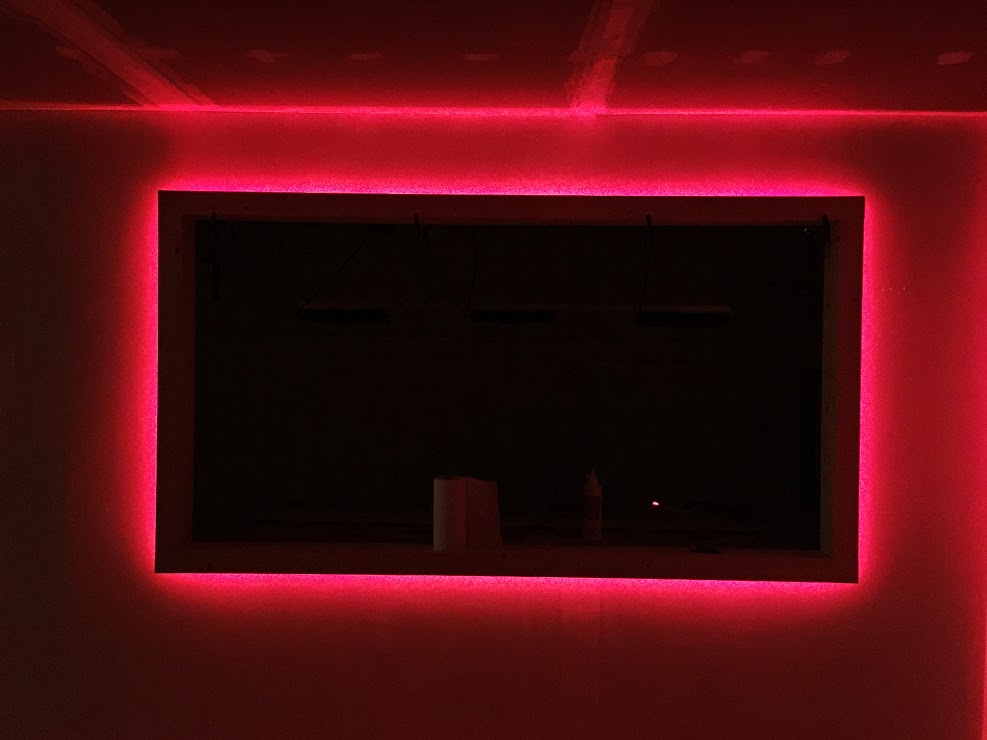 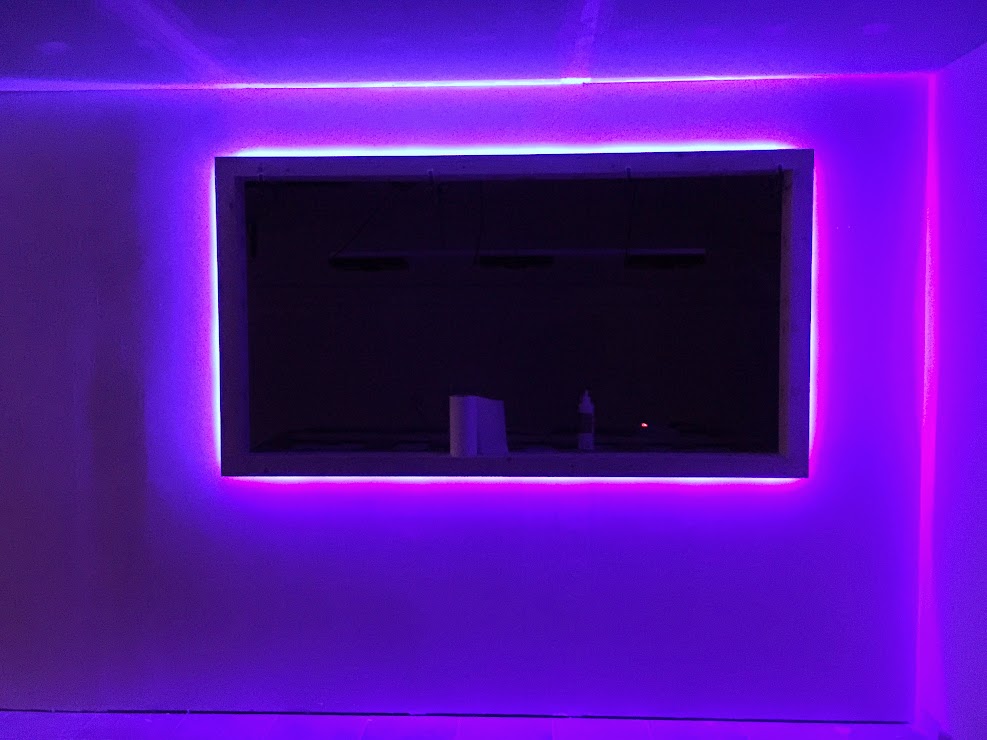 Nice ambient ... Next post ... |
|||
|
|
|
|
04/27/2015, 06:54 AM
|
#29 |
|
Registered Member
Join Date: Jan 2008
Location: Portugal
Posts: 267
|
Continuing ...
I bought this to make a new support for the Radion 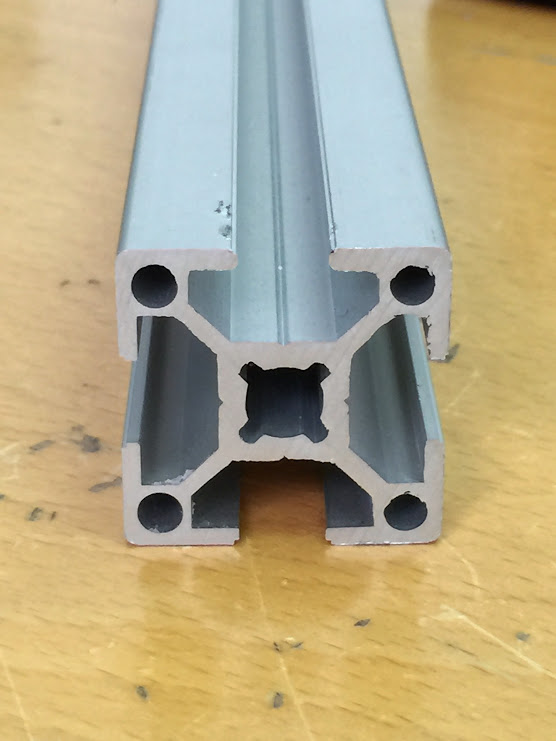 And with a simple contraption 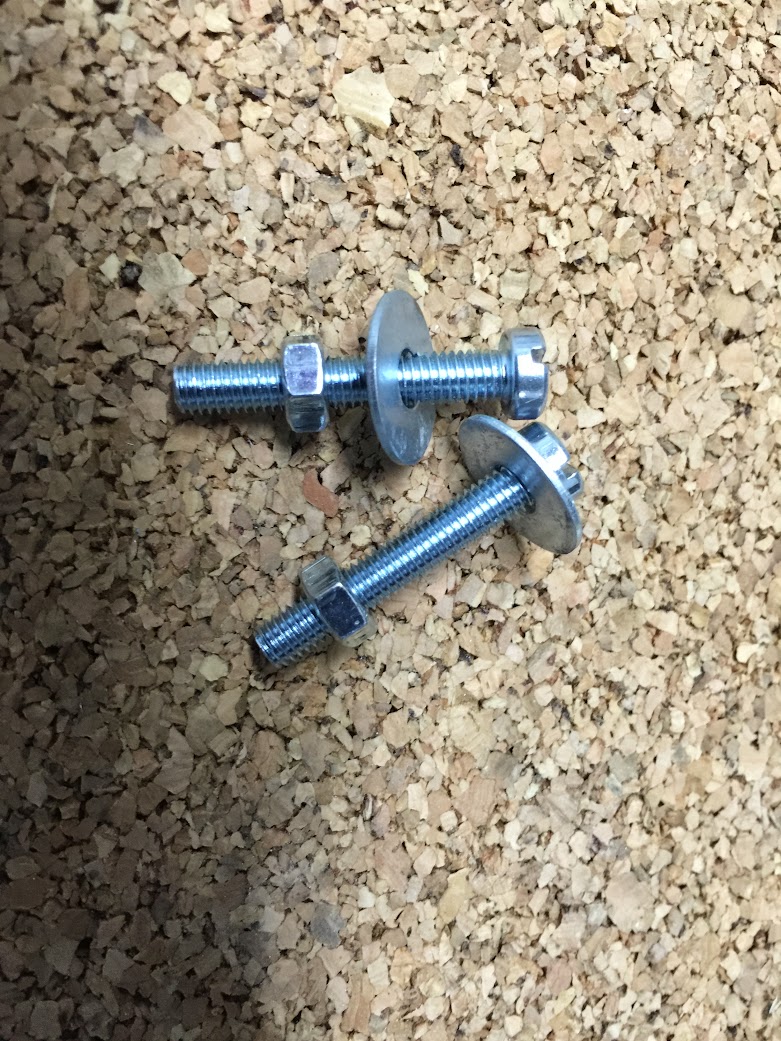 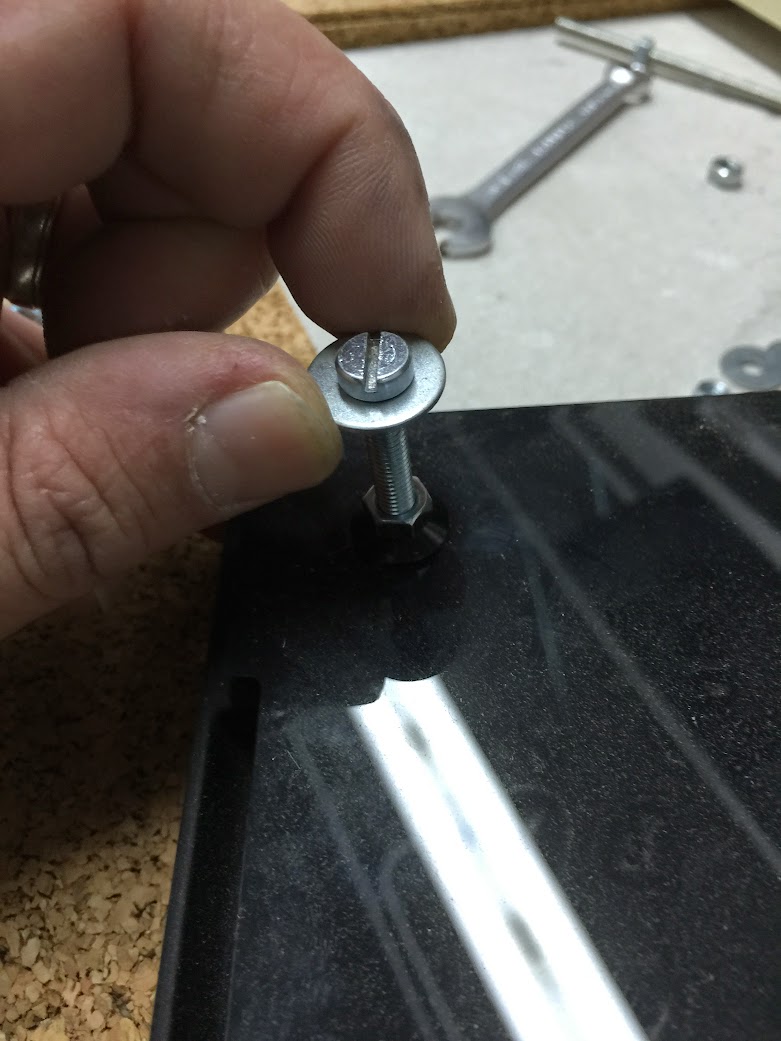  Here a small video of the effect http://www.youtube.com/watch?v=Kx8RSmN4tJw Also I started the Cable Management. One of the things I always hated in my reefs and that I think I managed to tackle it properly now. Before  After: 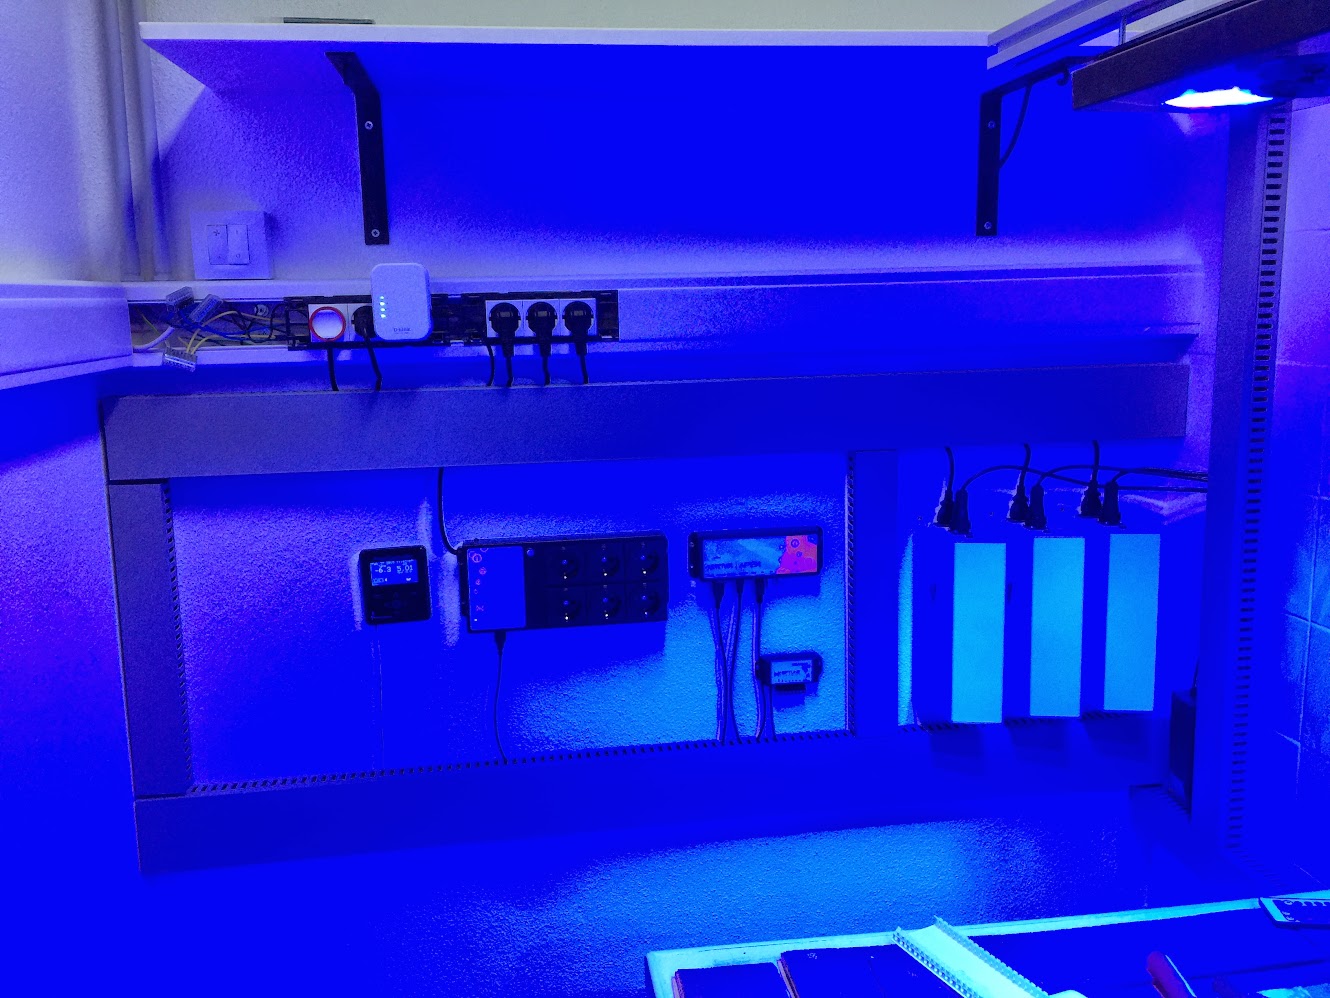 Next was time to treat the Pukani Rock! Continues ... Last edited by rmgaspar; 04/27/2015 at 07:26 AM. |
|
|
|
|
04/27/2015, 07:00 AM
|
#30 |
|
Registered Member
Join Date: Jan 2008
Location: Portugal
Posts: 267
|
Continuing ...
Step #1 - Pressure wash Step #2 - Bleach for 24h  Step #3 - Pressure wash again Step #4 - Muriathic Acid in the ration of 1:10 for 15m After 1m: 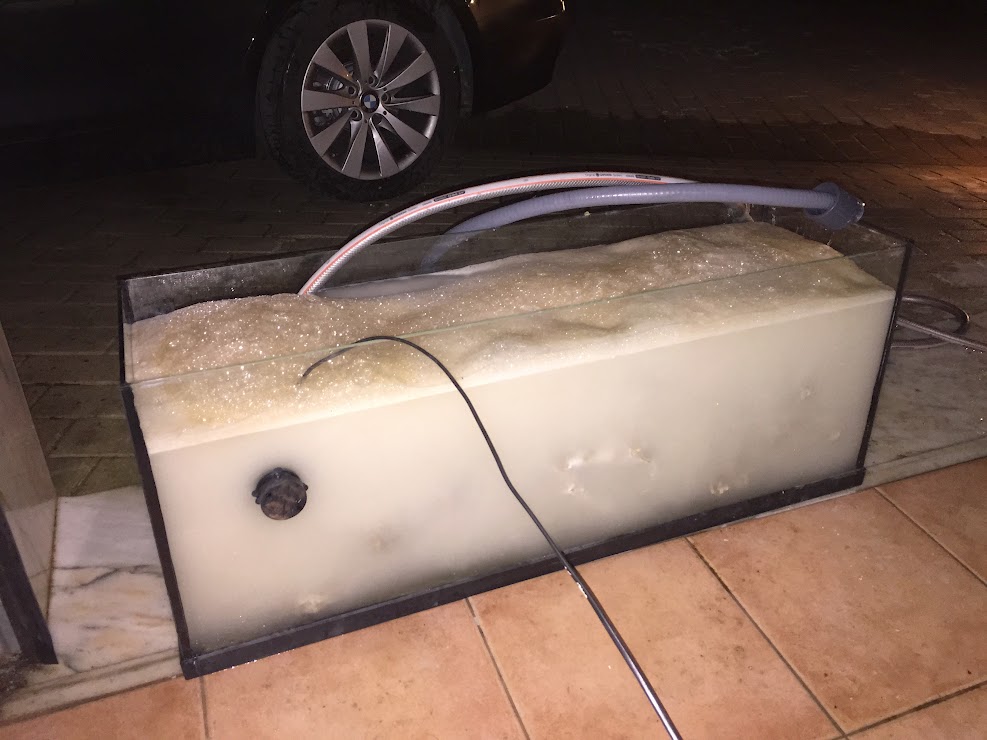 After 5m:  After 10m: 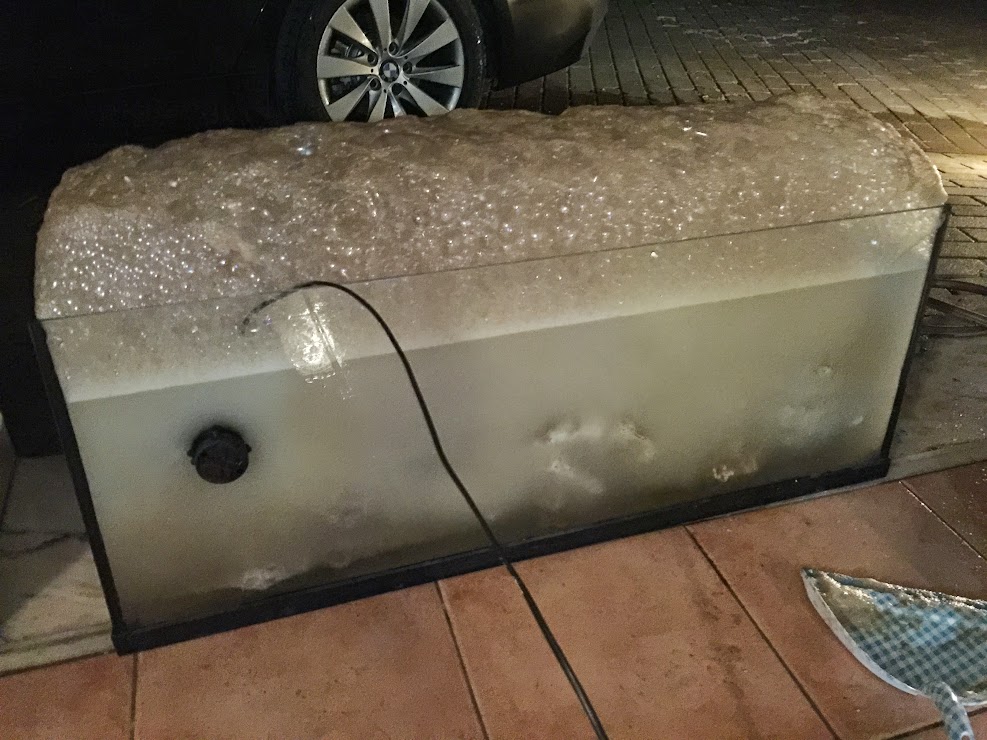 After 15m: 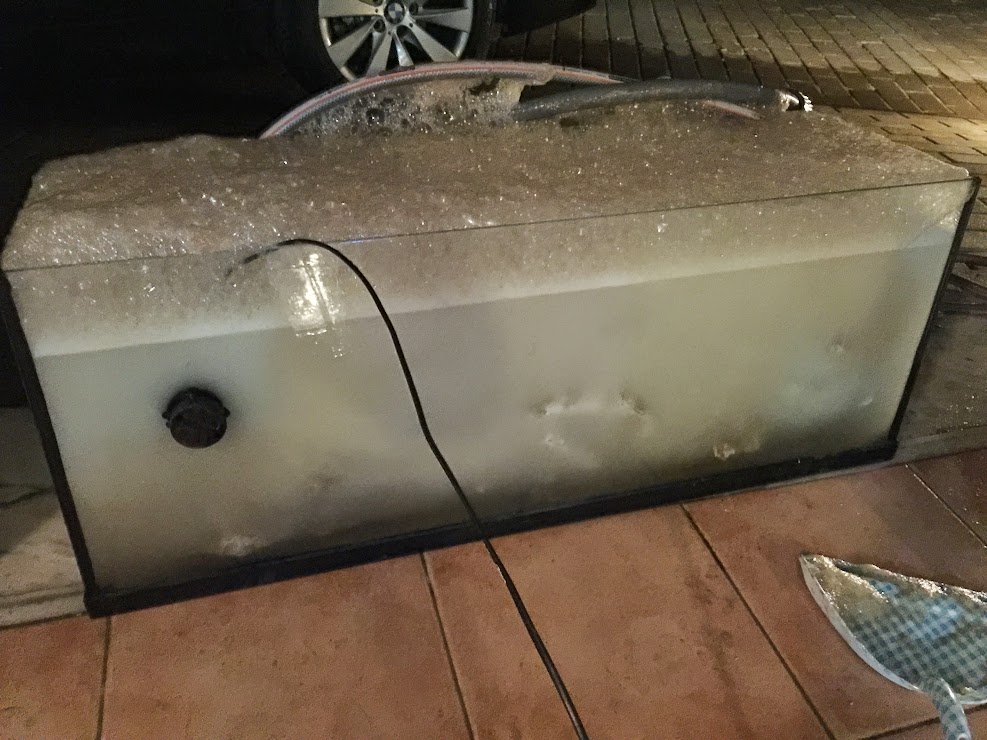 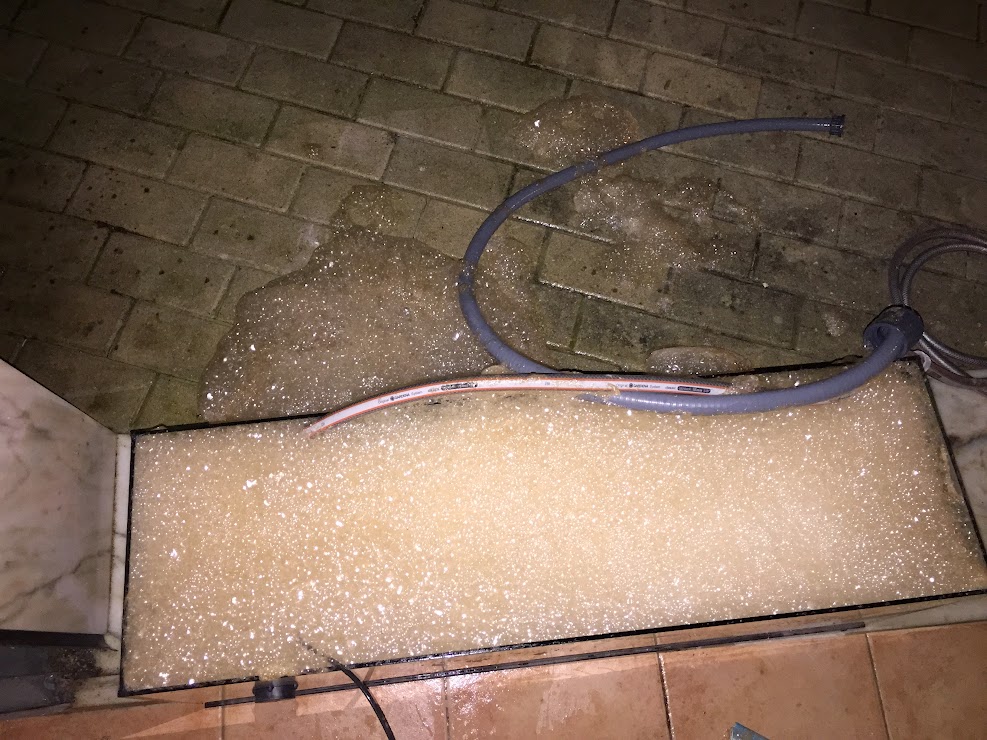 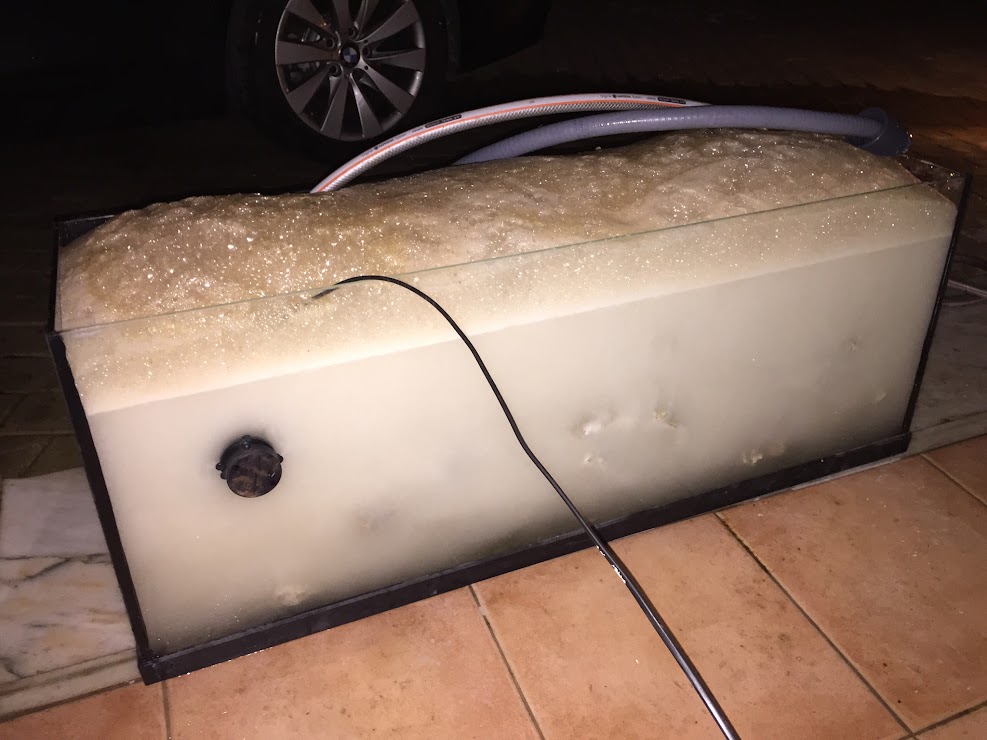 Step #5: Back to RO + Sodium Bicarbonate to eliminate the acid. Step #6: NSW with circulation pump and Lanthanium. Still in NSW as I haven't filled the display tank since March 9. The values I read initially was: 1.41 Now with Water Change I manage the values between 0.02 and 0.03 Continues |
|
|
|
|
04/27/2015, 07:05 AM
|
#31 |
|
Registered Member
Join Date: Jan 2008
Location: Portugal
Posts: 267
|
Continuing ...
So this brings us to March 11. I went to pay the aquarium and arrange for transportation. 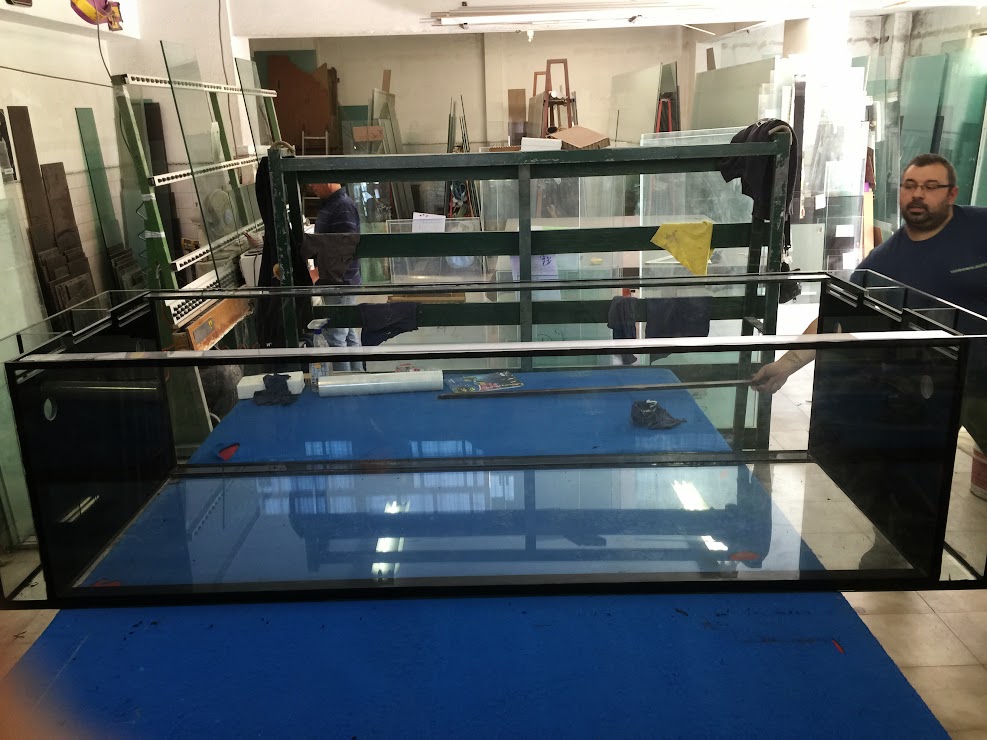 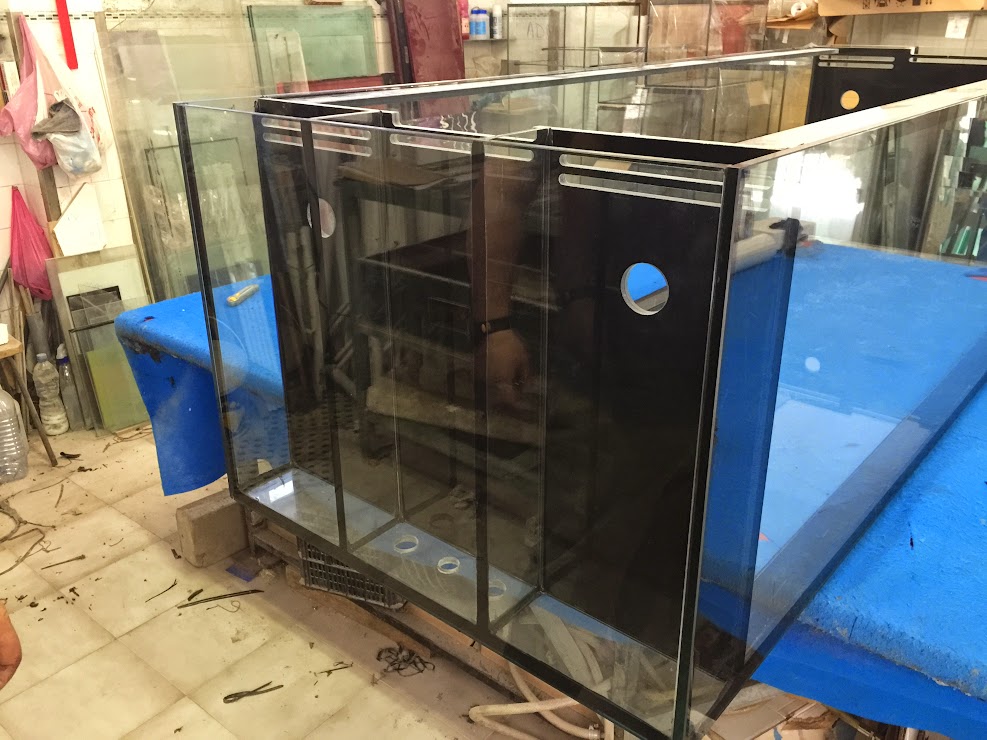 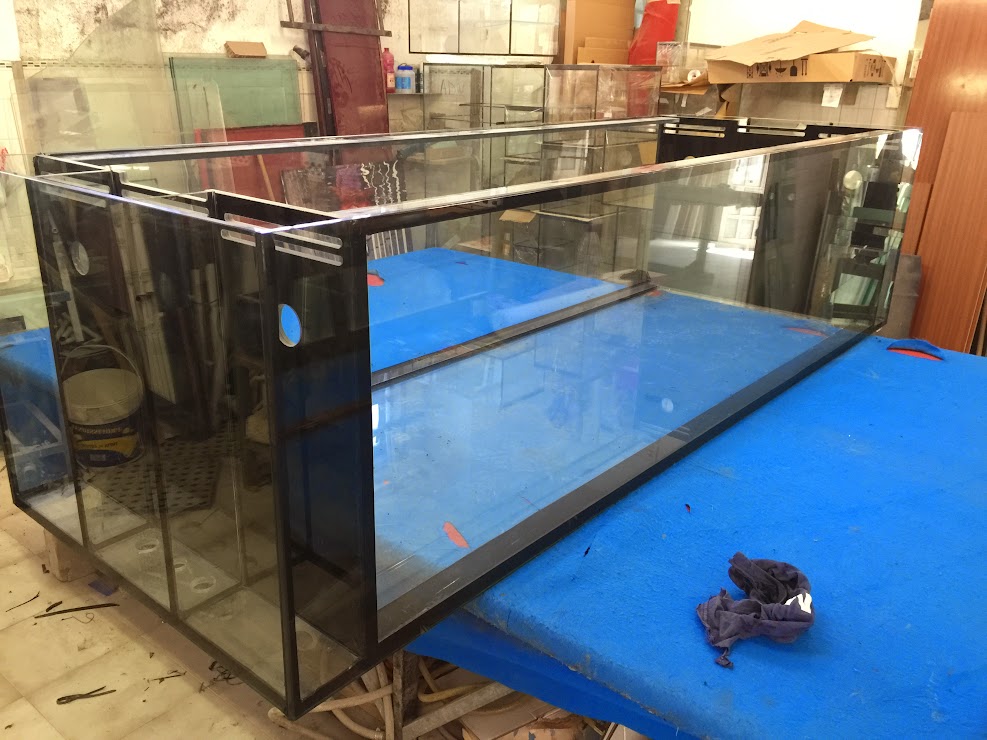  After seeing it ... I was a happy man ... too bad the happiness did not last. The Delivery:  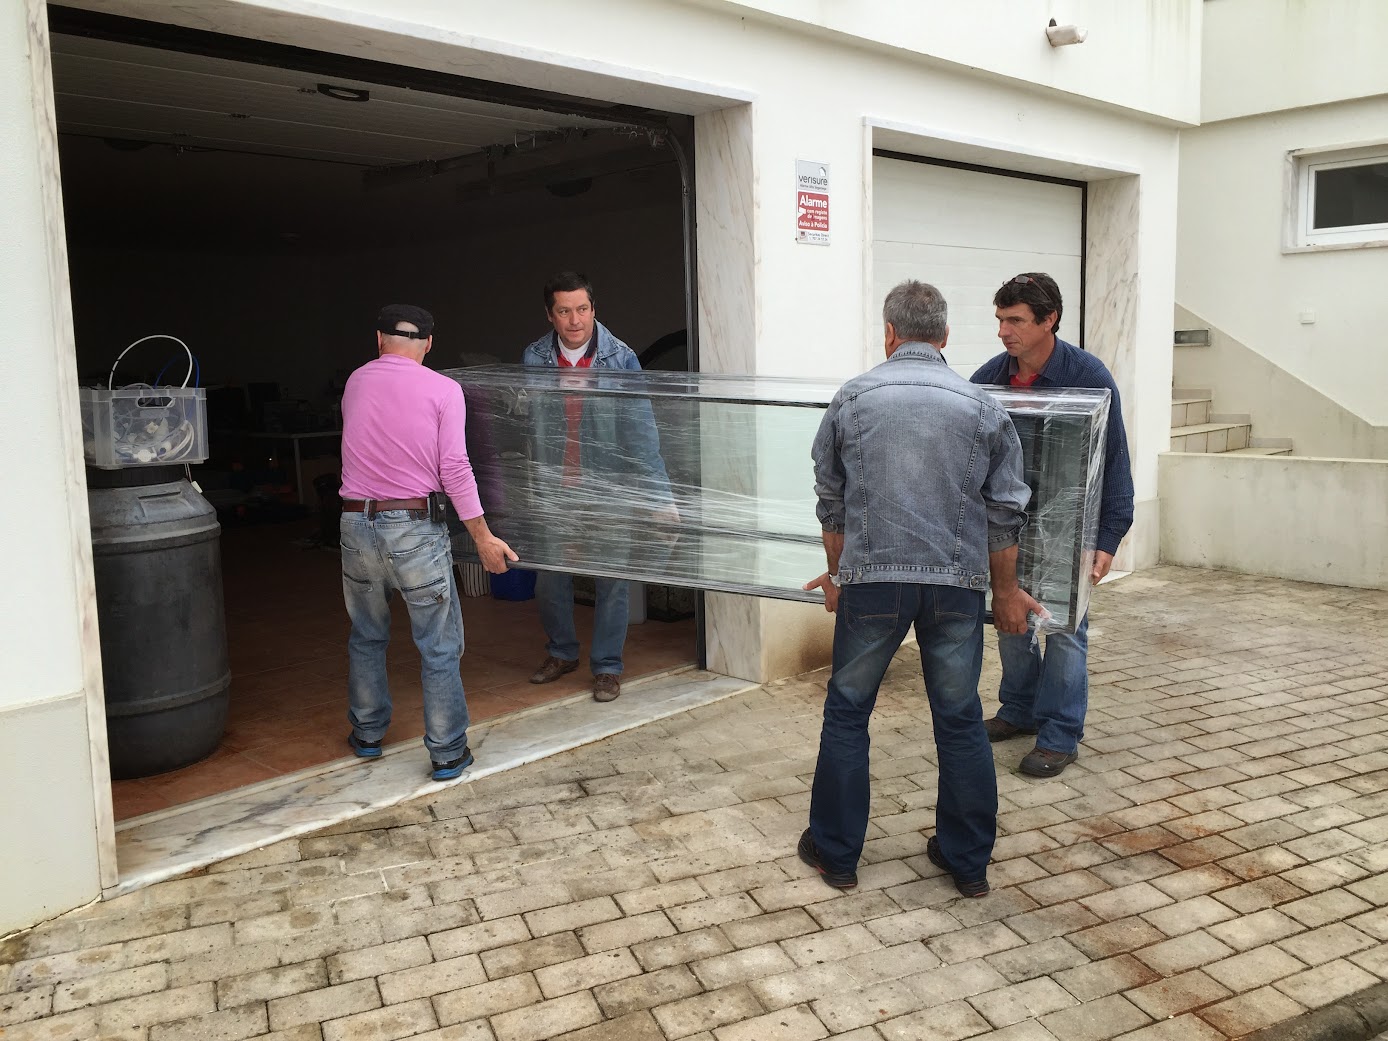 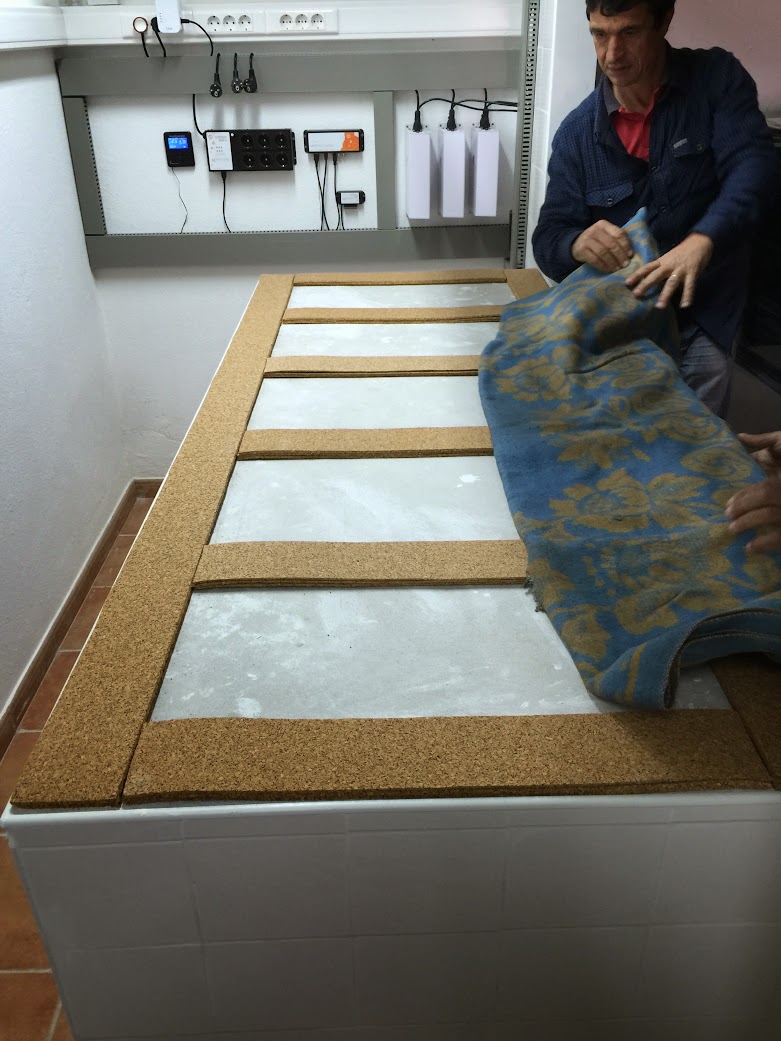 I had to give a help ... 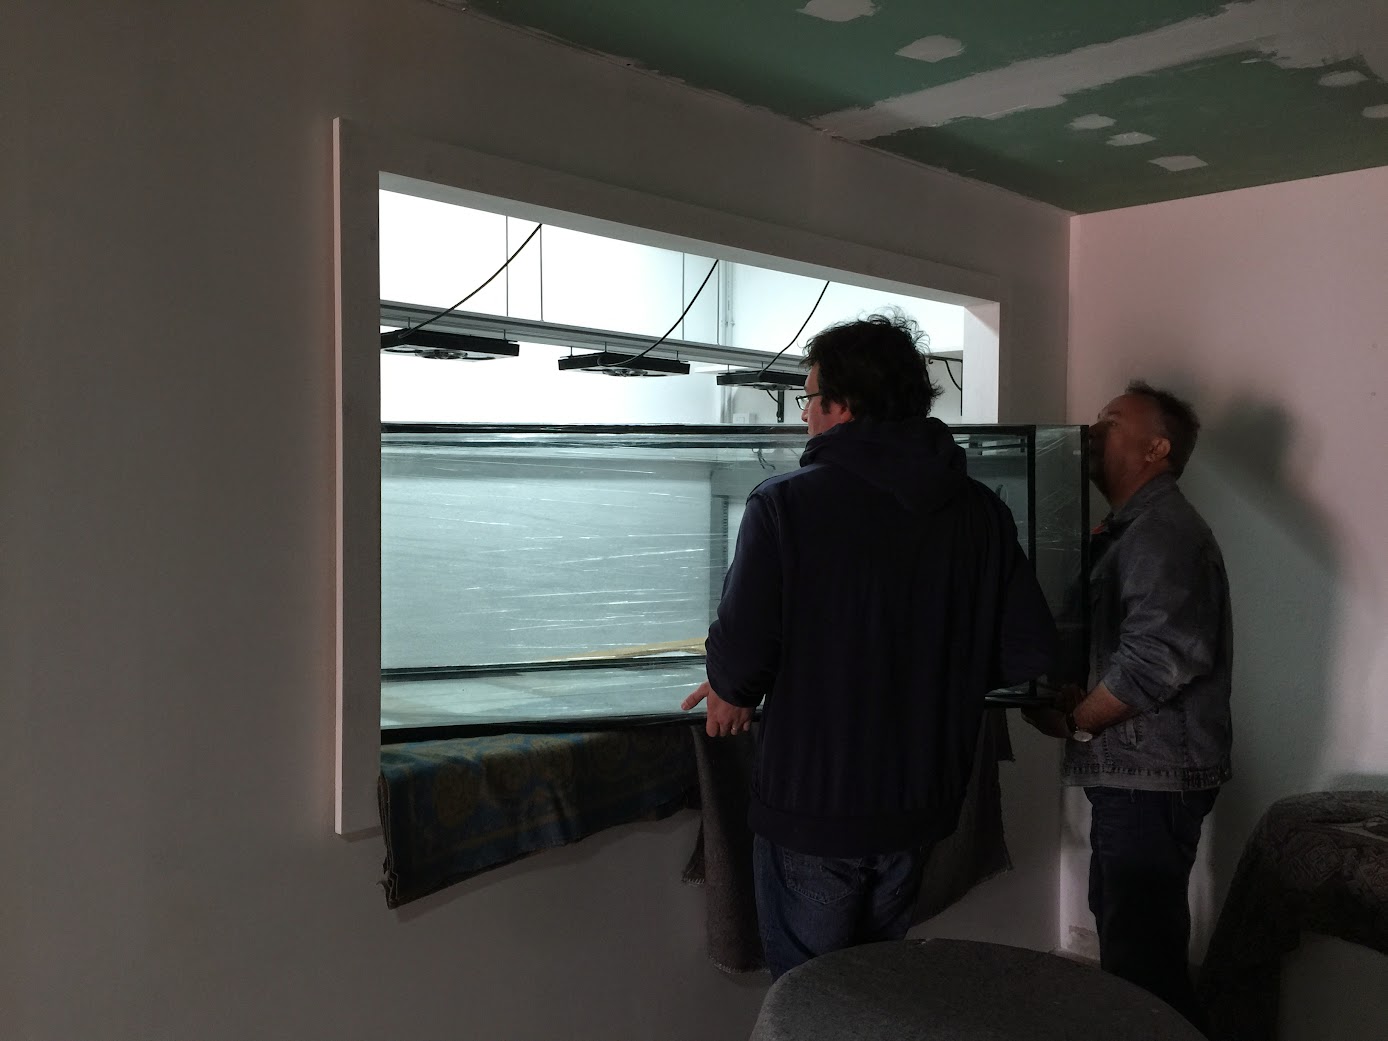 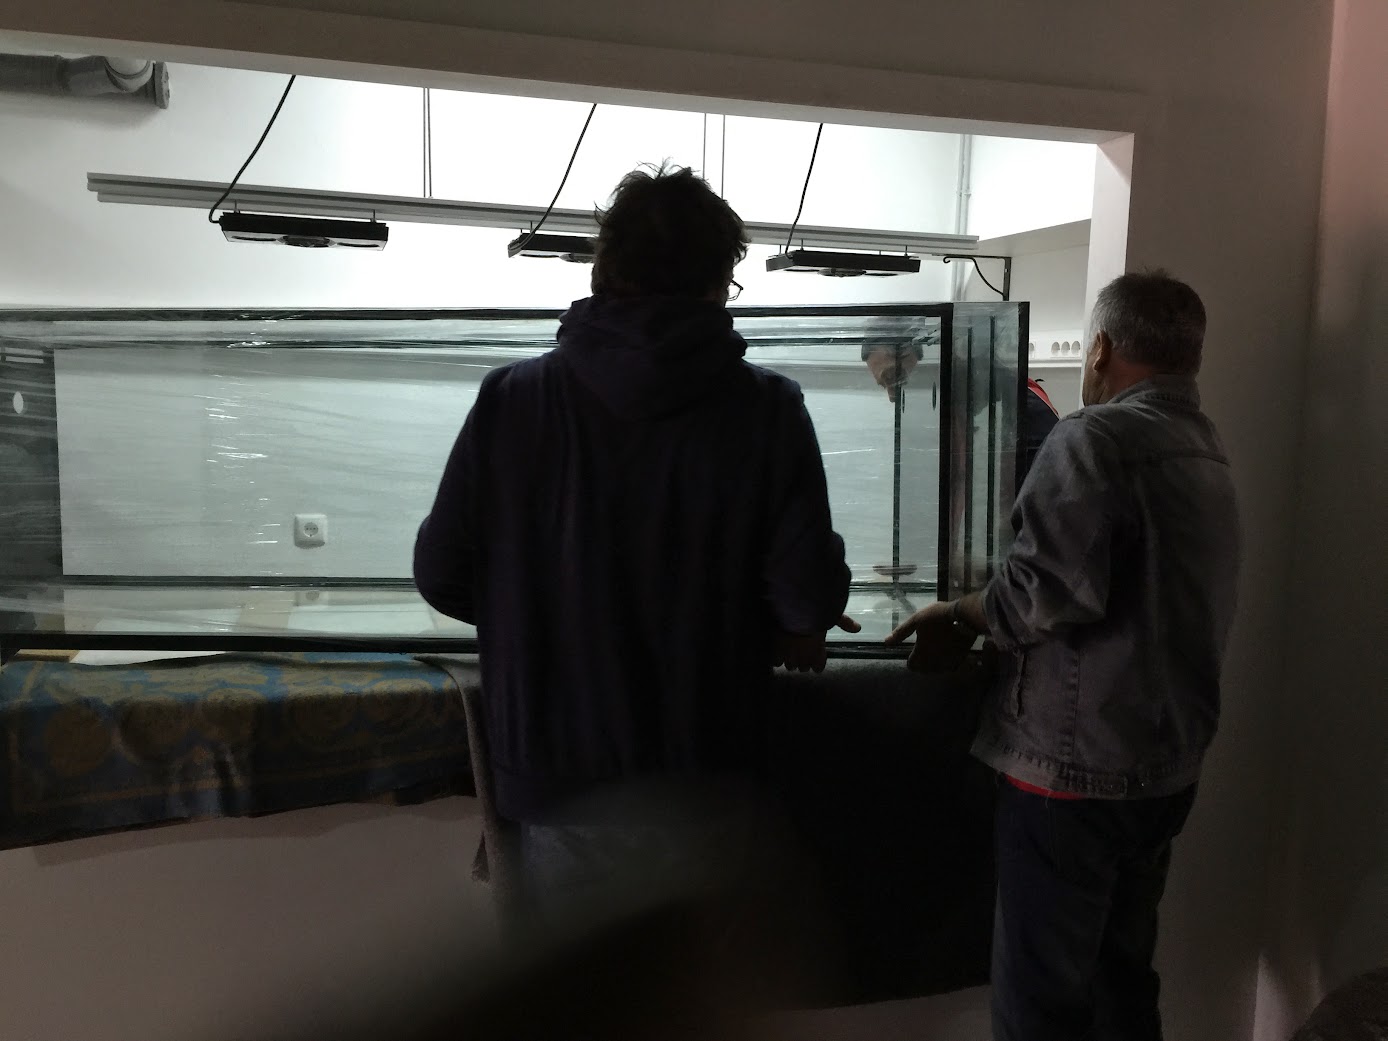 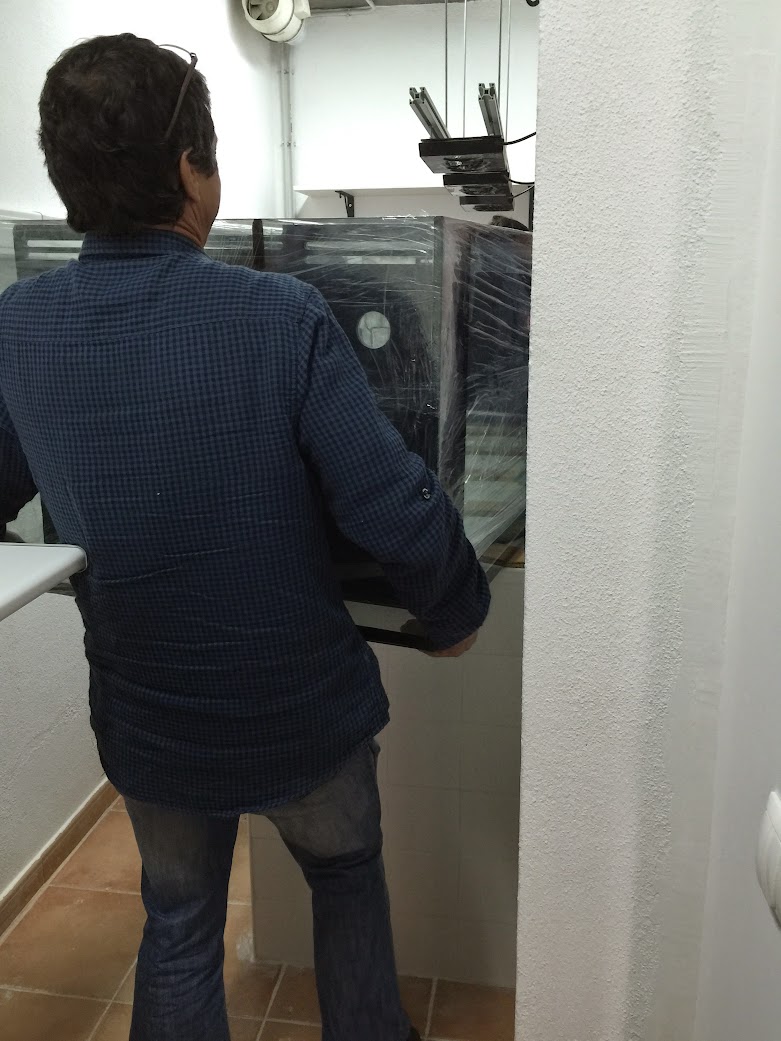 Continues ... |
|
|
|
|
04/27/2015, 07:21 AM
|
#32 |
|
Registered Member
Join Date: Jan 2008
Location: Portugal
Posts: 267
|
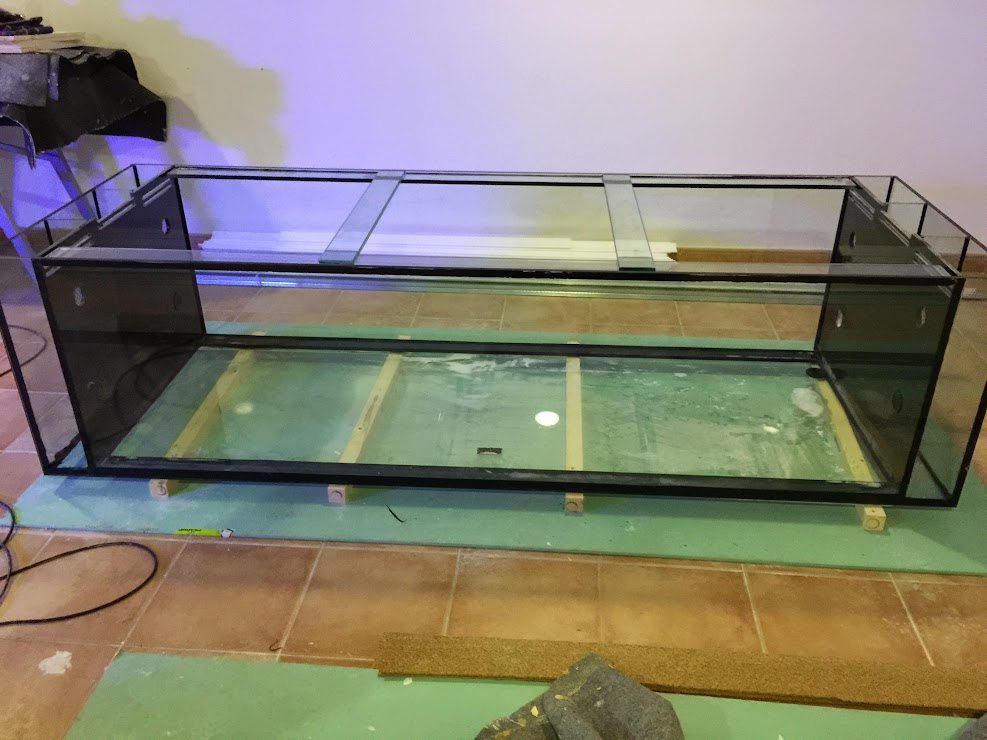
Continuing ...
 Supervising ... 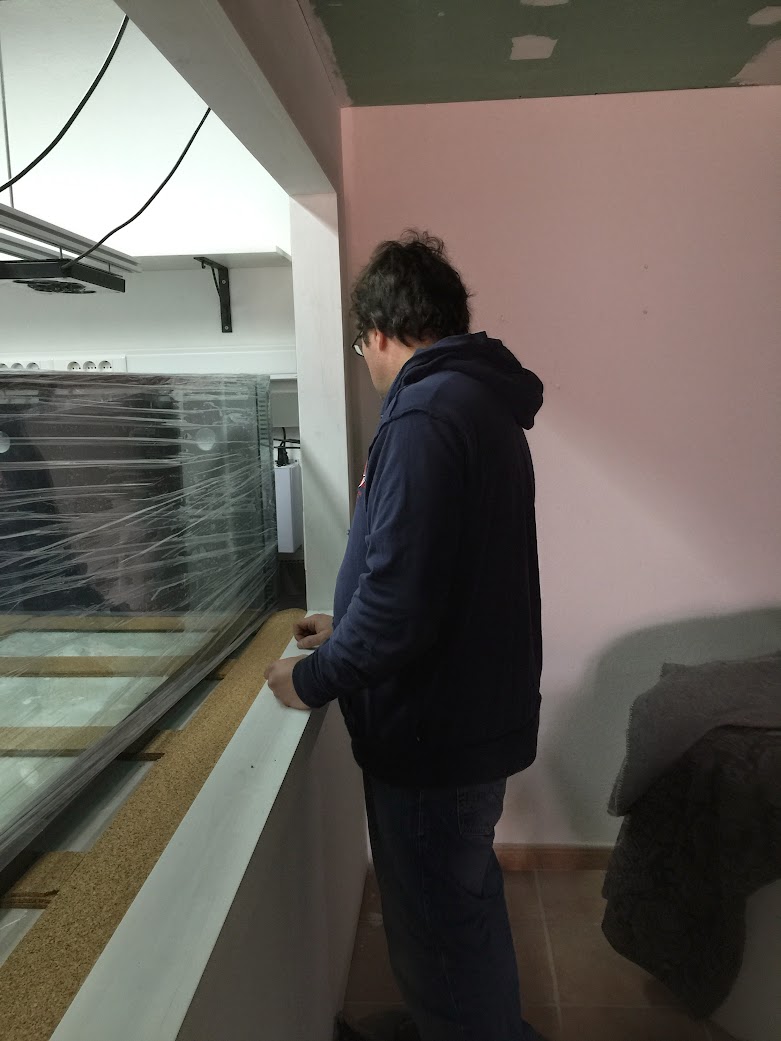 And started to fill with TAP water to check for leaks ...  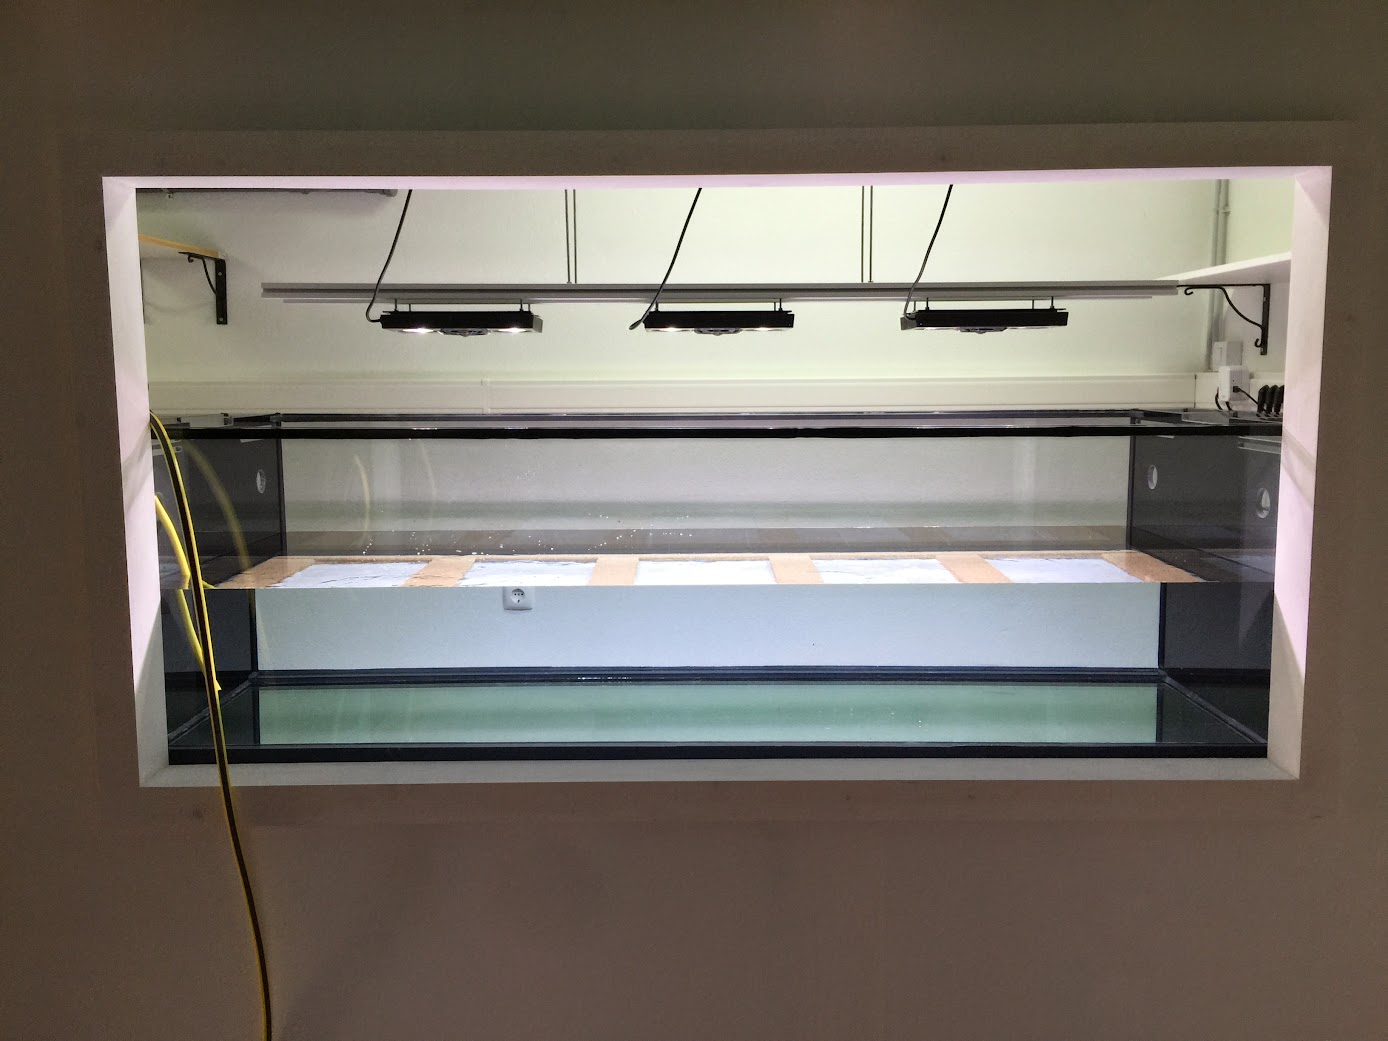 And then my hapiness .... CRASHED !!!! With the aquarium full I heard a huge crack ... The eurobrace broke:  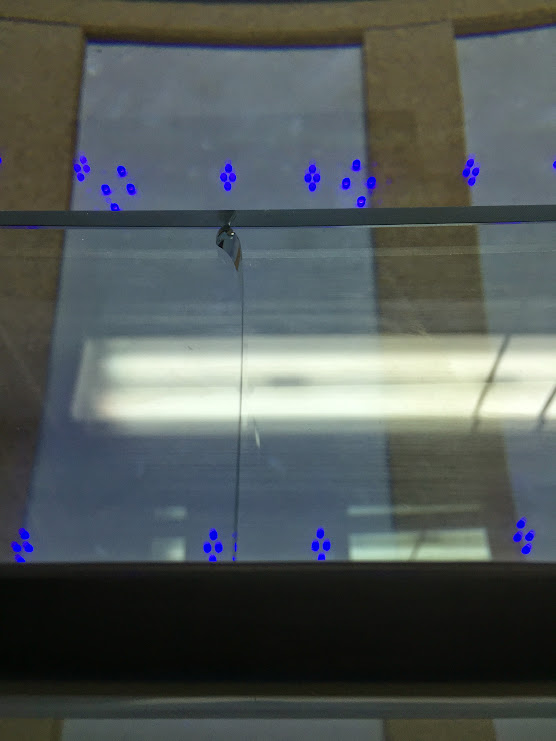 This resulted in removing the aquarium (two weeks delay), level the stand and repair the aquarium |
|
|
|
|
04/27/2015, 07:22 AM
|
#33 |
|
Registered Member
Join Date: Jan 2008
Location: Portugal
Posts: 267
|
Continuing ...
Meanwhile a friend of mine took is aquarium apart and gave me one of his fish that does not fit in his new tank! I moved it into quarentine. 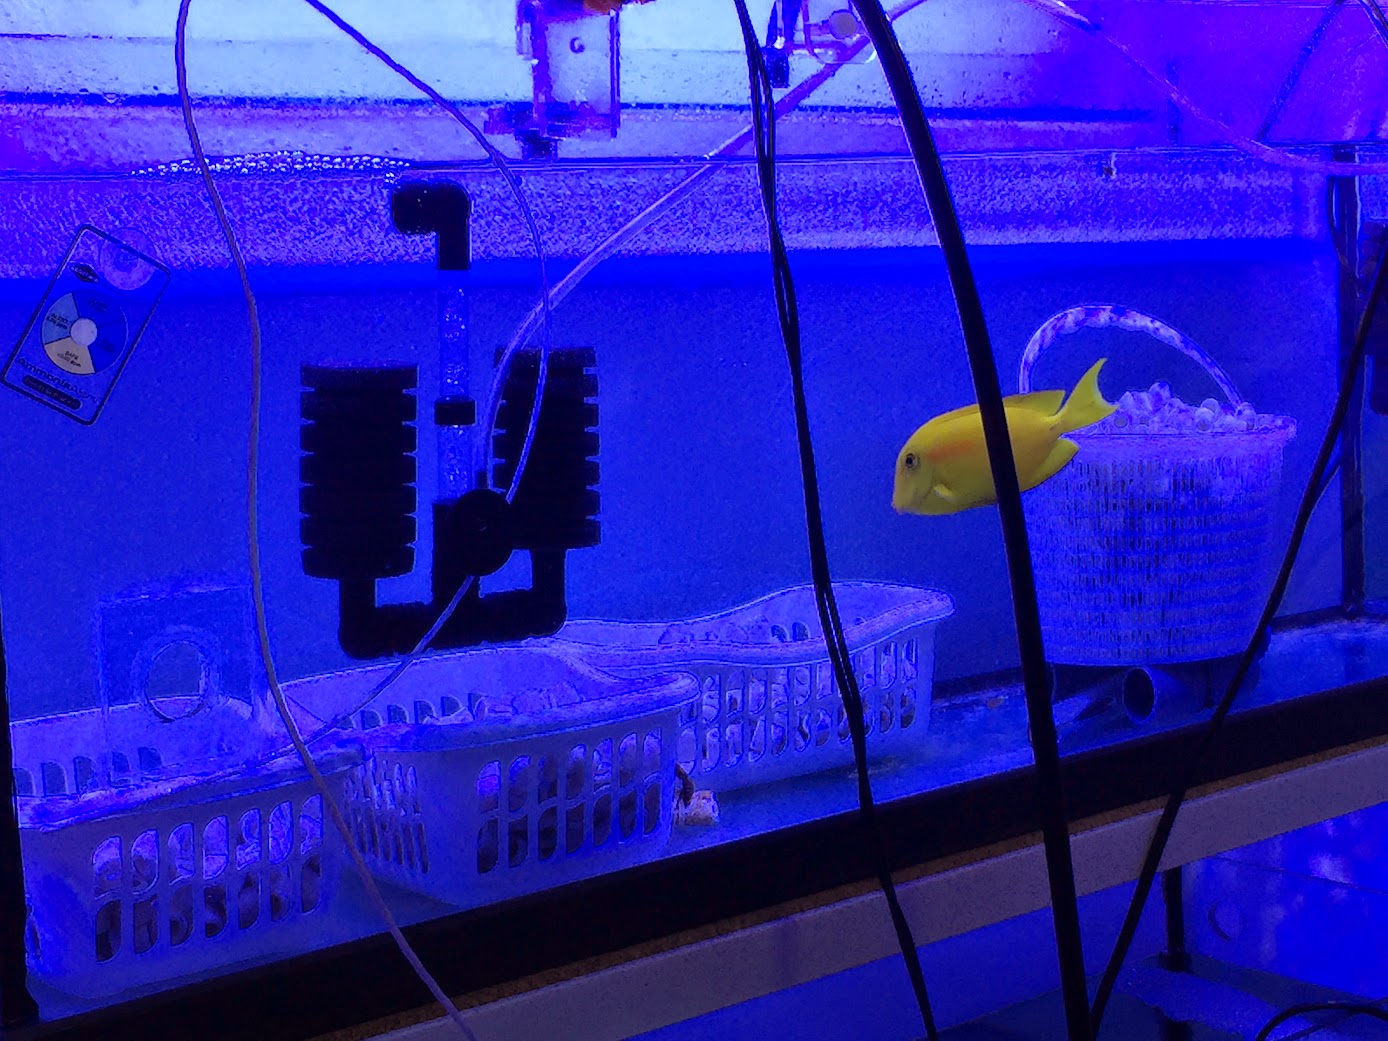 So April 20th the aquarium got repaired:  I made also 4 aditional holes in the lateral glass to compensate the strength of the tunzes. 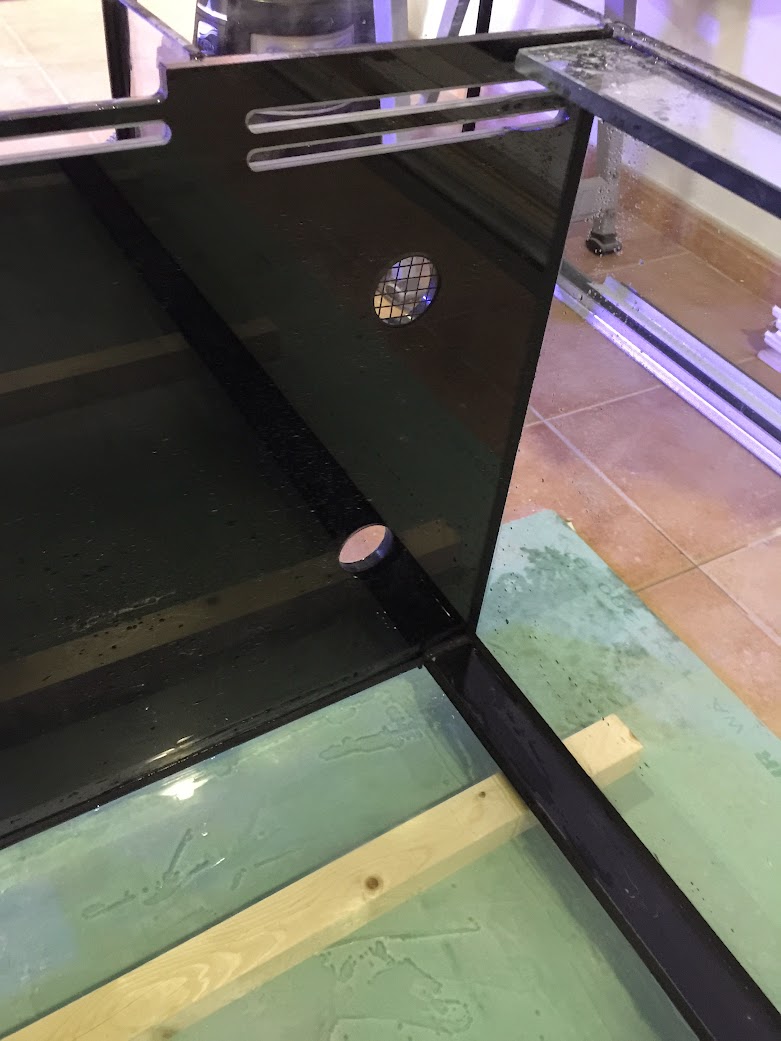 I had to took a little part of the ceiling to put water in the fish room 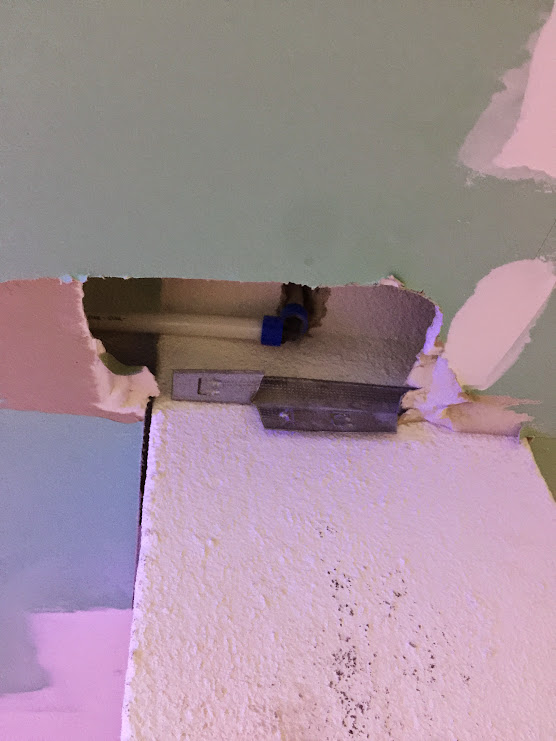 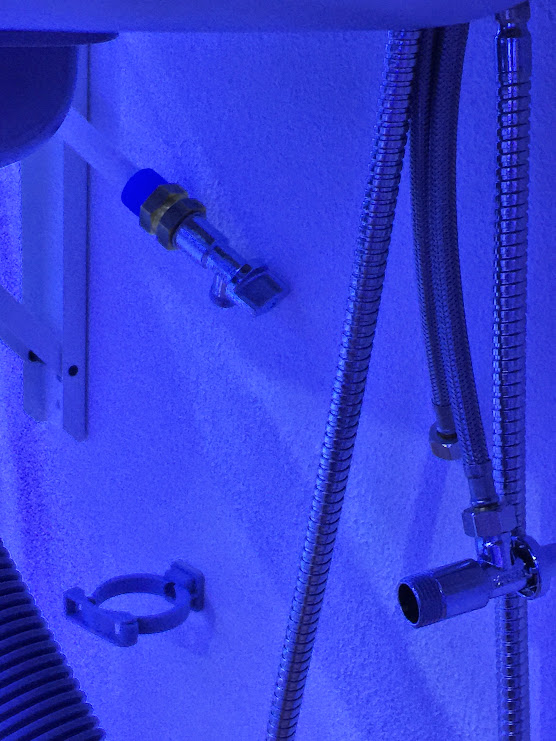 I made the holes to the stand and level it ... 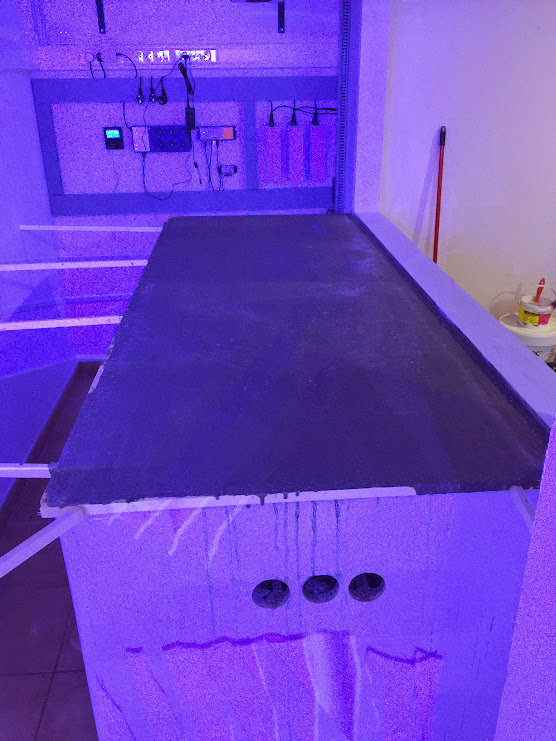
|
|
|
|
|
04/27/2015, 07:25 AM
|
#34 |
|
Registered Member
Join Date: Jan 2008
Location: Portugal
Posts: 267
|
Aquarium silicone cured.
  And the side glass with the protections.  So this brings me to today ... So today ... I am moving out of the country again ... Moving to sunny LONDON  I will try to put the aquarium in place next weekend but since is a big one due to workers day I don't know if I can find the people to do it. Let's see ... SLOW PROGRESS ... I am getting MAD 
|
|
|
|
|
06/30/2015, 03:54 PM
|
#35 |
|
Registered Member
Join Date: Jan 2008
Location: Portugal
Posts: 267
|
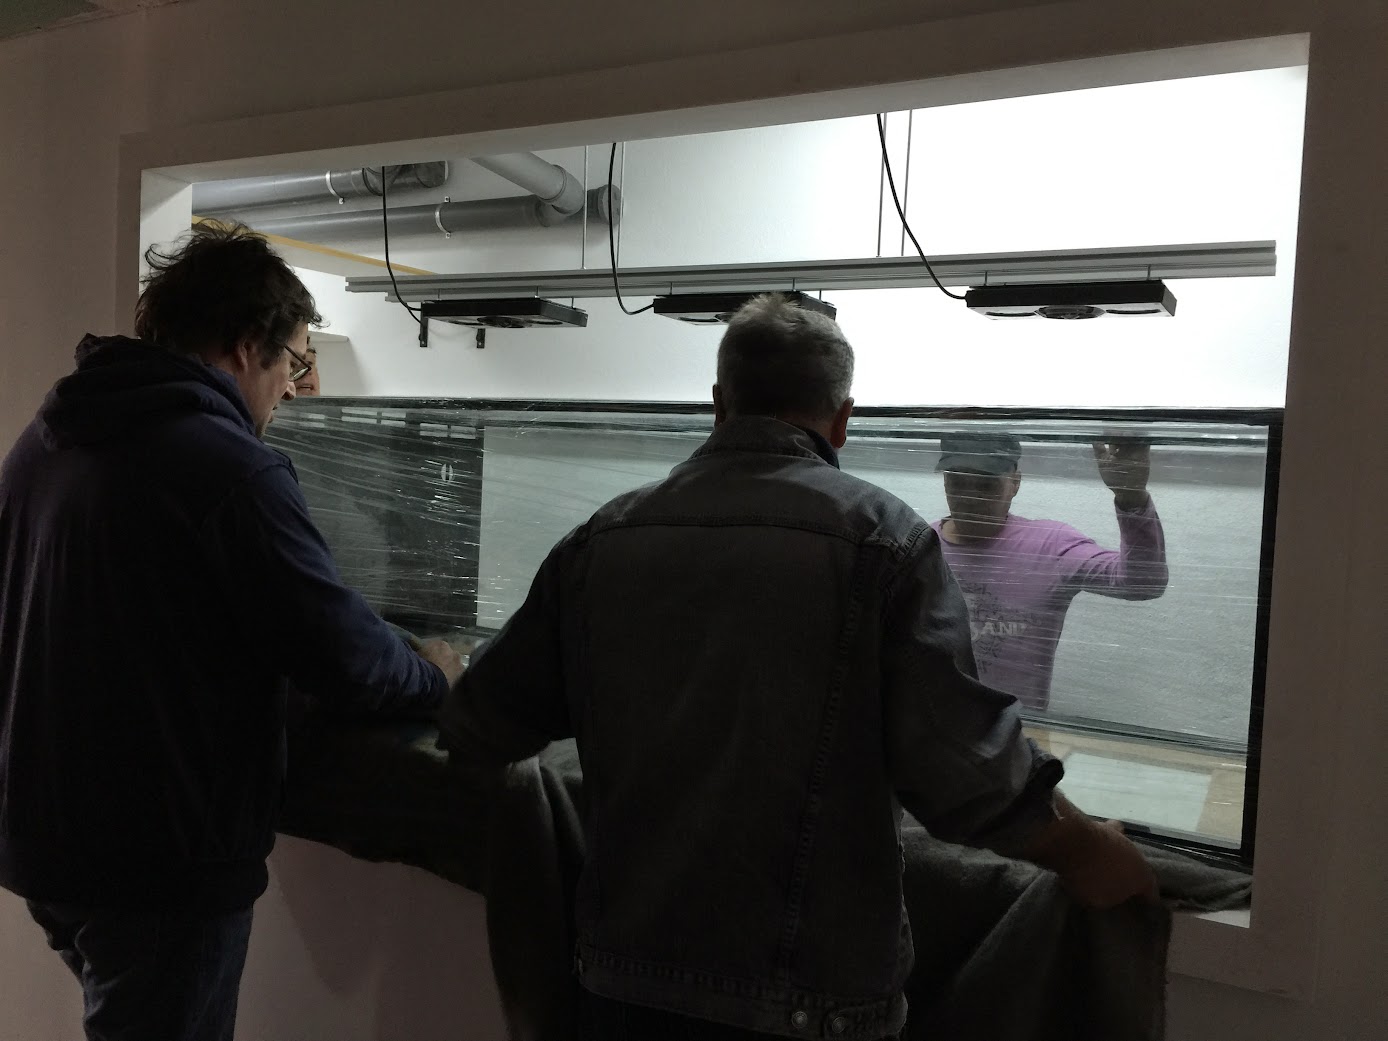
Hello
 , ,Since I had sometime without getting help to put the aquarium in place, I managed to finish the construction work inside.    Meanwhile four volunteers came and we put the tank in place.  All the best, Rui |
|
|
|
|
06/30/2015, 03:58 PM
|
#36 |
|
Registered Member
Join Date: Jan 2008
Location: Portugal
Posts: 267
|
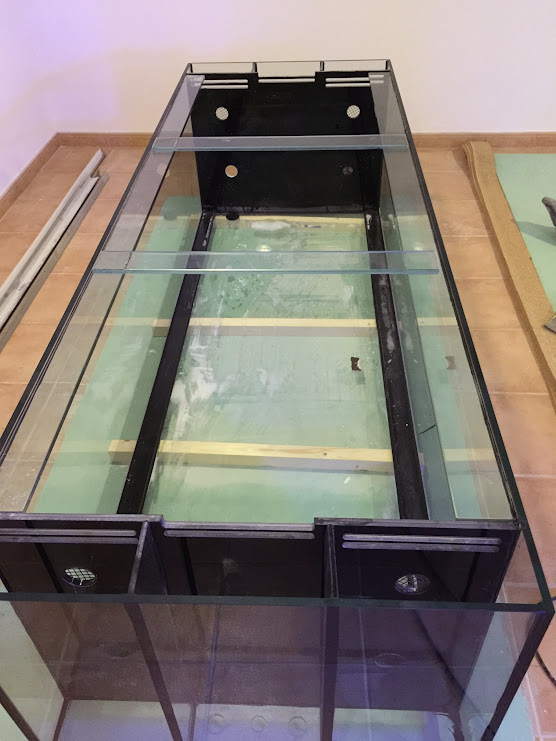
Hello again,
It was May 14th ... I filled the aquarium with tap water to check for leaks and to see if the support we put in middle of the tank solved the problem. Everything was ok after a few days so I started the plumbing part. 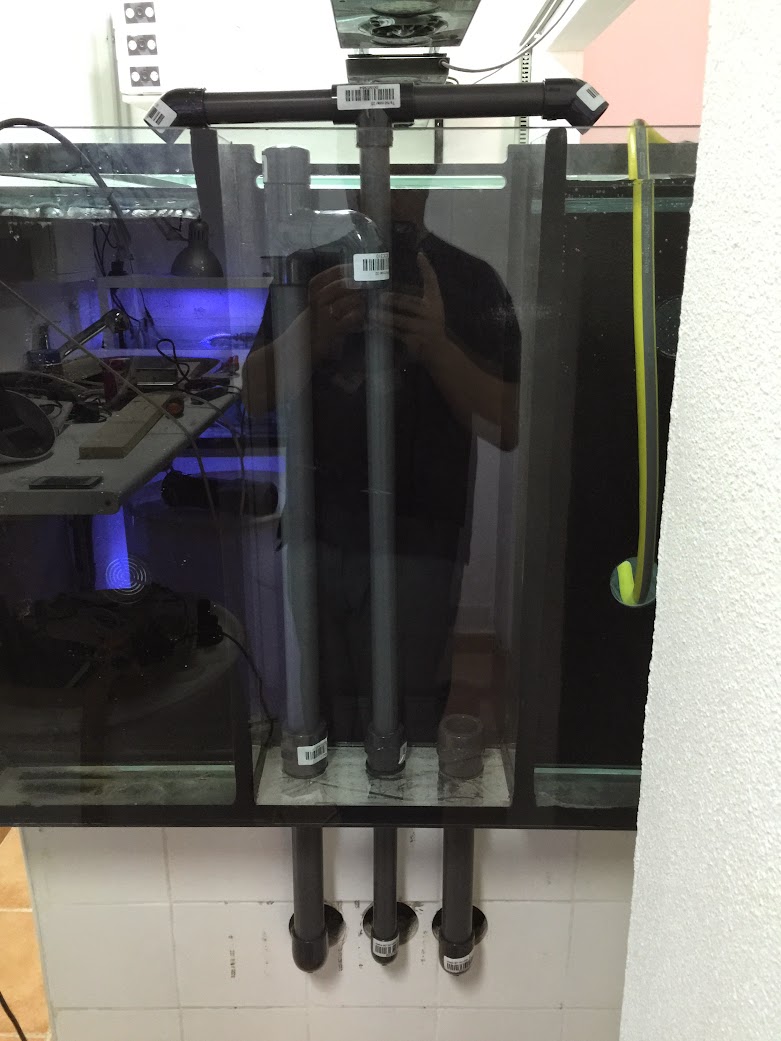  This is just one of the side as I have to overflow boxes. All the best, Rui |
|
|
|
|
06/30/2015, 03:59 PM
|
#37 |
|
Registered Member
Join Date: Jan 2008
Location: Portugal
Posts: 267
|
Hello again,
After what happened to my last tank (a family member spilled water over the electrical part) I decided to post some warnings. 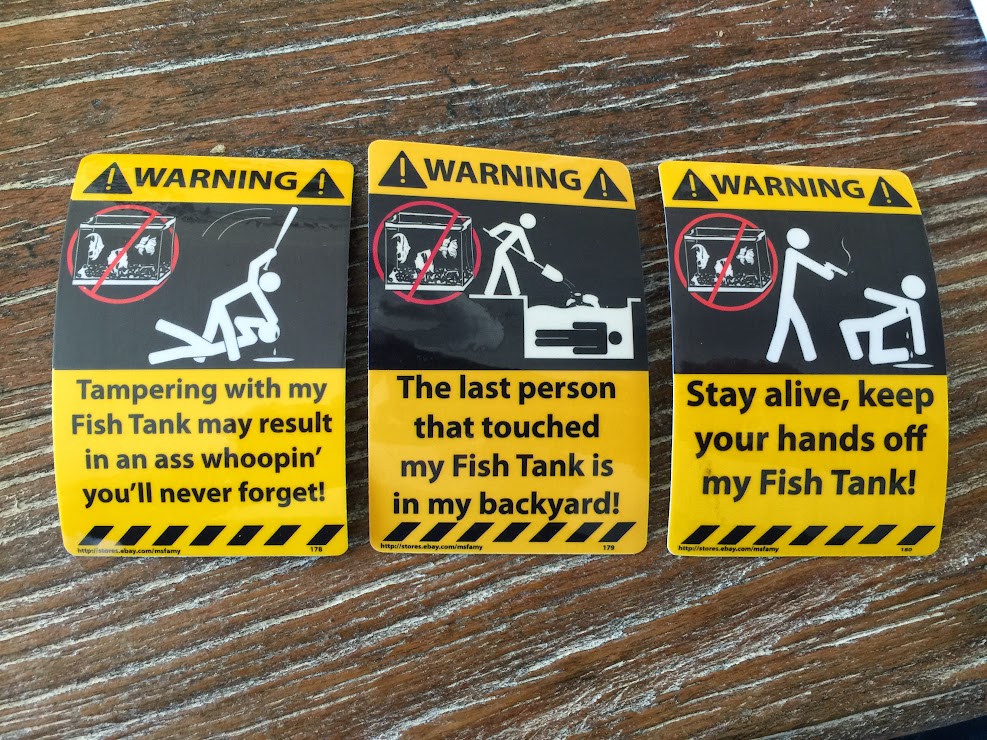 All the best, Rui |
|
|
|
|
06/30/2015, 04:04 PM
|
#38 |
|
Registered Member
Join Date: Jan 2008
Location: Portugal
Posts: 267
|
Hello again,
May 25th I finished all the construction work and painting was the only thing missing. 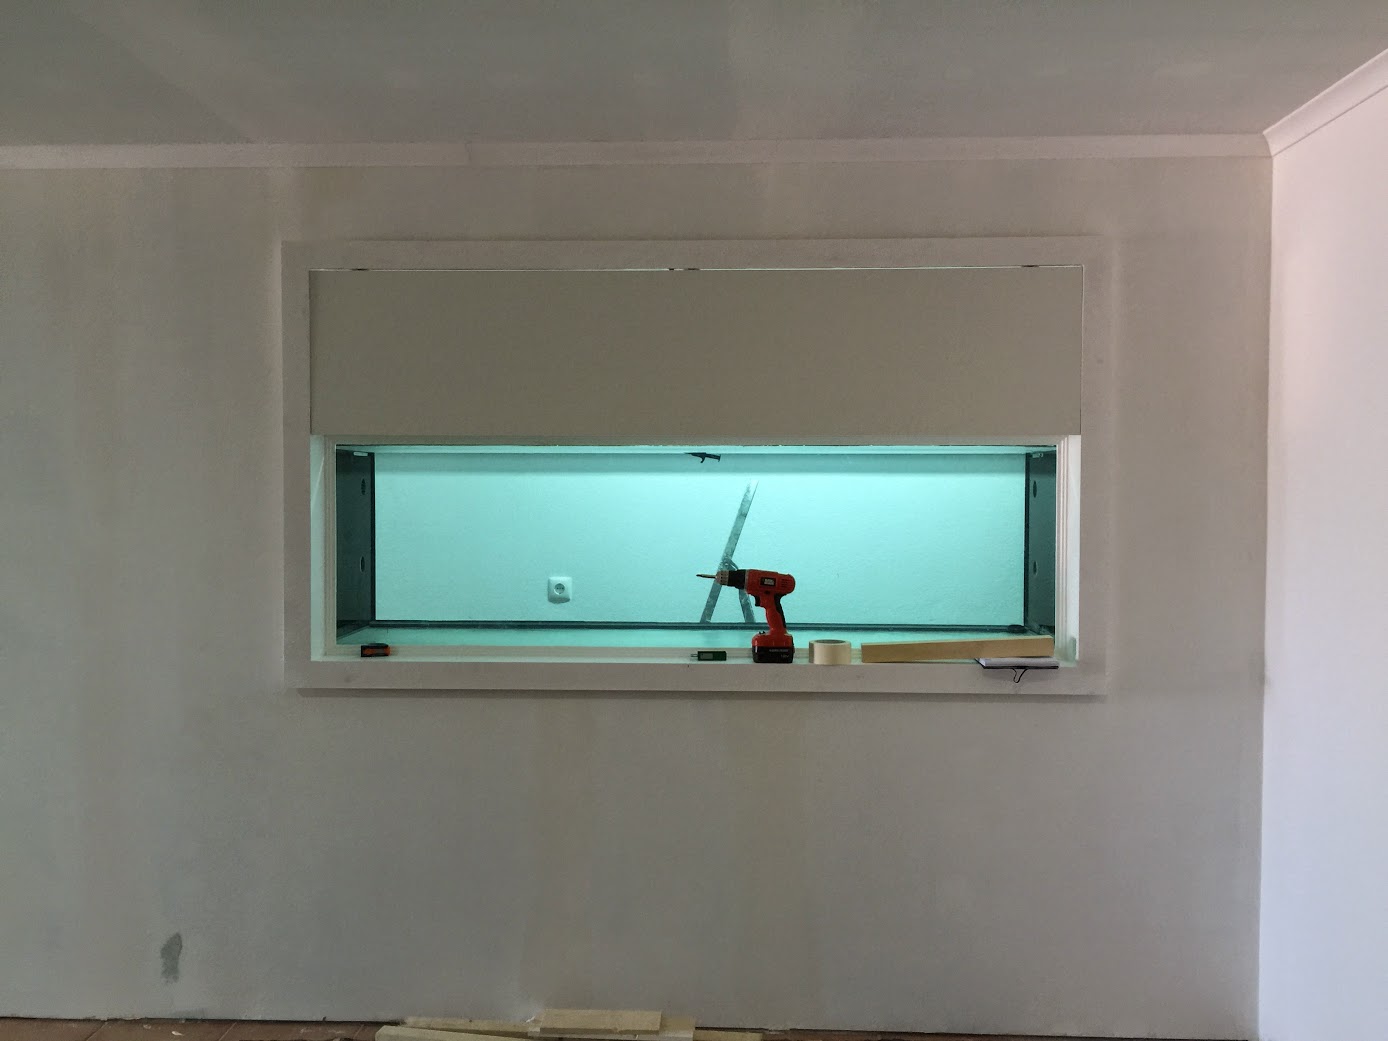 And during that week I completed the plumbing and the manifold.  By May 28th I have finished the plumbing. Video of the aquarium full of water. youtube]http://www.youtube.com/watch?v=SPX11LpzQD0 As you can see in my next picture ... I have fully achieved my goal for this tank construction wise. Not to see any pump, not to see any return, not to see any wire inside and not to see the water line or silicone. 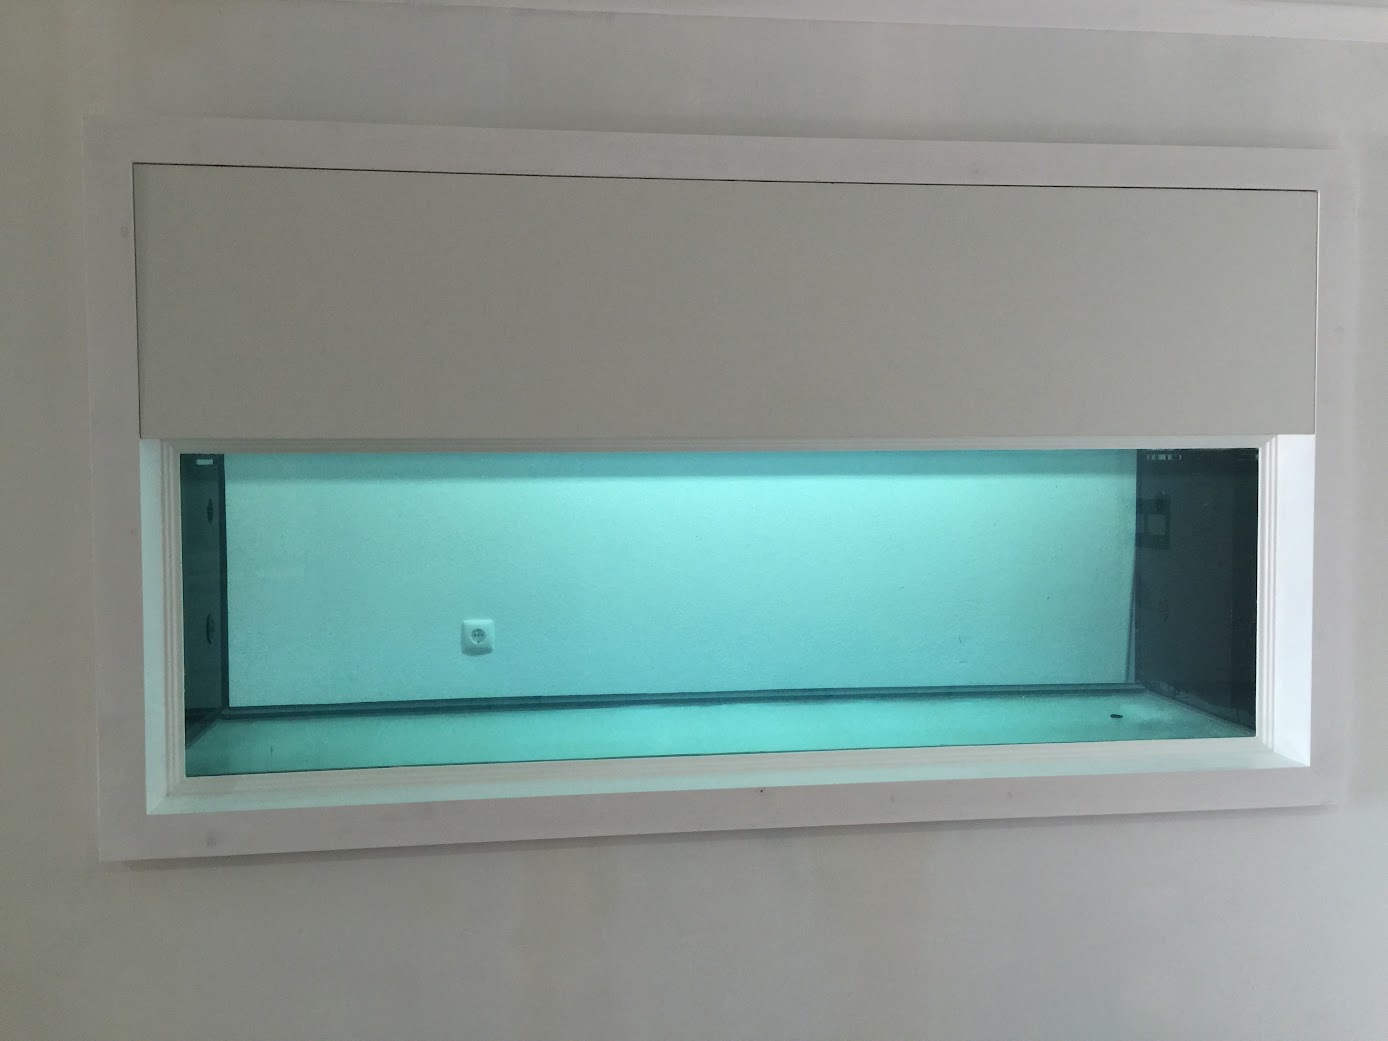 I am very happy! All the best, Rui |
|
|
|
|
06/30/2015, 04:13 PM
|
#39 |
|
Registered Member
Join Date: Jan 2008
Location: Portugal
Posts: 267
|
Hello again,
June 12th I finish the painting ... and finally I started to fill the tank. I pickup by hand 1000l of NSW lifting almost 3 tons by my self in one day ... The weekend after a friend helped me to get 700l more to keep as backup for water changes. Filling ...  Still dirty from the construction dust 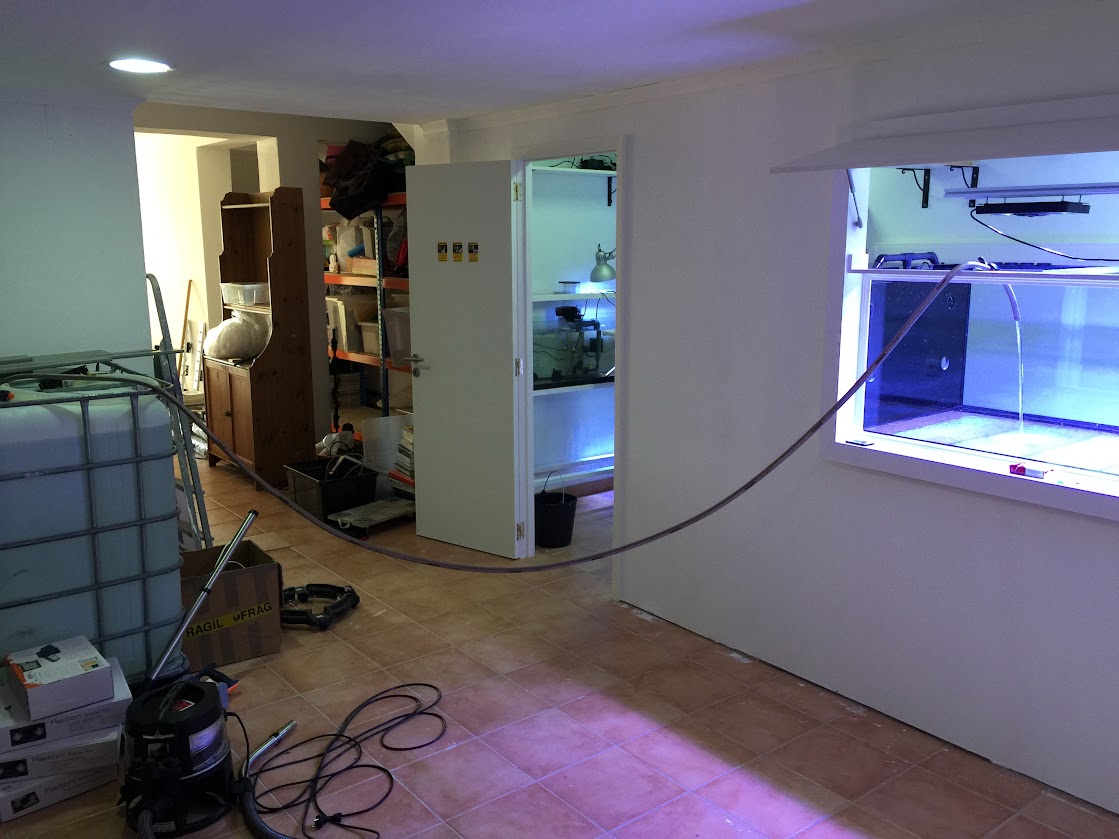 Finally I went on vacations with my family. I configured the remote access to APEX and started configure remotely. I added the WXM module to control the Radion. I created this profile that I have then replicated in profiles to put the light to follow the season table from APEX. I have everything following the season table!   I also put the rock inside the tank to start the cycle and just left it there. At this stage the APEX dashboard is just funny! not real usefull.  All the best, Rui |
|
|
|
|
06/30/2015, 04:21 PM
|
#40 |
|
Registered Member
Join Date: Jan 2008
Location: Portugal
Posts: 267
|
Hello again,
And the photo that was missing ...  Testing the moon-light with the Radions. Even at 1% white, blue and royal blue it seems to me lots of light.  Last monday I started to work again. So the progress from now will be slow again. Today I took a picture from my home desk ...  Meanwhile my SUMP is leaking. So I emptied everything and the SUMP is drying to put silicone inside around all the joints. By now as two friend of mine either quit or moved to a smaller tank I keep two fishes that are going to be in the display three of four months after the cycle ends. I want to start first with CUC and Corals before I introduce fish. But they are beautifull and happy in a 100l tank ... (one of the three I have for quarentine) The gold flake and the Olivaceus.  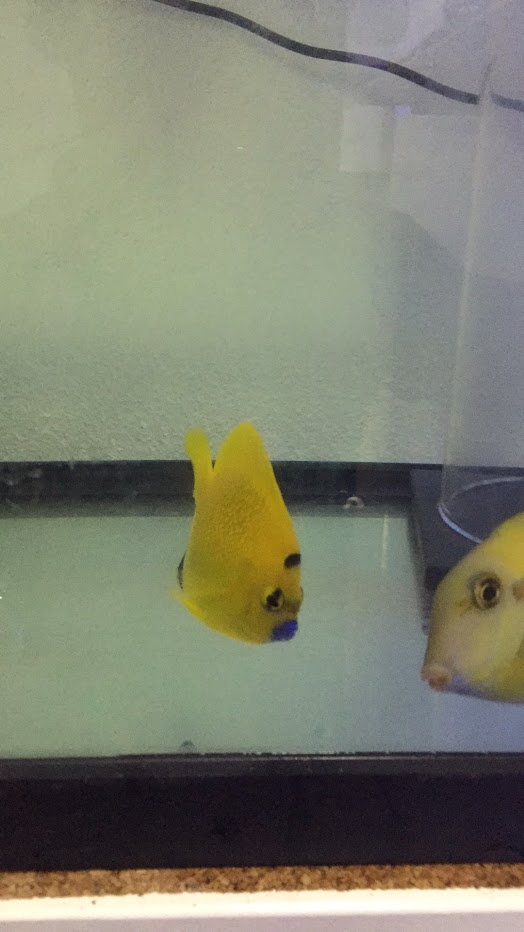 I also did today the cables to connect the tunze pumps to APEX and tested the profiles. Next step ... glue the SUMP, let it cure and assemble everything. I also want to try to do the scape this week. And that's it by now. I AM ALMOST THERE .... All the best, Rui |
|
|
|
|
06/30/2015, 04:31 PM
|
#41 |
|
Registered Member
Join Date: Jan 2008
Location: Portugal
Posts: 267
|
BTW ... if you want to see my APEX programming you can go to:
http://www.reeftronics.net/programns...ember=rmgaspar All the best, Rui |
|
|
|
|
07/05/2015, 03:25 PM
|
#42 |
|
Registered Member
Join Date: Jan 2008
Location: Portugal
Posts: 267
|
Hello again,
Continuing my monologue ... Yesterday a very good friend of mine came here and we started to build the aquascape. This is what we came up to:  We used a special resin to glue the rock ... something went wrong and as we pick it up to put inside the tank all broke. I was until 1am in the morning drilling, putting acrylic rods and epoxy ...  Today after the epoxy cured, I have put the rock inside the aquarium I was able to create 3 islands and after just laid on the bridge connection. Part I  Part II  Part III  This is the final result. Hope you like it.  So officially started today ... Hope it cycles soon. All the best, Rui |
|
|
|
|
07/05/2015, 03:43 PM
|
#43 |
|
Registered Member
Join Date: Apr 2014
Location: Germany
Posts: 582
|
Very nice your monologue

|
|
|
|
|
07/28/2015, 11:04 AM
|
#44 | |
|
Registered Member
Join Date: Jan 2008
Location: Portugal
Posts: 267
|
Hello
Quote:
Twelve days after the scenario was brown ...  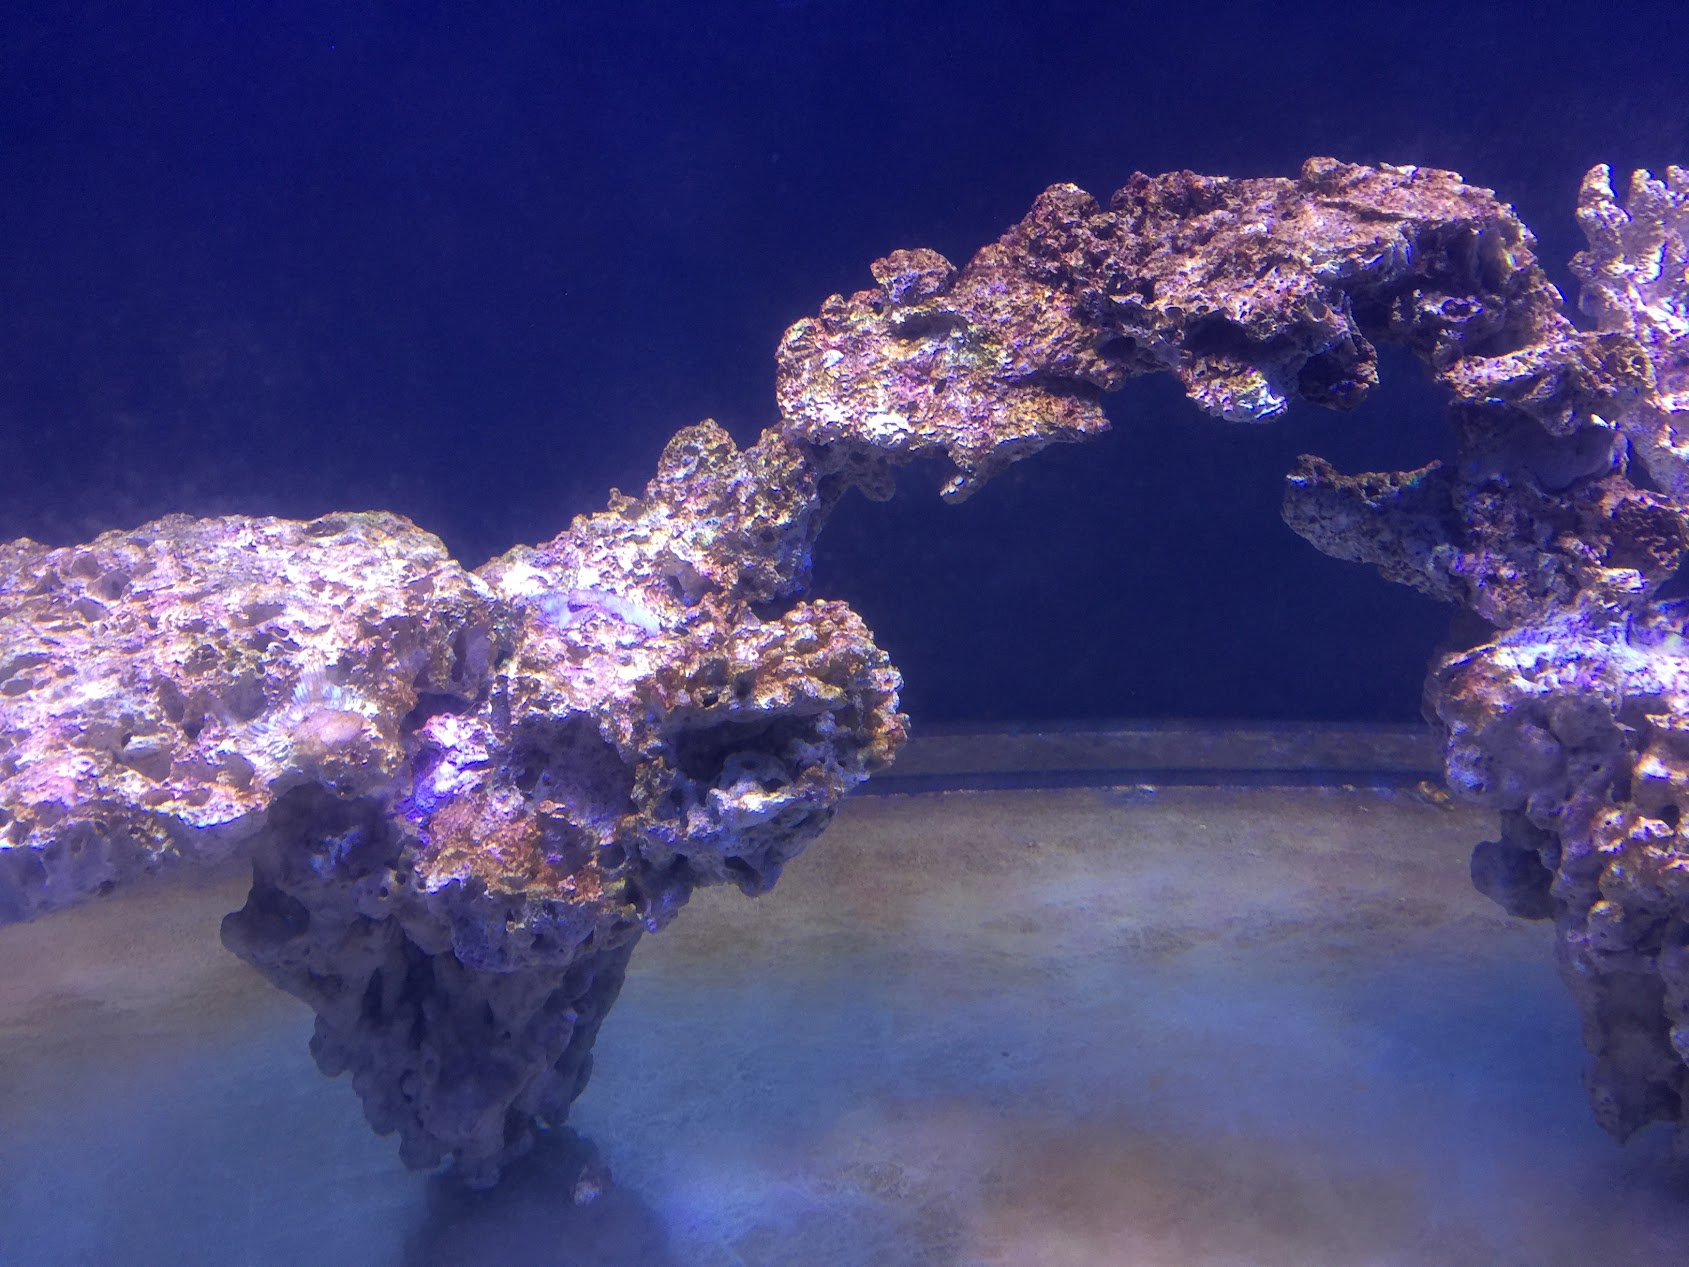  The day after my SUMP Broke !!!! Consequence? 200l in the floor ... Not nice. All sort of bad luck is happening to me. I installed a temporary one ...   And I introduced 55Kg of Aragonite Sand sugar size. 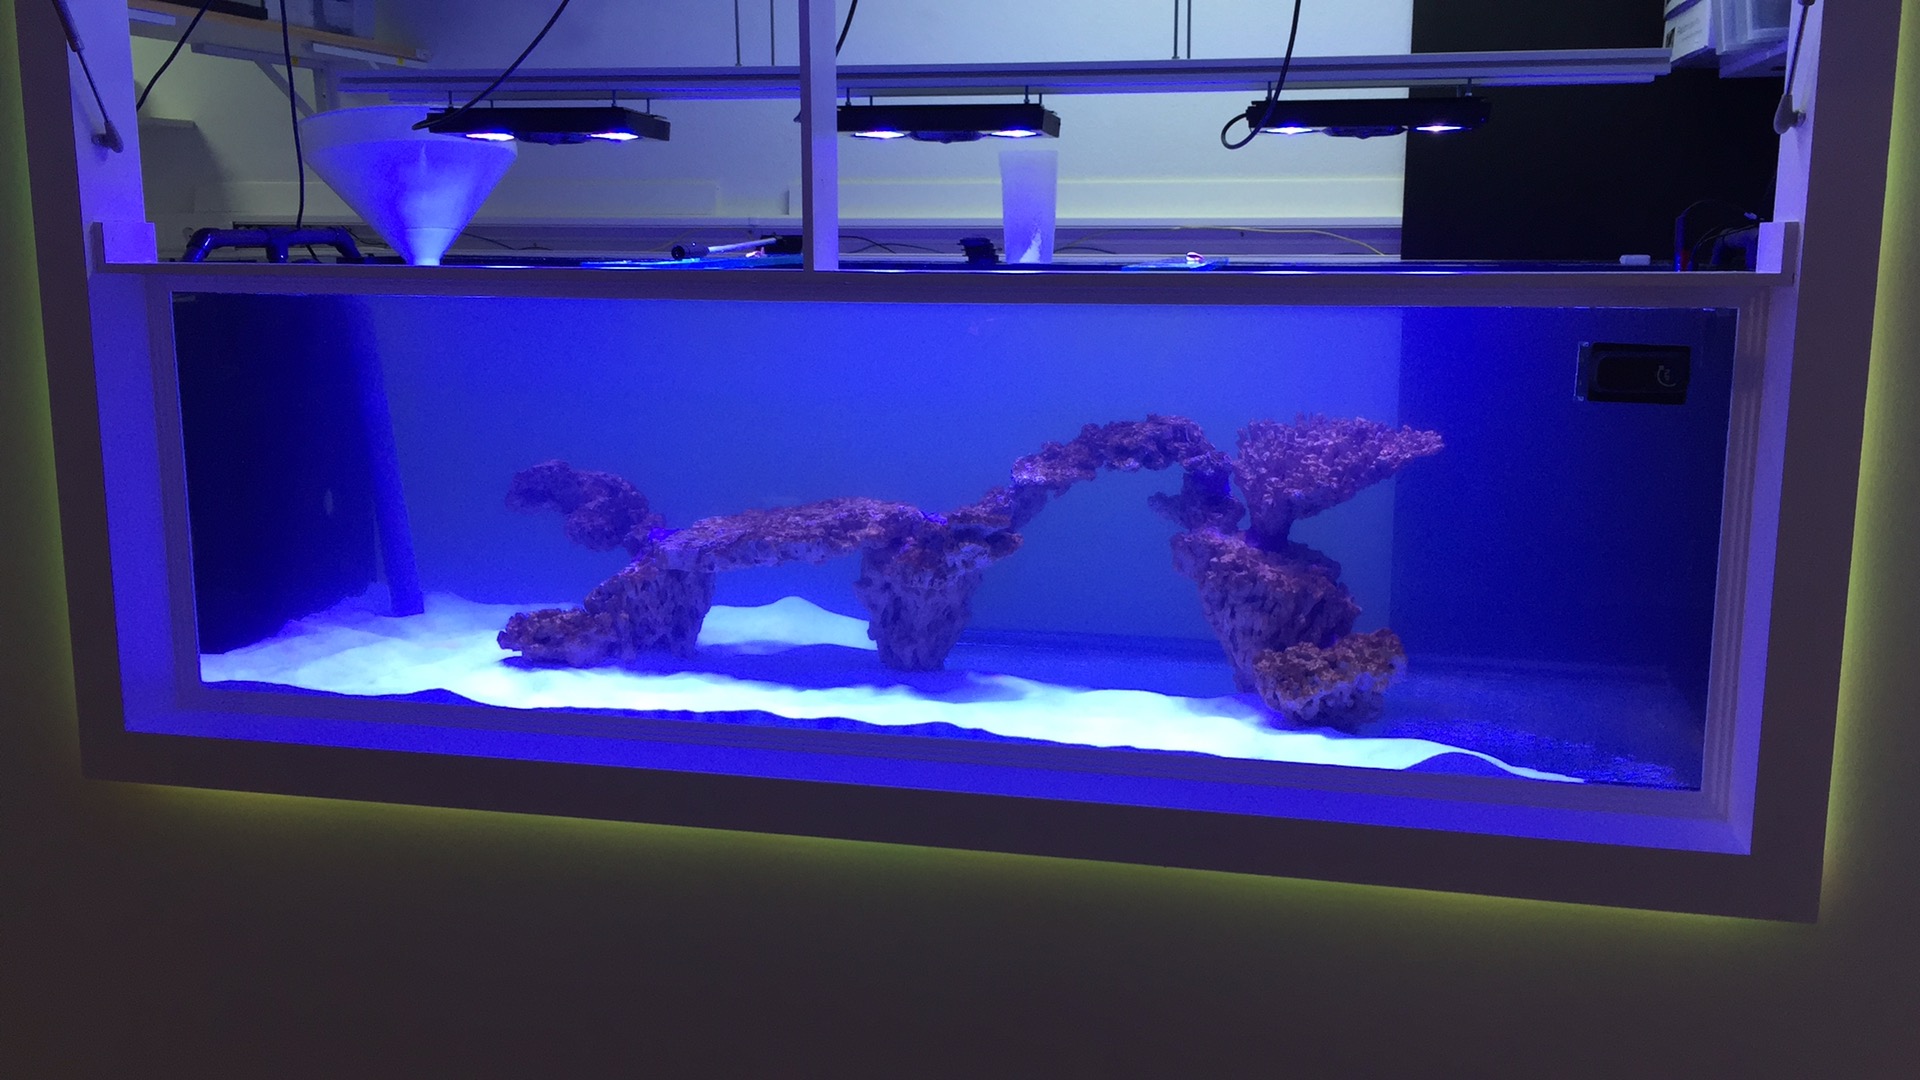 All the best, Rui |
|
|
|
|
|
07/28/2015, 11:10 AM
|
#45 |
|
Registered Member
Join Date: Jan 2008
Location: Portugal
Posts: 267
|
Hello again,
As if the bad luck was not enough, I broke my kalk reactor.  Bought and installed a new one. twenty days after the official start and the brown stuff is going away.  and I introduced the initial CuC. I have now: 1x holothuria, 3x Strombus SP, 1x Archaster Typicus and 12x Turbo snails. 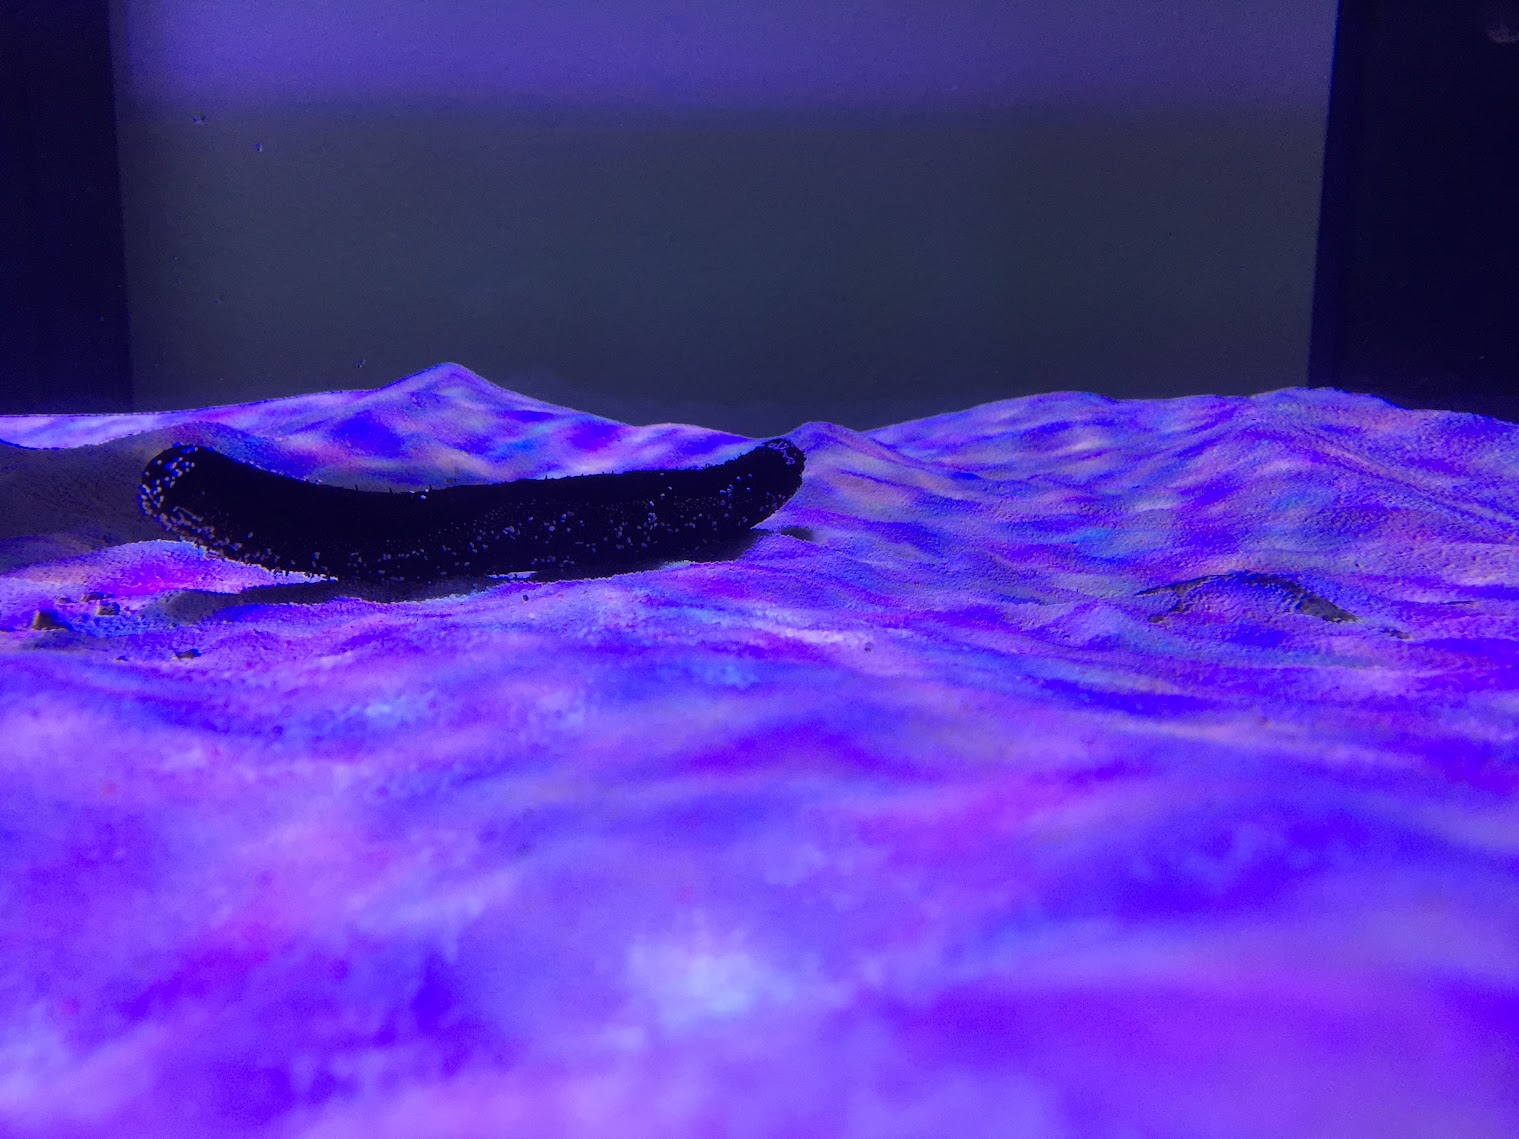  A friend from the LFS gave the three pieces of coral to try out the aquarium: Purple milka  and an orange digitata  These picture were 20m after being in the water. Hope you like it. All the best, Rui |
|
|
|
|
07/28/2015, 11:50 AM
|
#46 |
|
Registered Member
Join Date: Apr 2014
Location: Germany
Posts: 582
|
Yes I like.
Continue... 
|
|
|
|
|
07/28/2015, 01:02 PM
|
#47 |
|
A Reef Enthusiast
Join Date: Aug 2005
Location: Boston
Posts: 364
|
Really like the rock work and the two overflows. Tank looks so clean
__________________
Bao ================================= ><((((º>`·.¸¸.·´¯`·.¸.·´¯`·...¸><((((º> ·´¯`·.¸. , . .·´¯`·.. >((((º> |
|
|
|
|
07/28/2015, 07:17 PM
|
#48 |
|
Registered Member
Join Date: Feb 2015
Location: San Diego
Posts: 229
|
After the sump broke are you still married? Just kidding. Nice build by the way.
|
|
|
|
|
07/29/2015, 06:13 AM
|
#49 | |
|
Registered Member
Join Date: Jan 2008
Location: Portugal
Posts: 267
|
Quote:
|
|
|
|
|
|
07/29/2015, 06:14 AM
|
#50 | |
|
Registered Member
Join Date: Jan 2008
Location: Portugal
Posts: 267
|
Quote:
That was the objective. I came a long way not to have a single pump in sight! I really wanted a clean as possible scenario! All the best, Rui |
|
|
|
|
 |
|
|


