


|
 |
|
|
#1 |
|
Registered Member
Join Date: Mar 2013
Location: Salt Lake City, Utah
Posts: 154
|
AJ's 400 gallon Starphire build
I had completely given up on this tank more than once with it being broken 2 times and another delay during the Summer. If I did not had the support of several local fish store owners and handful of other local hobbyists keeping my spirits up, this would have never happened and I would be out of the hobby completely. For that, I thank you and you know who you are. Well, here we go...
Been in the hobby since 2000. I've had nanos and a 120 mixed reef. This is going to be a mixed reef build focusing on mainly SPS and some LPS. I really like the look of a white sand bed with NOTHING in it. I will have sand sifters and some Gobies to help keep it clean. This build I am going to stay away from crabs and snails because I'm sick of picking them out of the sand and focus on filtration to keep everything under control. Sand bed will be about 2 inches deep and I'm going to do it like I did my other tank and just stir it up on a weekly basis so it stays White. If anyone here has constructive criticism or any suggestions, hit me up. I want to hear it. I've been in this hobby for a long time, but I've never actually never done a build job myself. I've looked at 100's of systems and have watched 1,000's of youtube videos of tanks and I THINK I know what I'm doing LOL. I'm sure I will run into some bumps, but I've got a lot of advice from local hobbyist's and store owners. Anyway, thanks for following and enjoy. So I've basically come up with some guidelines for myself I want for my tank now and as time goes on. I've taken what I like from some of the best tanks in the world and pieced together this build. Here is what I've come up with. With my White sand bed... No crabs or snails No corals in the sand, everything will be attached to the rock Every piece of rock structure will be 4 inches away from any wall. I want fish to be able to swim in front and behind. Quarantine every piece of livestock for 3-4 weeks I put the tank on the stand 2 weekends ago and hopefully I just finished plumbing this last weekend. Leemar 96 X 30 X 32 - Starphire - 399 gallons (Yes, I'm rounding to 400. haha) - My original build was only going to be 24 tall, but after seeing Brad Syphus's tank at 36 tall, I didn't care how hard it was to reach the bottom and work. I wanted that awesome view. I got a quote from Leemar on 36 tall and they had to go 3/4 inch glass with the quote. The price was outrageous. They told me that 3/4 will double the price of pretty much any custom tank build they do that large. So I asked them how tall I could go with 5/8 so I could keep the cost down a little bit and they told me 32 high was the max. So that's how I ended up with that odd height. My stand was done by Richins Carpentry in Utah and I absolutely love it. He exceeded my expectations, it was done on a timely manor and the quality is fantastic. I had them seal in the bottom of the stand with silicone as well. Custom Sump - Elite Aquatics built a custom sump for me. 60 long and 17 inches wide with about a 9 inch water level. This was the biggest I could go because of the small space I have sliding it through the doors. I will have a chamber for my drains, then filter socks with emergency over flow, a place for my refugium, skimmer and then return. This sump will have lids and a place for my 1/4 inch tubing from my dosser and probes. Skimmer - Reef Octopus DC 250 INT - It's rated for up to 500 gallons, so I should be okay for a couple of years until it gets fully stocked and then I will upgrade if I have to. Lighting - 4- Ecotech Radion Pros - I've always been a metal hallide/T5 guy, but since this is a new build, I wanted to try LED. Doing lots of research on LED's I decided to go with the Radion Pros. Reactors - I picked up a Vertex reactor and I'm going to try doing bio pellets this time. Why? I don't know. I just want to see how they work and again, this is a new build, so I wanted to try some new things I haven't tried before. If I'm unhappy, I will go back to GFO/Carbon and a Korallin biodenitrator set up I had before. Return Pump - I picked up 2 Reef Octopus DCS 10500 return pumps. Plumbing - Schedule 80 - I just like the way it looks, so I'm going with it. I'm doing durso drains in the over flows and keeping them high with 1 emergency drain in each over flow. I have 4 holes in each overflow, so I will have 2 return lines coming up each side of the overflow. Dosing - I'm going with the Vertex Libra. Elite Aquatics is making me a box with 3 chambers in it. Each chamber will have 2.5 gallons of space. Tyler is going to build a custom shelf that sits on top of the box for my Libra to sit on top of. I will then take the 1/4 inch tubing from the Libra directly into the chambers and then into the sump. Flow - I'm putting 3 MP40 Vortech's on the back wall in each space and then putting an MP60 on each end of the tank. If the flow is not enough, I will add 2 more MP40's. Controller - Neptune - I will do the typical PH and Temp probes and will be adding one for salinity as well. I'm adding an extra 8 bar, WXM module for my Ecotech products and a Leak detection module with 2 floor probes. Live Sand - I will be adding about 200 lbs of the special grade arag sand for about a 2 inch sand bed. I think I calculated it right... Live Rock - I really wanted to try Ceramic rock this time, but some of you kind of talked me out of it. So I have about 300 lbs of live rock from my 120 I'm going to use and I'm currently hunting for another 150 lbs of the larger rock. Most of the stuff I have now is the typical 3-5 lb rock. UV - Leaning towards an Emperor Aquatics High Output UV 80 watt Ozone - Decided I don't want to do it this time. This tank was placed in my front room. You can see it from the street when you drive into my circle. Everyone at night time in my neighborhood would stand in the street staring at my 120 because of how awesome it looked with that glow. Wait until they see this thing Here is a shot of my tank about a day before I sold it. 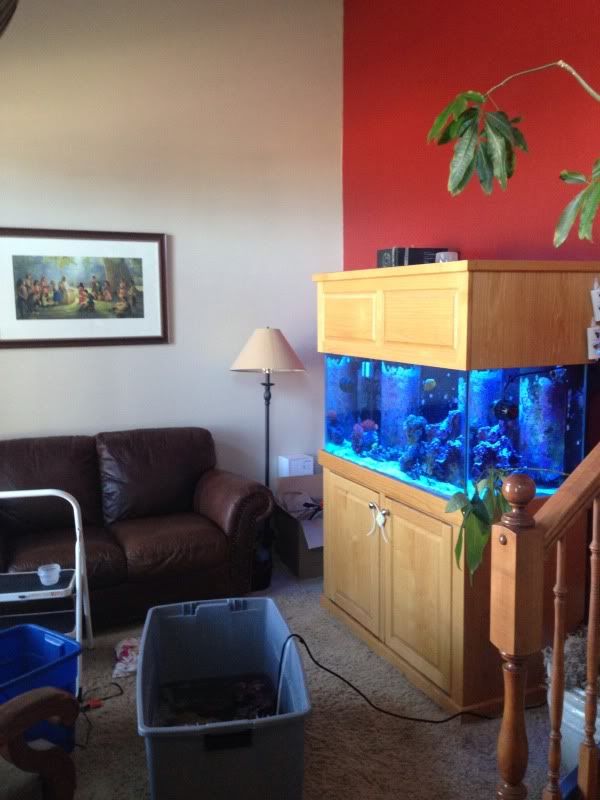 My friend helped me tear this thing down. I ended up selling the livestock to some people in my local reef club 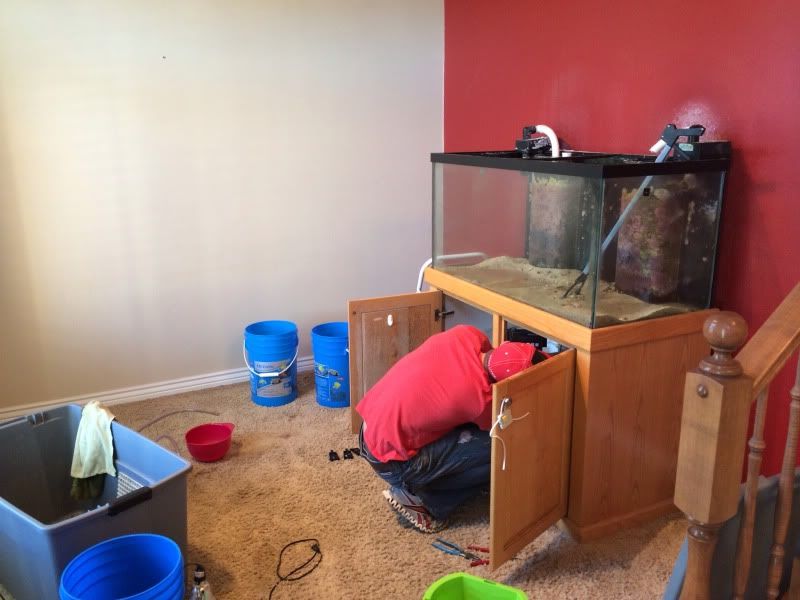 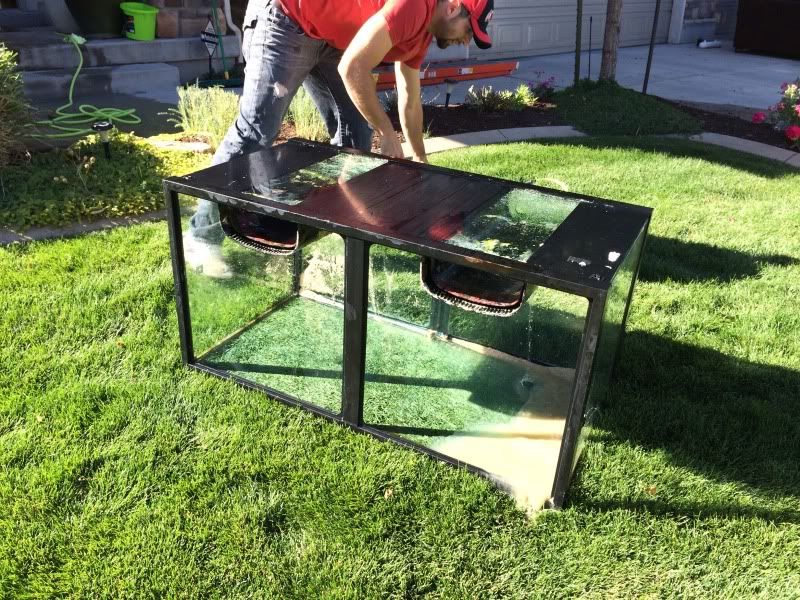 All clean and ready for the new owners. 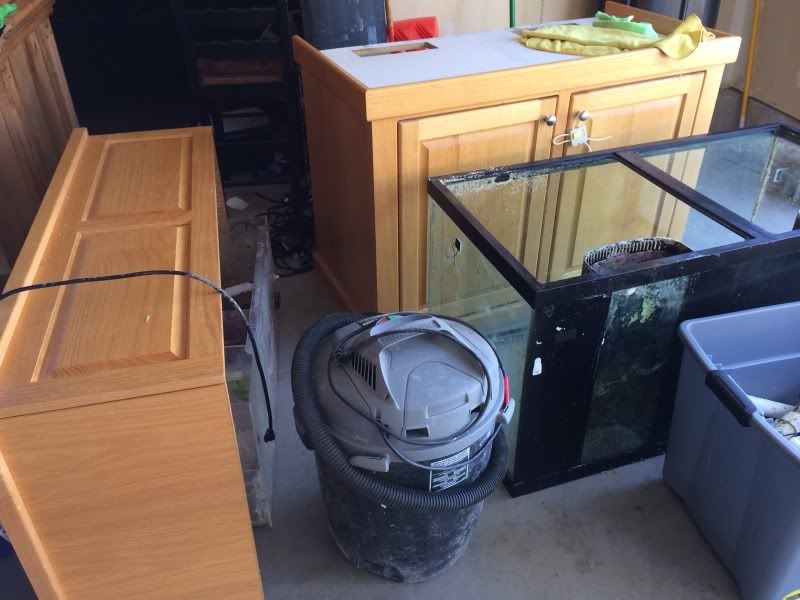 I needed to keep the rock alive, so I filled up bins and put sand in the bottom from my tank, light, pump, etc. This one is currently in my laundry room. My wife LOVES having my stuff all over the house. LOLLOL yeah right... 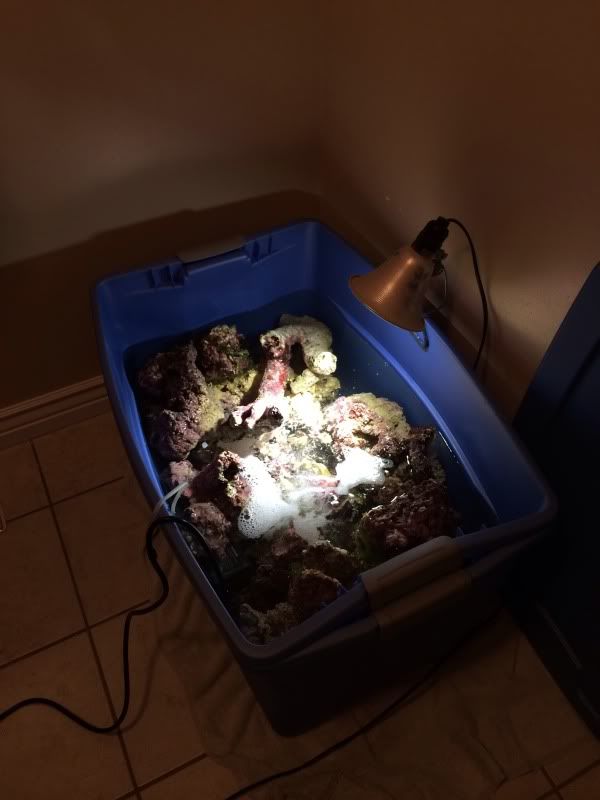 I ended up ripping out the carpet and getting rid of that stupid red wall. 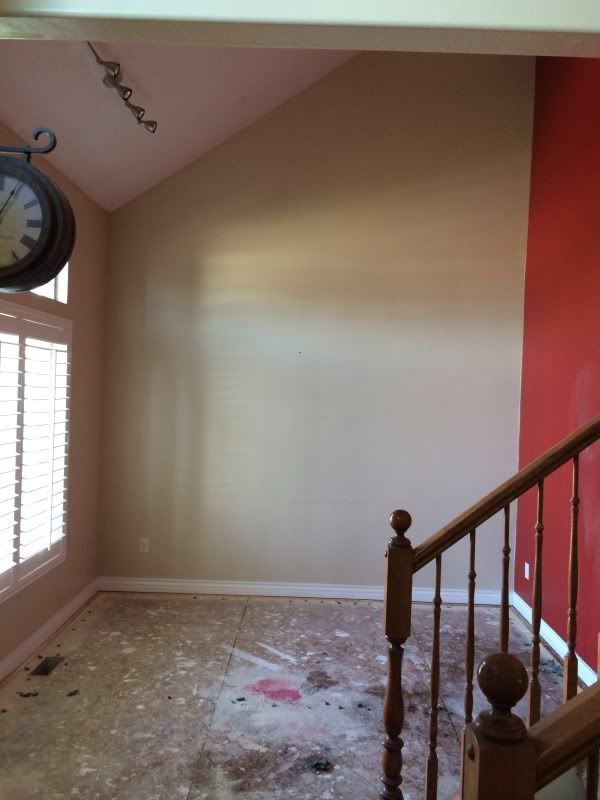 Here is a shot of the final paint job and the stand with the canopy on top of it. 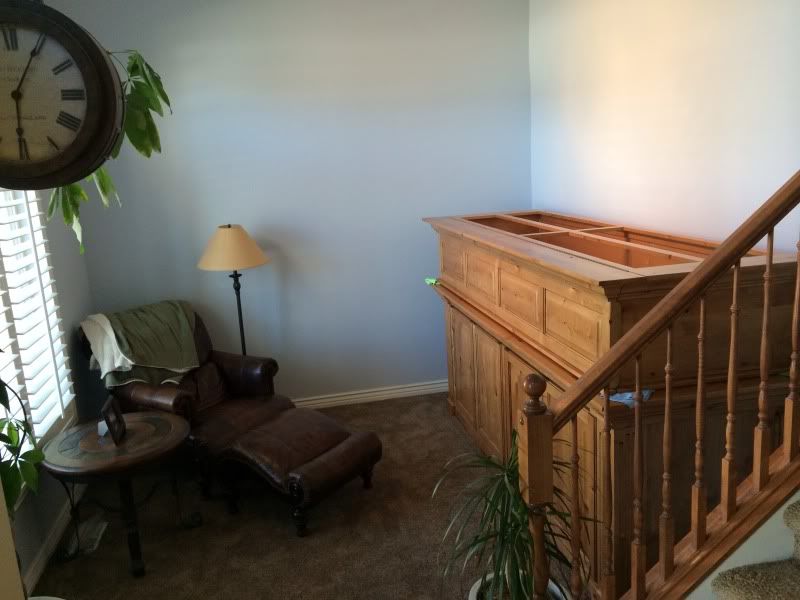 Getting this into the house was not fun. It took 8 guys. My door was 34 3/4 wide. The stand was 34 5/8, so I had 1/8 of an inch to spare. I ended up taking good old duct tape and put it around the crown molding so it didn't scratch it up. We damaged the door a little bit, but it's all for the cause, right? 8 feet long and you can see how big it is with this shot.  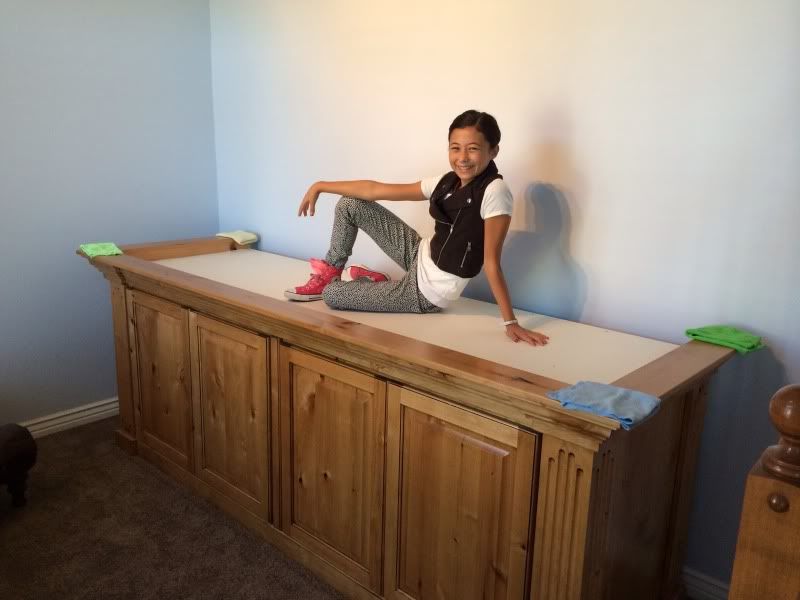
|
|
|

|
|
|
#2 |
|
Registered Member
Join Date: Mar 2013
Location: Salt Lake City, Utah
Posts: 154
|
|
|
|

|
|
|
#3 |
|
Registered Member
Join Date: Dec 2006
Location: Cebu, Philippines
Posts: 763
|
Great dimensions on the tank. I can't wait to see the progress.
|
|
|

|
|
|
#4 |
|
Registered Member
Join Date: Mar 2013
Location: Salt Lake City, Utah
Posts: 154
|
|
|
|

|
|
|
#5 |
|
Registered Member
Join Date: Mar 2013
Location: Salt Lake City, Utah
Posts: 154
|
This Ecotech stuff really adds up fast...
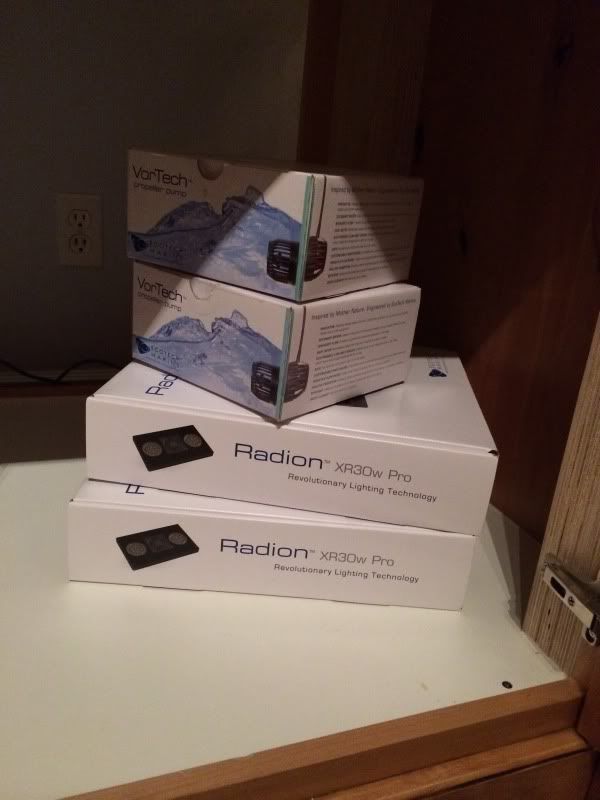 Vertex Reactor! 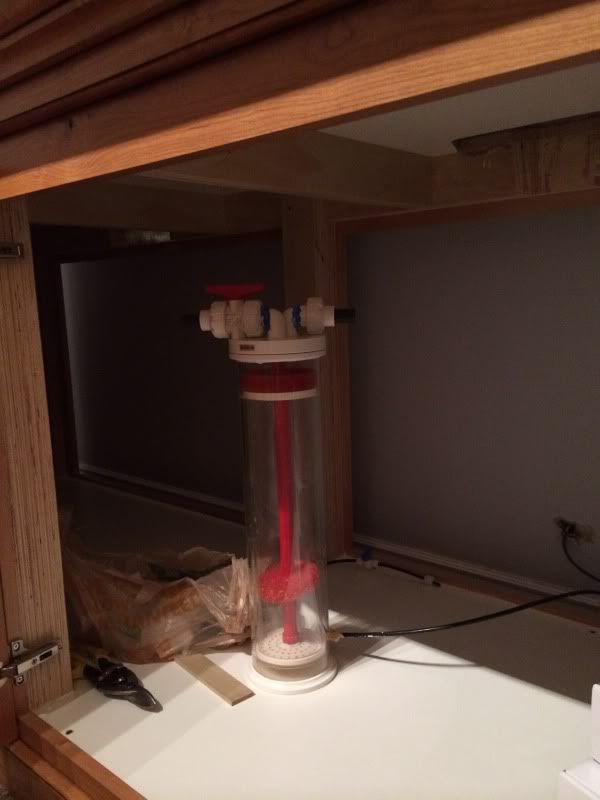 A few people mentioned to me that their lids would warp and bend, so I had an acrylic company cut these pieces here in Salt Lake and I attached them to the lids for the overflow boxes. 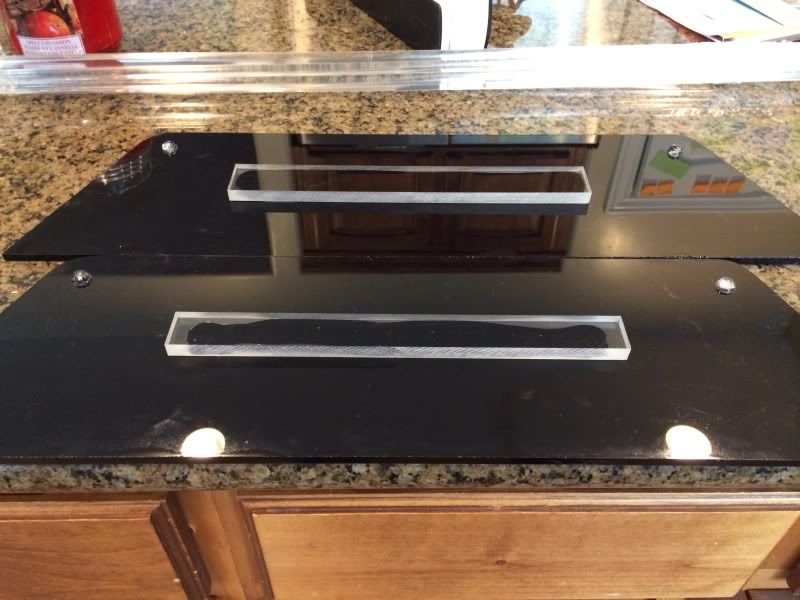 Got my acrylic rods for scaping.... And my Redbull 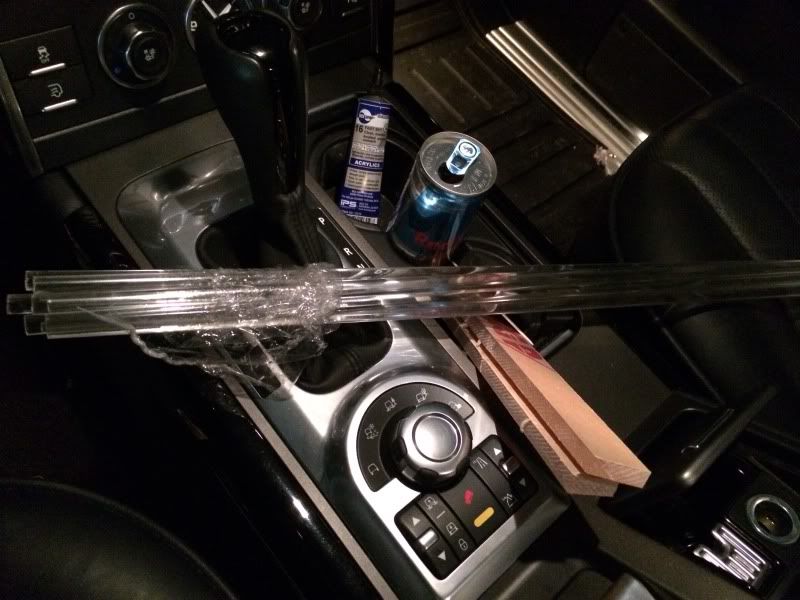 Acclimation box from Elite Aquatics.. 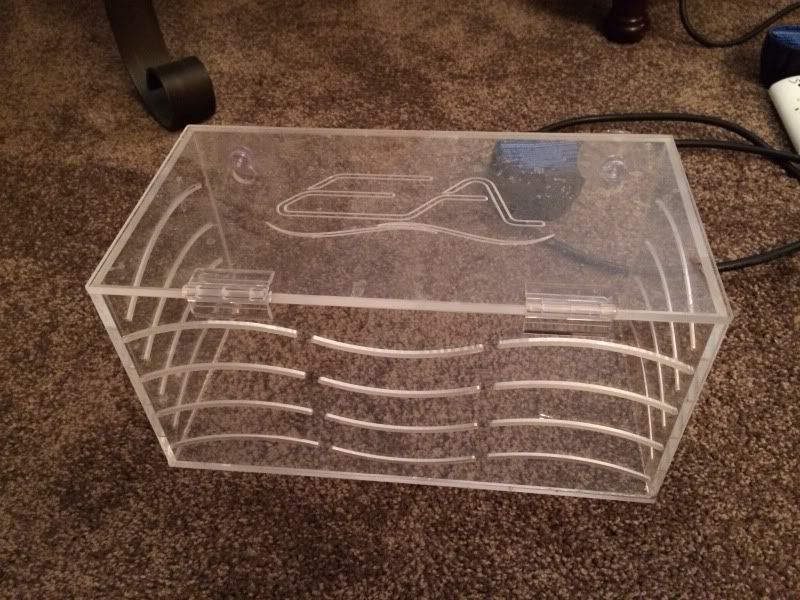
|
|
|

|
|
|
#6 |
|
Registered Member
Join Date: Mar 2013
Location: Salt Lake City, Utah
Posts: 154
|
Here is a shot of my sump.
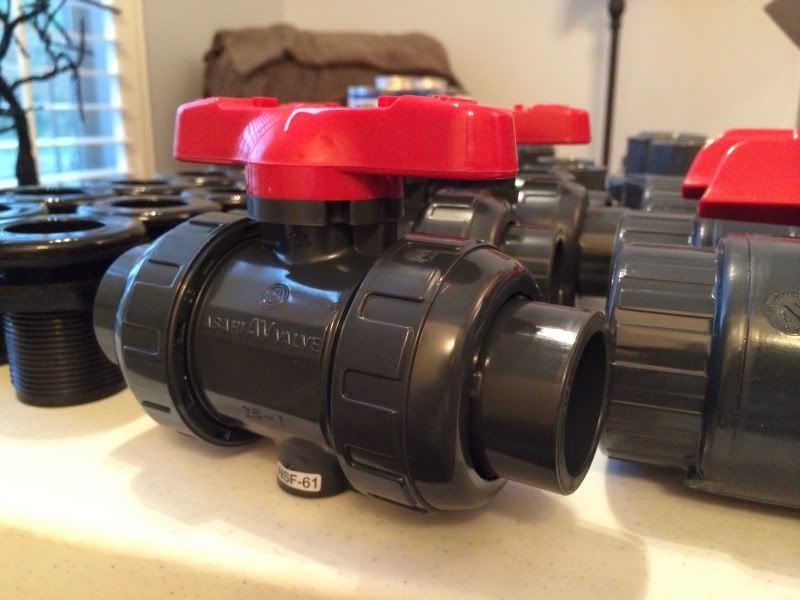
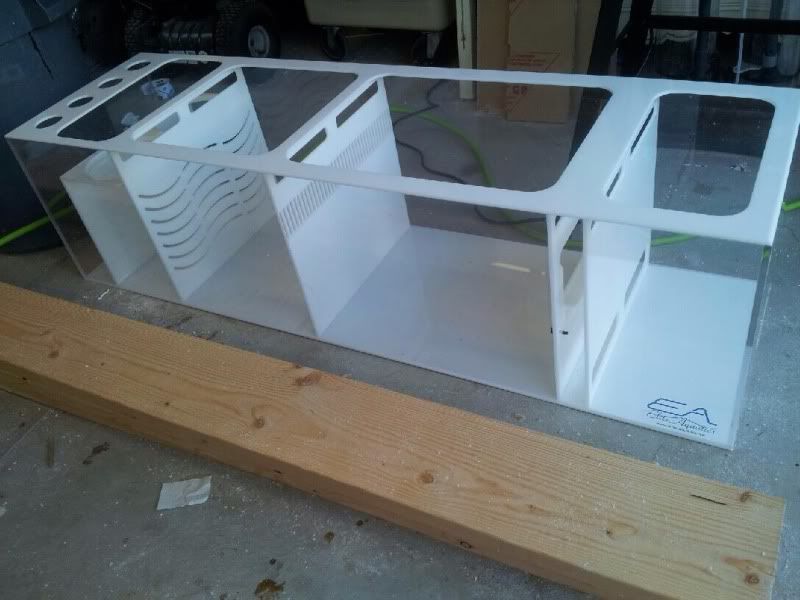 Check out my dossing box. 2.5 gallons for each chamber. I had Elite Aquatics build this shelf for my Libra to sit on top of because I'm limited with space under the cabinet. The 1/4 inch tubing goes into the front, then one end drops to the back on the bottom and the other end connects directly onto the sump with more custom connections. 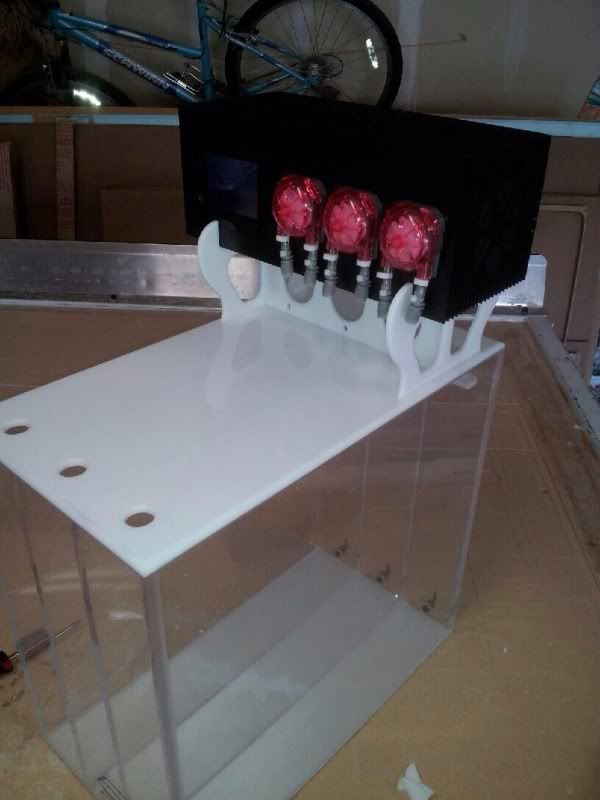 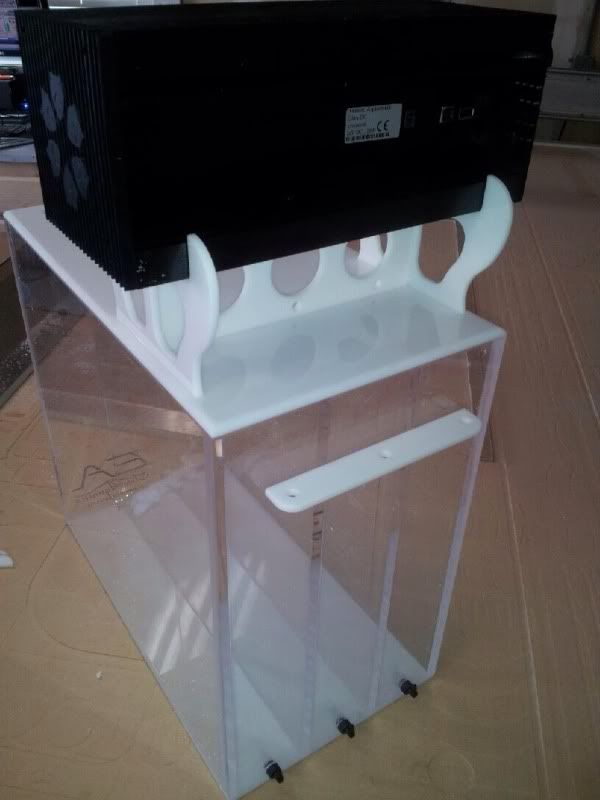 Got my Skimmer... 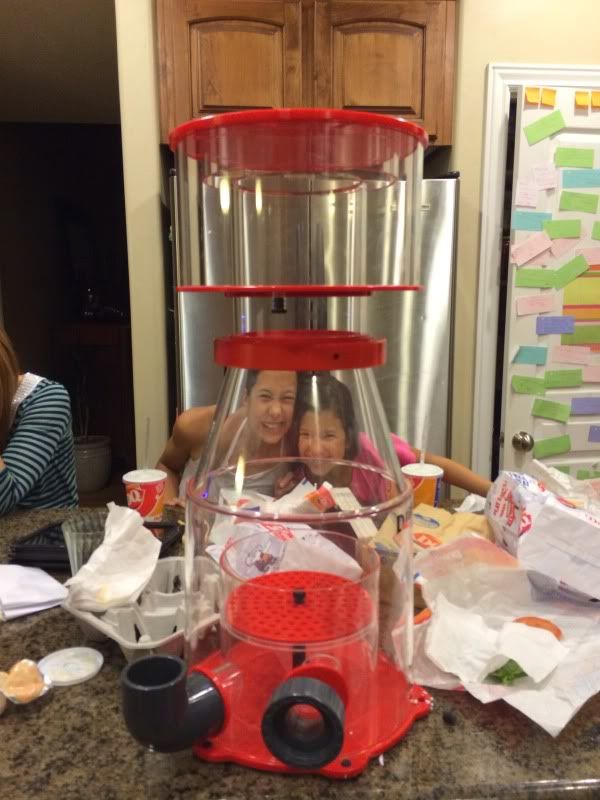 Loc-Line 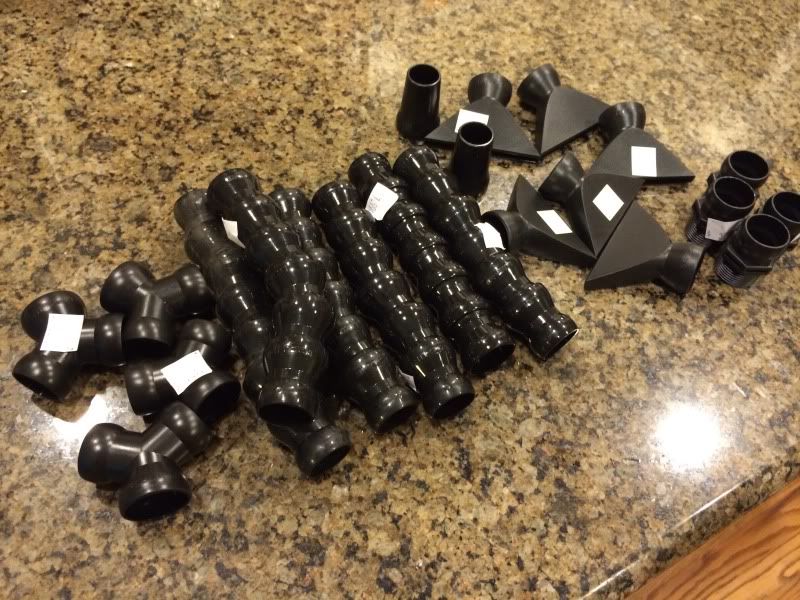 Return Pumps 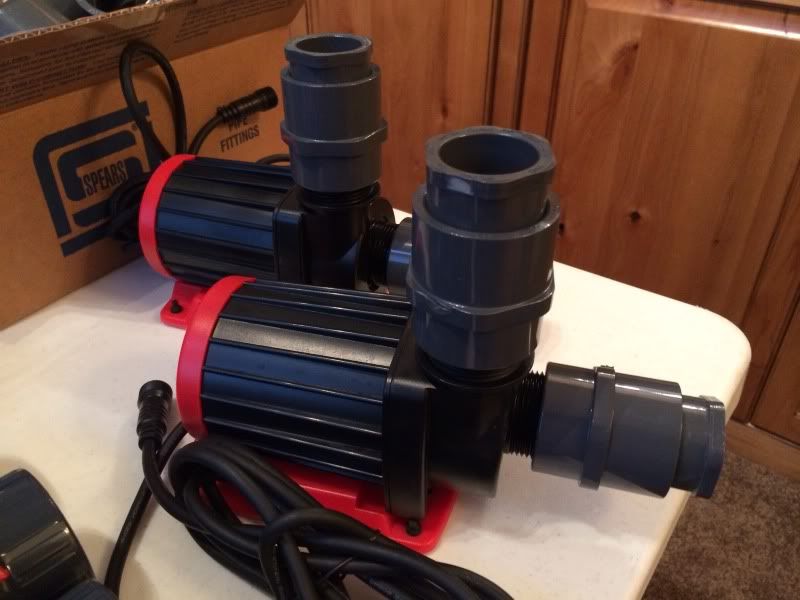 Decided to go with Schedule 80 plumbing. I had NO idea this stuff was so expensive. These Asahi Ball Valves are used on many commercial aquariums here in the states because of their longevity, so I wanted to try them. I ended up having to purchase 18 Bulk Heads. 4 for each overflow box, 4 for the returns on the tops of the boxes, 4 for the drains and 2 for the returns. 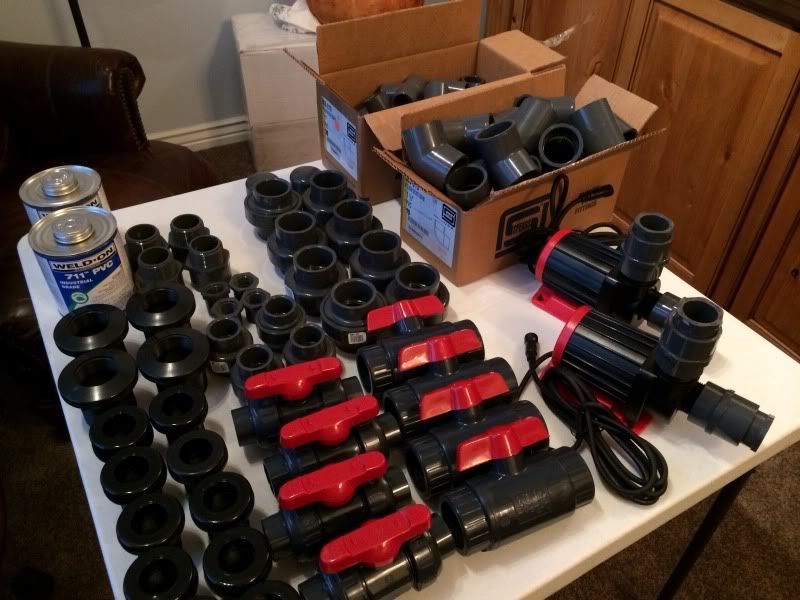
|
|
|

|
|
|
#7 |
|
Registered Member
Join Date: Mar 2013
Location: Salt Lake City, Utah
Posts: 154
|
Here is a closeup of the valve. They run anywhere between $25-$70 depending on the size and if you want unions on them.
 At least this tank is big enough to get inside and work on. 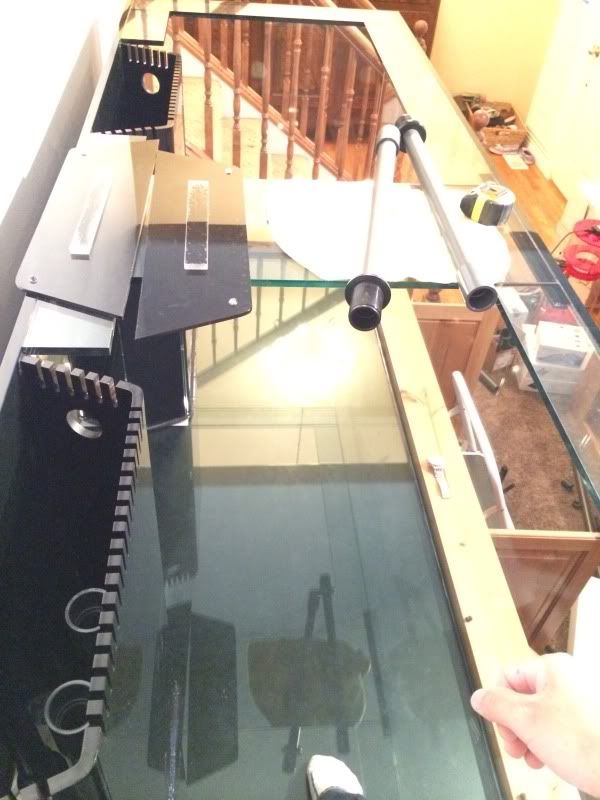 Got my drains and returns finished in the boxes first. I ended up shortening up the loc-lines since I took this pic. 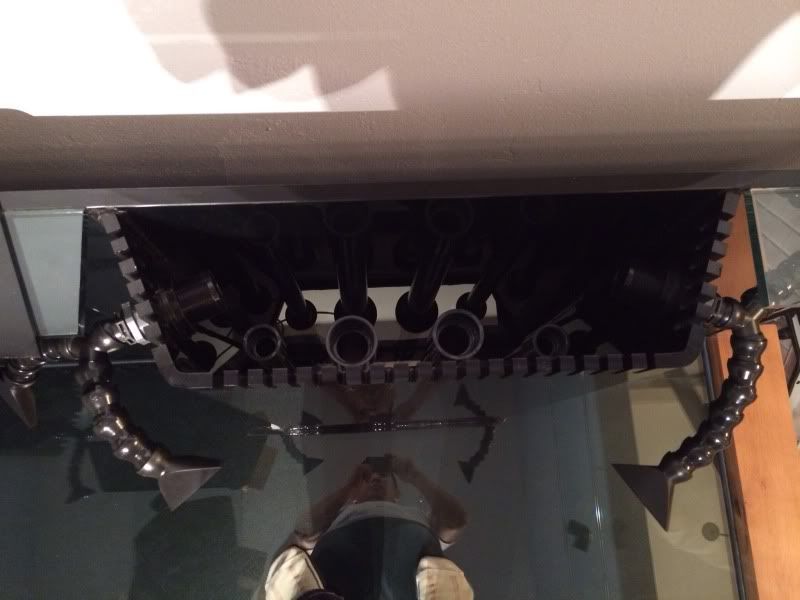 Schedule 80 is a PAIN IN THE *** to work with. Just dry fitting it and trying to get it apart is nearly impossible. It was not very fun and YES, I messed up on my length, so that's why I have couplings in there. haha 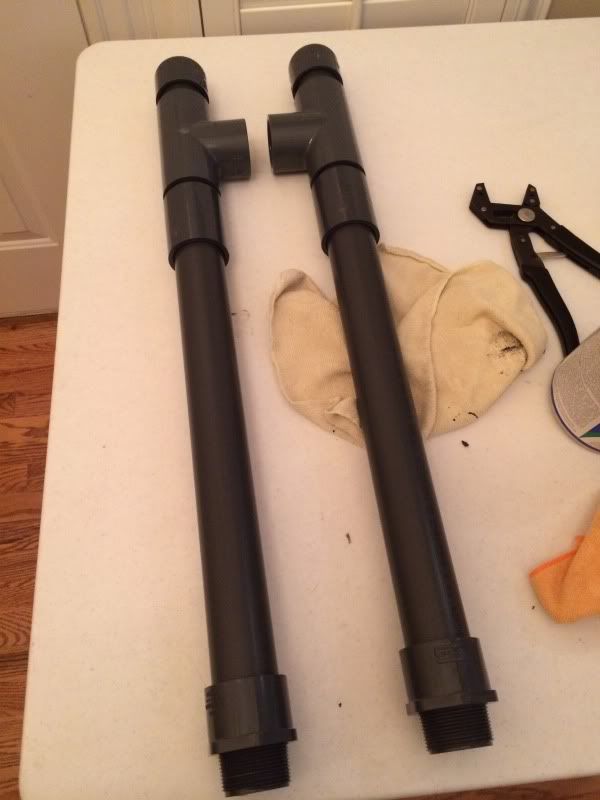 The wife goes out of town and I get to work in peace without her yelling at me making a mess. 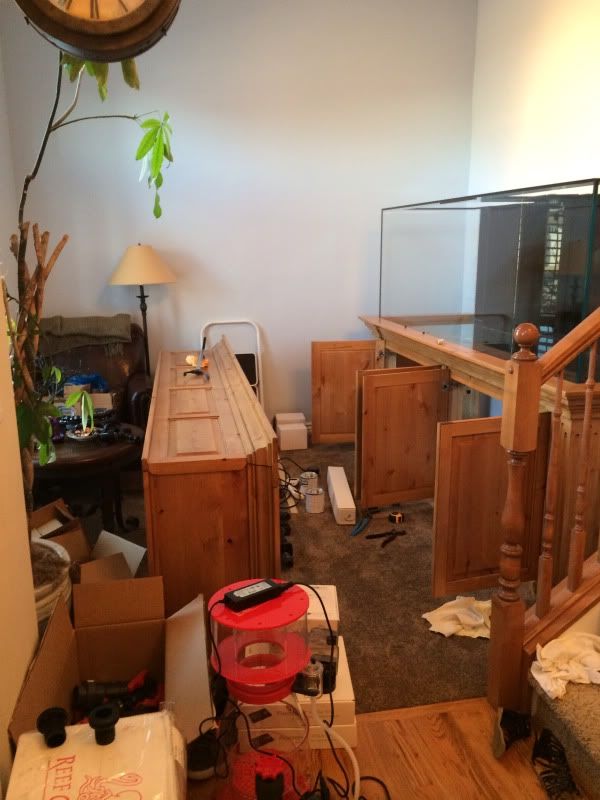
|
|
|

|
|
|
#8 |
|
Registered Member
Join Date: Mar 2013
Location: Salt Lake City, Utah
Posts: 154
|
Started scaping the other night and I'm very pleased with my end results. After some help with a buddy of mine, 5 hours, putty and acrylic rods, it turned out nice.
This is some dry rock I picked up from someone awhile ago. 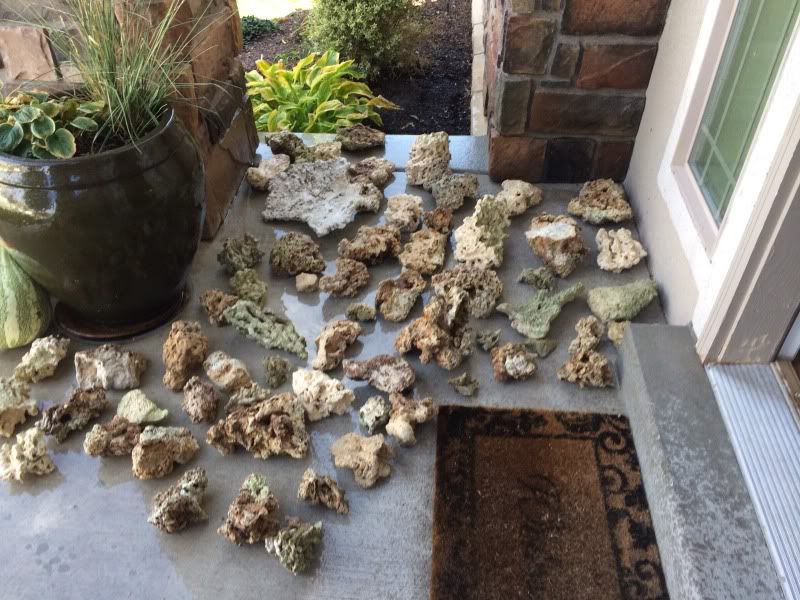 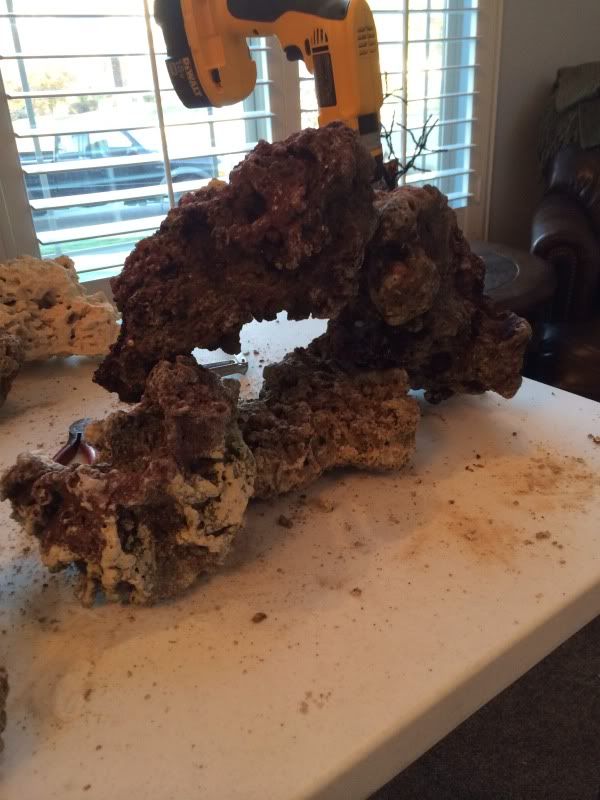 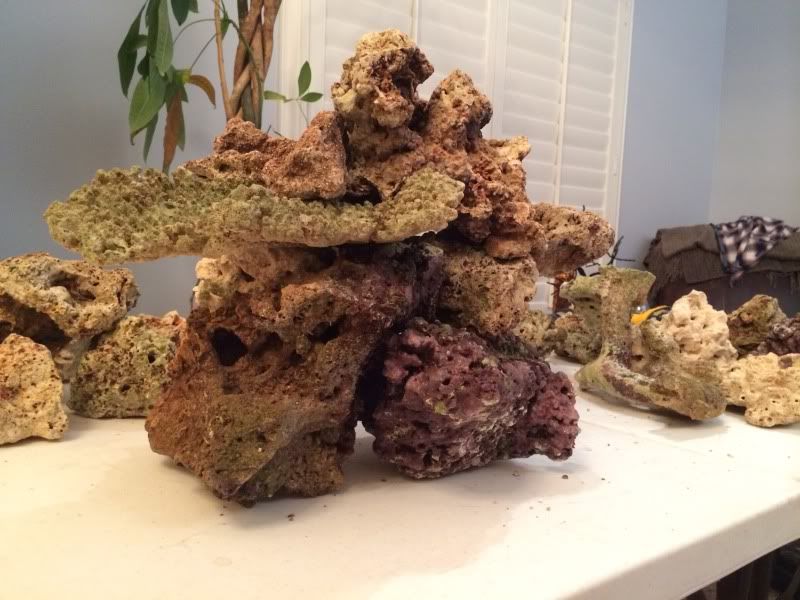 This thing is HUGE. It's an island that weighs over 75 lbs. It just looks small  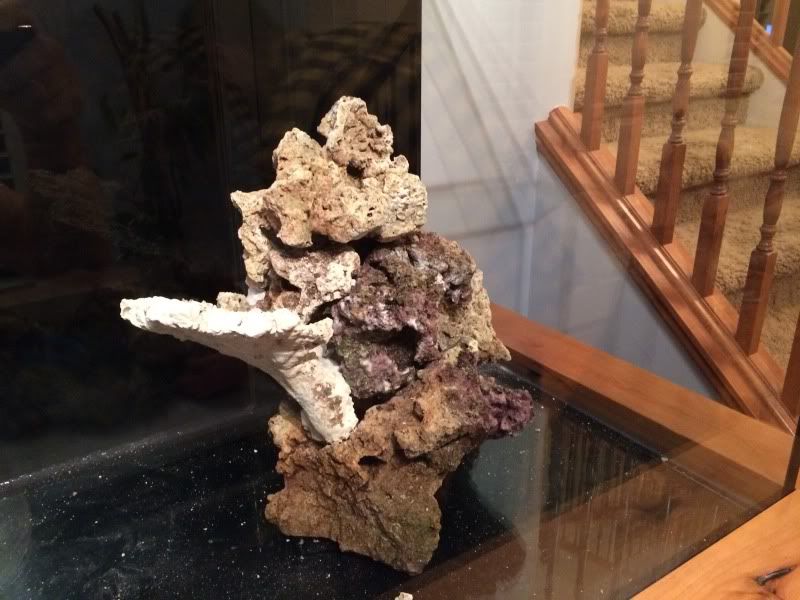 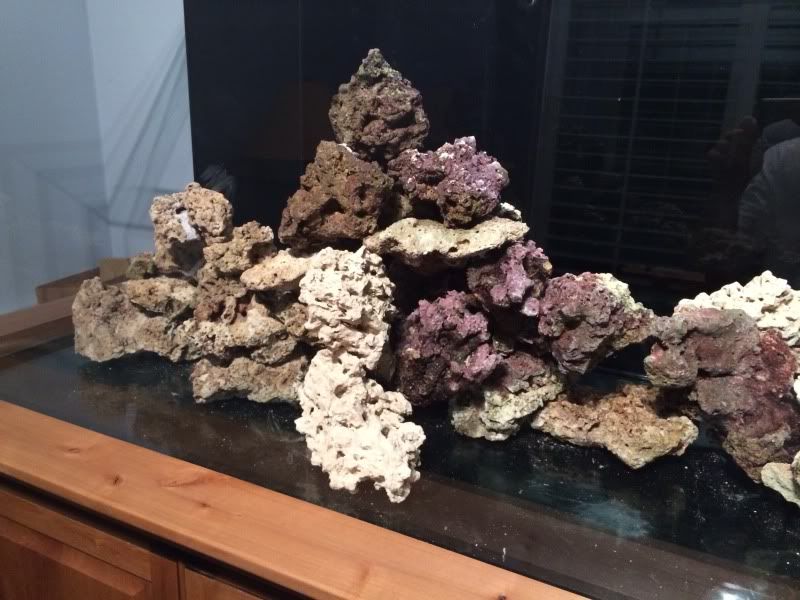 And again, this mountain and arches are actually quite large. They just look small in the pics. 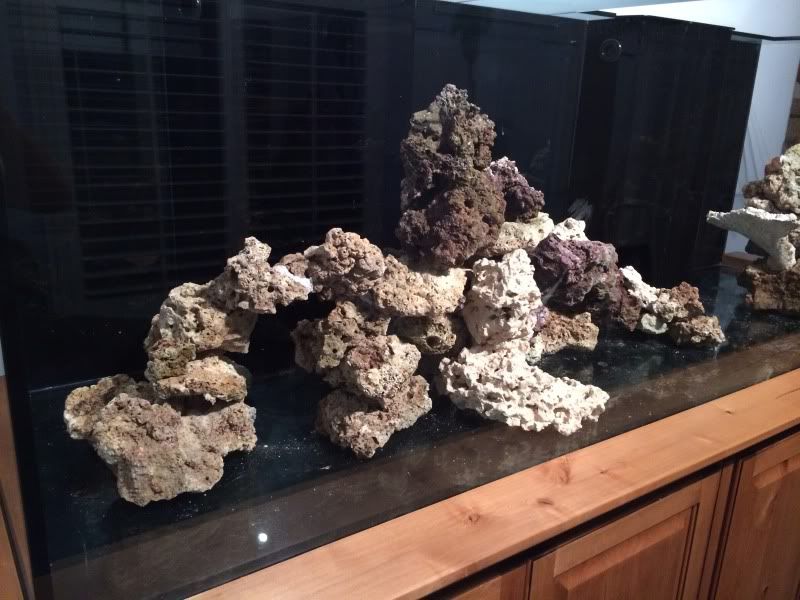 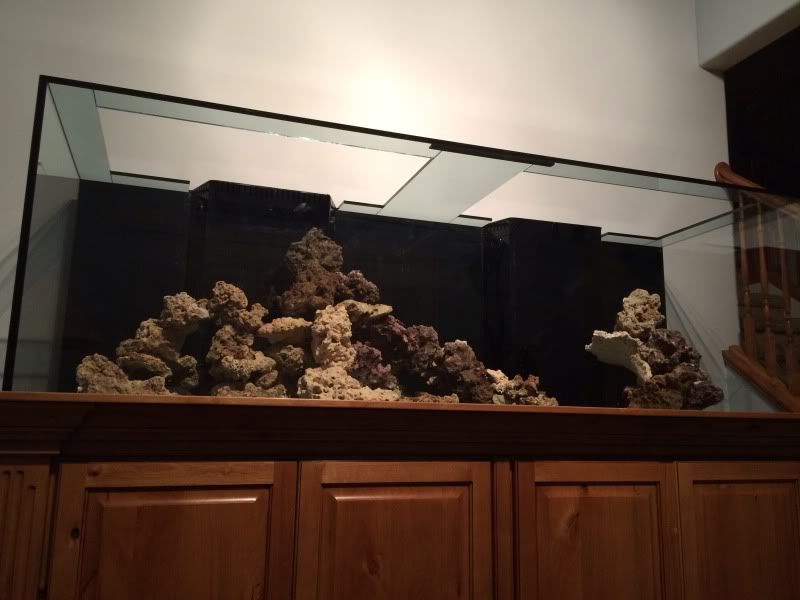 These shots some of the depth. 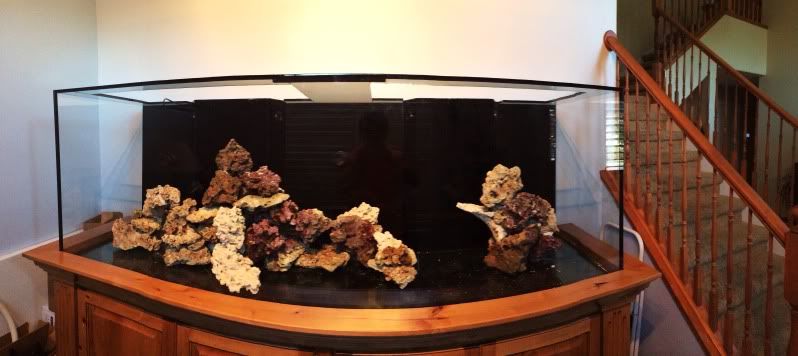 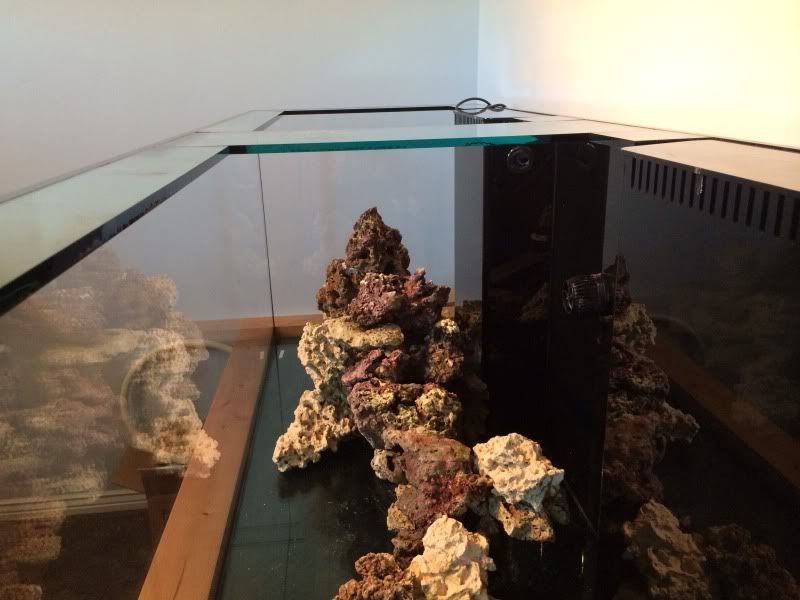
|
|
|

|
|
|
#9 |
|
Registered Member
Join Date: Mar 2013
Location: Salt Lake City, Utah
Posts: 154
|
|
|
|

|
|
|
#10 |
|
Registered Member
Join Date: Mar 2013
Location: Salt Lake City, Utah
Posts: 154
|
Plumbing took me awhile to wrap up.
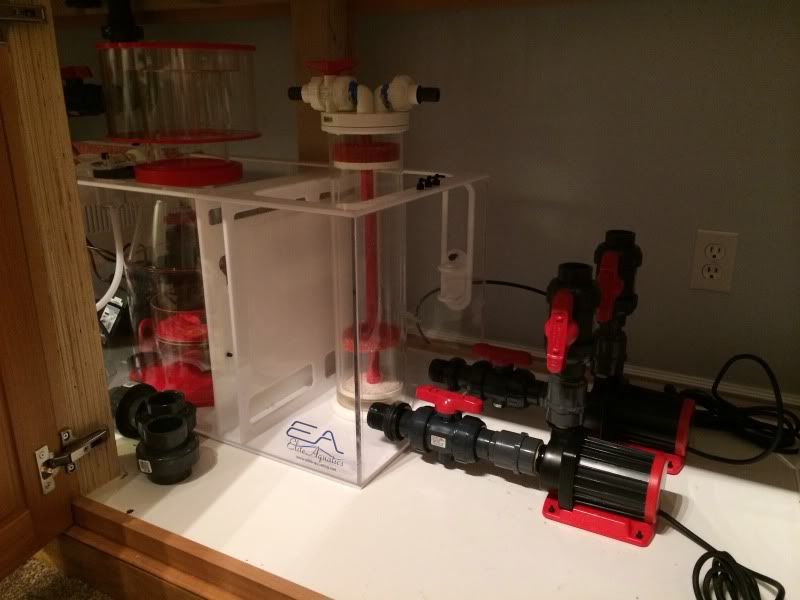 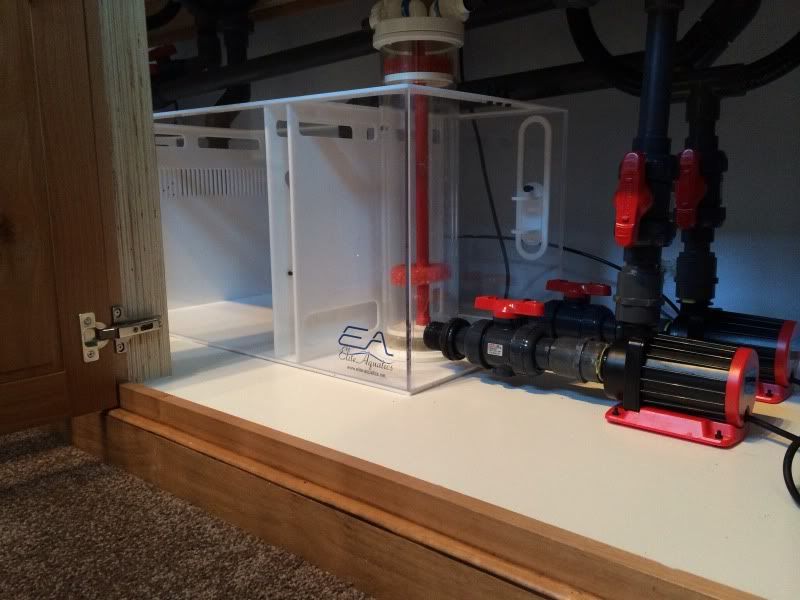 I had Elite Aquatics make this stand for me so I could mount my Apex stuff on it and move it to the side or front of the cabinet. I will most likely pull the controller off and mount it outside of the tank. 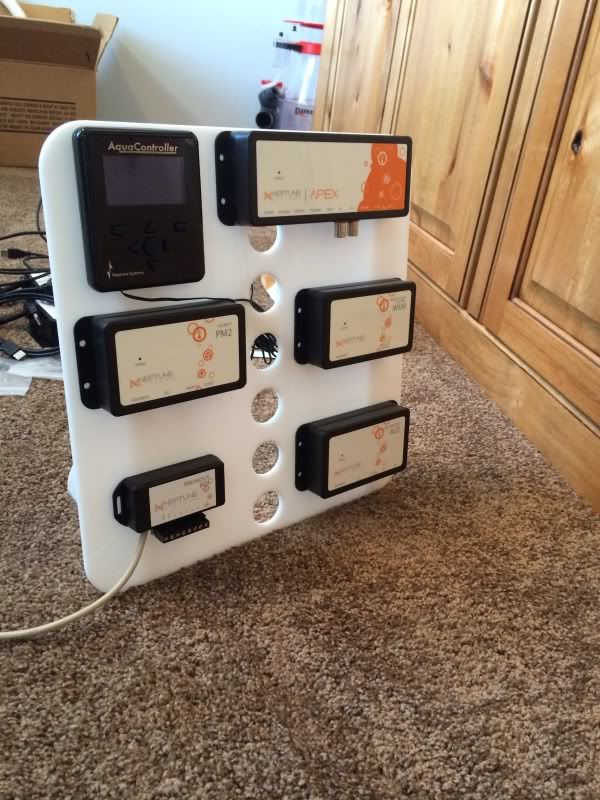 Since I could not do a support room, I was very limited with space. Customization was the key to getting everything to fit PERFECTLY and look as clean as possible. 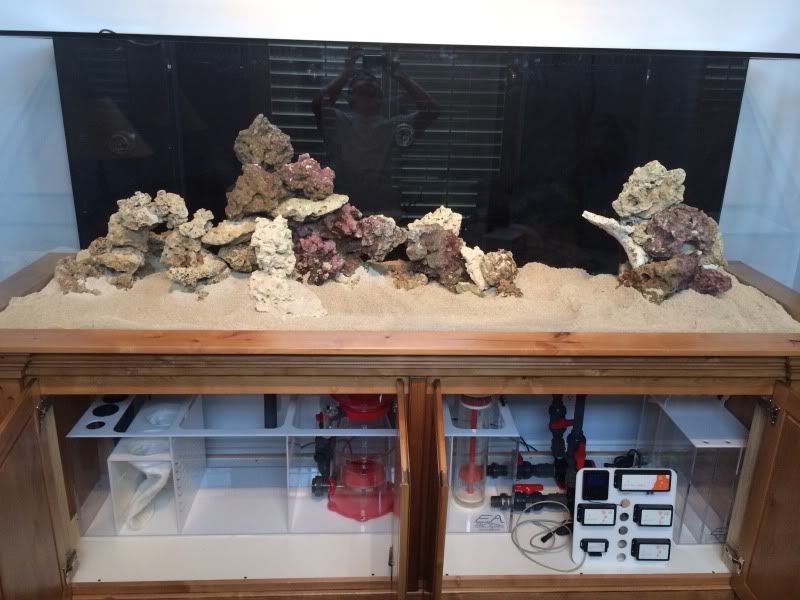 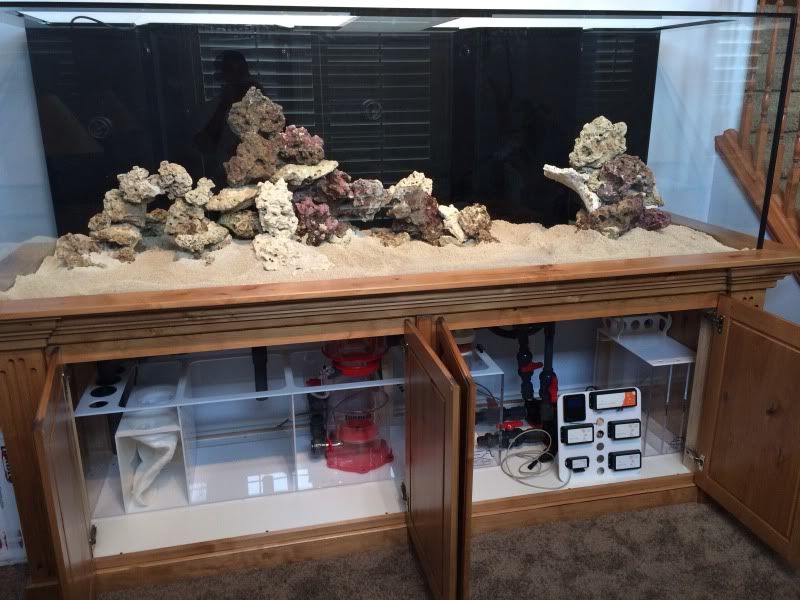
|
|
|

|
|
|
#11 |
|
Registered Member
Join Date: Mar 2013
Location: Salt Lake City, Utah
Posts: 154
|
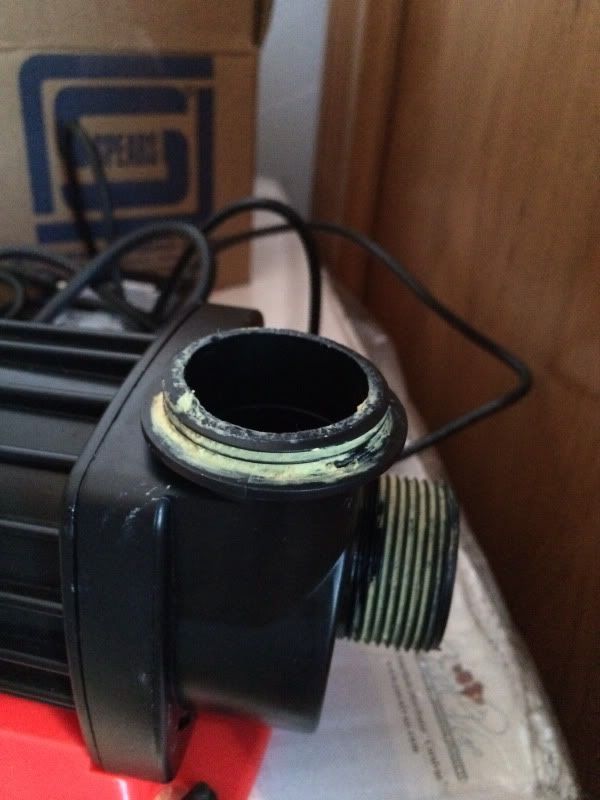
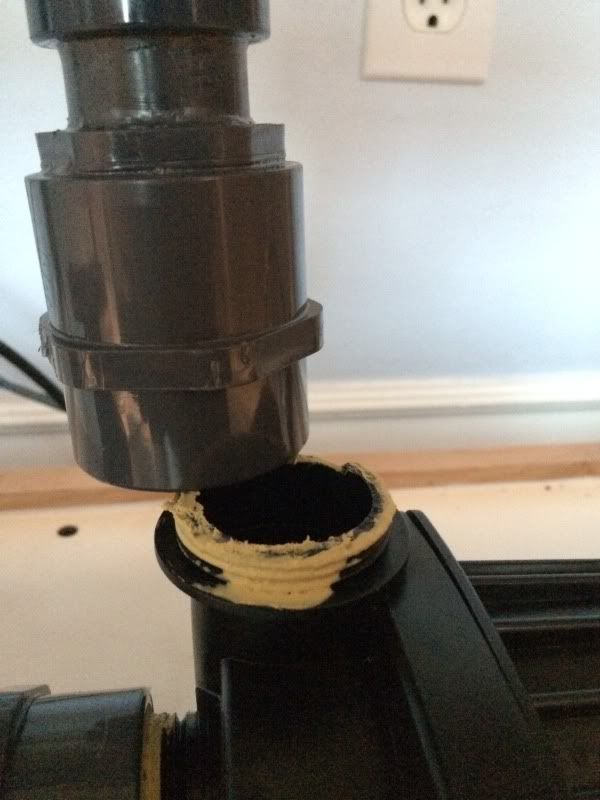
Last night, I hand tightened one of my pumps and I heard a big "crack". I then proceeded to unscrew it and it snapped off. I then proceeded to hand tighten the second pump, but it would not go on as far as the 1st one, so then I grabbed a pair of channel locks and turned it a half turn and "snap" it came off. I called Reef Octopus/Coralvue, they acknowledged the problem and I had to pay $70 to get 2 new housing replacements. I was a little bugged they would not send them for free because I know of 2 other people here locally who did the SAME thing on their pumps. 1 of them was a retailer who distributes this stuff. He broke the pump in the same spot. It was the pump he is using on his display tank in his store. I will have the new parts Wednesday and then I will be putting in water shortly after. I used a PVC thread lubricant/sealant on them as well. I would not recommend this pump to anyone and I will be replacing them with something else as son as I figure out what I want.
|
|
|

|
|
|
#12 |
|
Octopus Extreme 300 Skimr
Join Date: Oct 2002
Posts: 2,242
|
Great progress!
I love the ideas of both the Apex box and the dosing chamber You really thought this out! How long did you have to plan? Wish i was this detailed
__________________
Life is what you make it, so make something out of everything you do! Current Tank Info: GYRE 150,Seaswirl 1.5, Barcuda Pump, Custom LED system, Extreme Reef Octopus 300 Protein Skimmer, 80 watt Aqua UV, Korallin BioDenitrator Nitrate, Hydor Magnum 8 Powerheads |
|
|

|
|
|
#13 |
|
RAIDER NATION!
Join Date: Jun 2011
Location: City of sin...
Posts: 3,476
|
Great start to what will be a very nice tank.
|
|
|

|
|
|
#14 | |
|
Registered Member
Join Date: Mar 2013
Location: Salt Lake City, Utah
Posts: 154
|
Quote:
All I can say is that I'm very lucky to actually have the tank at this point. |
|
|
|

|
|
|
#15 |
|
Registered Member
 Join Date: Jun 2008
Location: Spanaway, WA
Posts: 1,101
|
Wow looks like a great start. I can't wait to see how your tank turns out. Is that stand a Dion special?
__________________
"You can run but you will only die tired" U.S. Army Snipers |
|
|

|
|
|
#16 |
|
Registered Member
Join Date: Mar 2013
Location: Salt Lake City, Utah
Posts: 154
|
|
|
|

|
|
|
#17 |
|
Registered Member
 Join Date: Jun 2008
Location: Spanaway, WA
Posts: 1,101
|
I was going to have him build my stand for my build that I got going on right now but I found someone local. He is a hoot I miss all of the good guys down in the Salt Lake area. I use to live in Ogden and got to know everyone down there.
__________________
"You can run but you will only die tired" U.S. Army Snipers |
|
|

|
|
|
#18 | |
|
Registered Member
Join Date: Mar 2013
Location: Salt Lake City, Utah
Posts: 154
|
Quote:
|
|
|
|

|
|
|
#19 |
|
Registered Member
Join Date: Apr 2004
Location: Saratoga Springs, UT
Posts: 1,306
|
Come on down my friend! Happy to help with whatever you need! Feel free to text me if you have any questions!
 Dude your tank looks AWESOME!! Love your stand as well! Dion is a great builder! Oh and your reef rock stack is going to look great covered in corals!! Finally, Tyler did a great job on your sump and gear! And finally, finally you have done a great job bringing it all together!!  
|
|
|

|
|
|
#20 |
|
Registered Member
Join Date: Jan 2010
Location: Canadia
Posts: 4,276
|
Great progress. Sorry if I sound negative, but the sand looks kind of brown in your images. What kind of sand did you use?
Dave.M
__________________
My Gawd! It's full of corals! Current Tank Info: None. Nil. Zip. Nada. |
|
|

|
|
|
#21 |
|
Registered Member
Join Date: Mar 2013
Location: Salt Lake City, Utah
Posts: 154
|
|
|
|

|
|
|
#22 |
|
Registered Member
Join Date: May 2013
Posts: 7,408
|
Looks good. It will look great with water in it.
|
|
|

|
|
|
#23 |
|
Registered Member
Join Date: Mar 2013
Location: Salt Lake City, Utah
Posts: 154
|
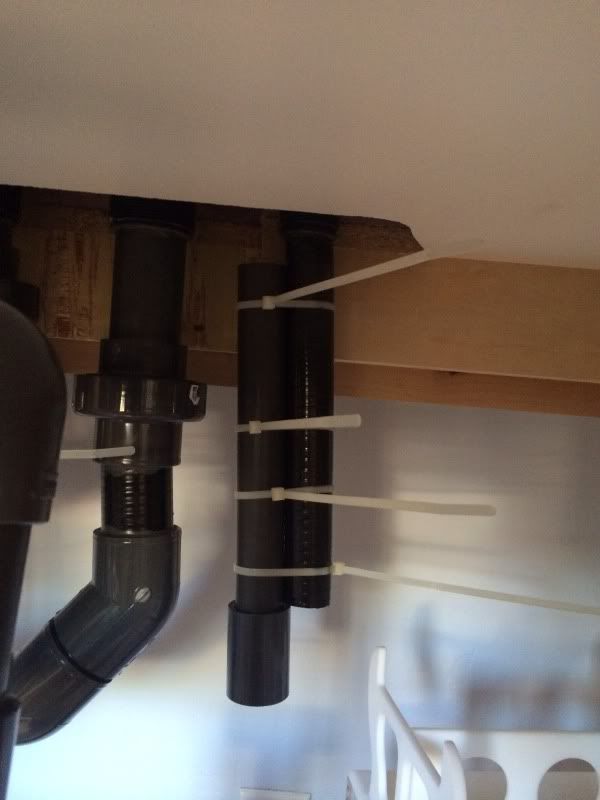
If you've ever worked with Spaflex, it's kind of a pain. I used a hairdryer to get it warm and then zip tied it to a straight edge and it worked like a charm after it cooled down.
 It took about about 30 min to fill up the display. I will be putting some type of a cage over those 90's that are in the sump for the returns. I did run into quite a few problems as we were filling up the tank and it took about 3 hours re-adjusting and re-doing some of the plumbing. 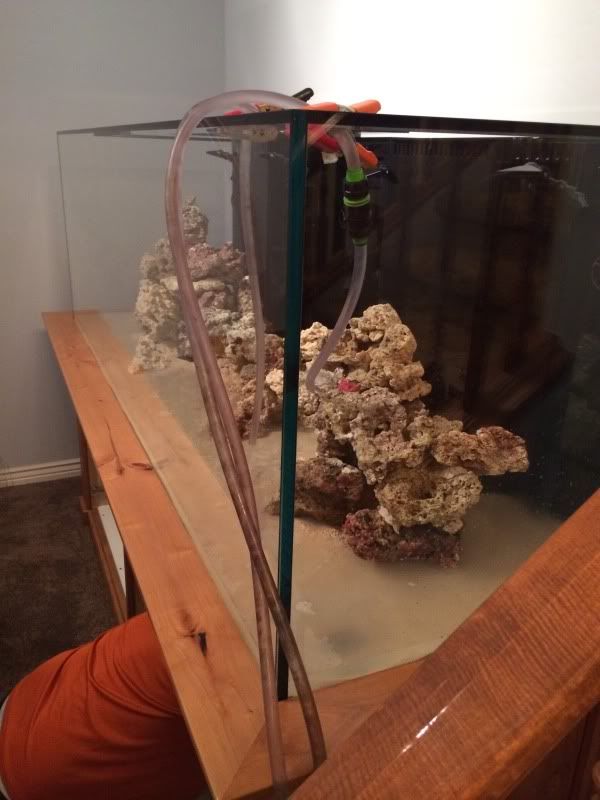 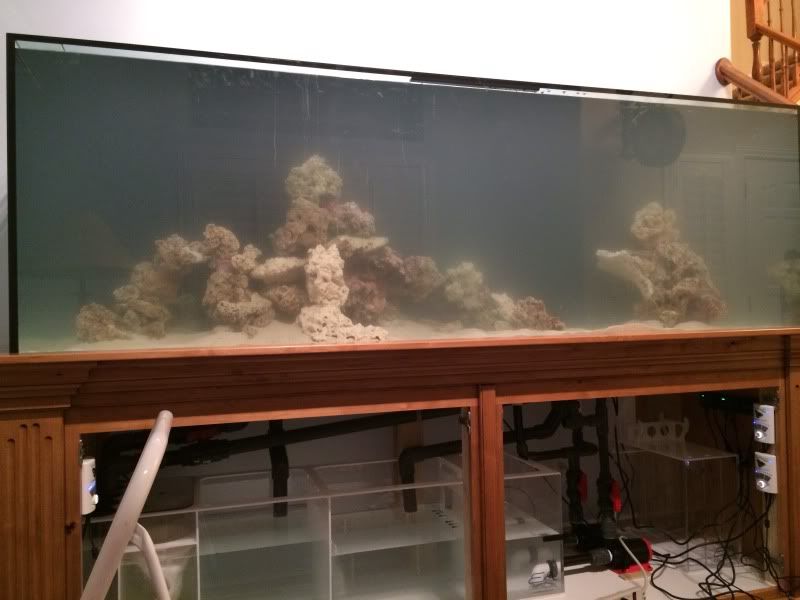 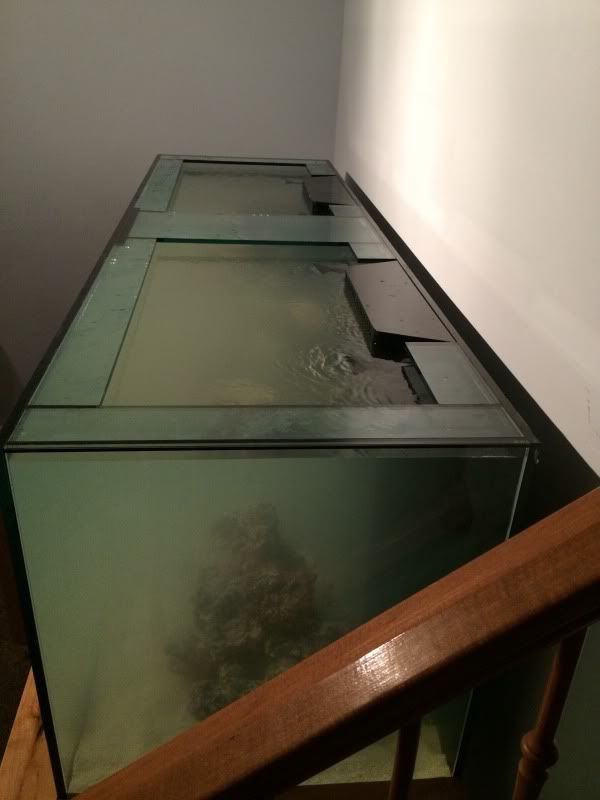 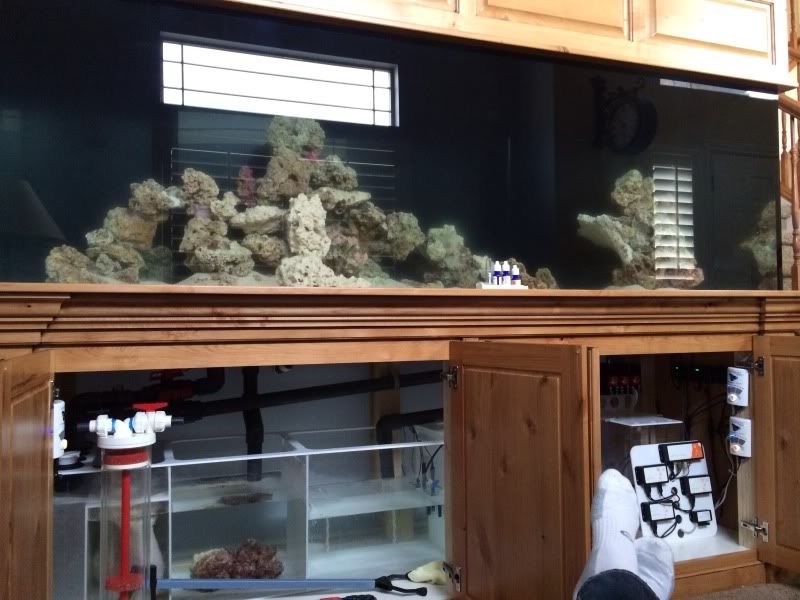 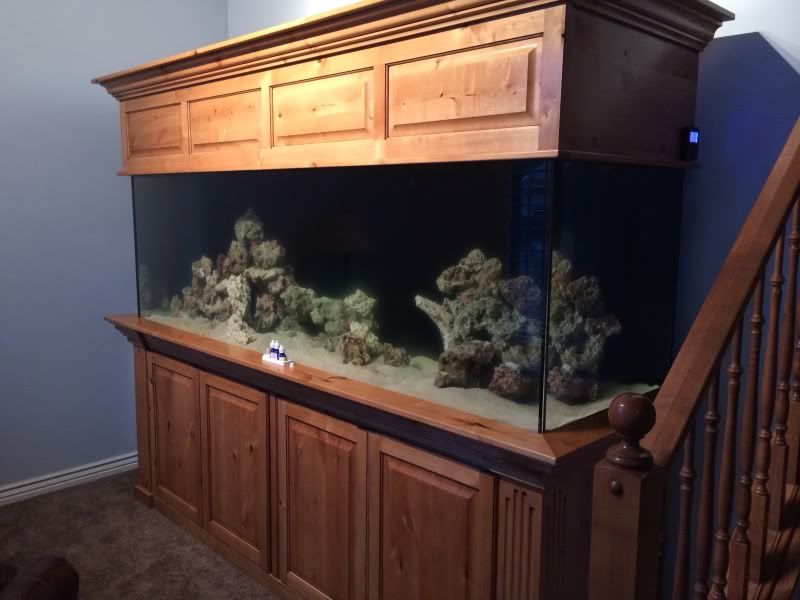
|
|
|

|
|
|
#24 |
|
Registered Member
Join Date: Mar 2013
Location: Salt Lake City, Utah
Posts: 154
|
I wanted to show you guys a close up of this stand and Dosser I had Elite Aquatics custom build for me. I was very tight on room, so this was a must.
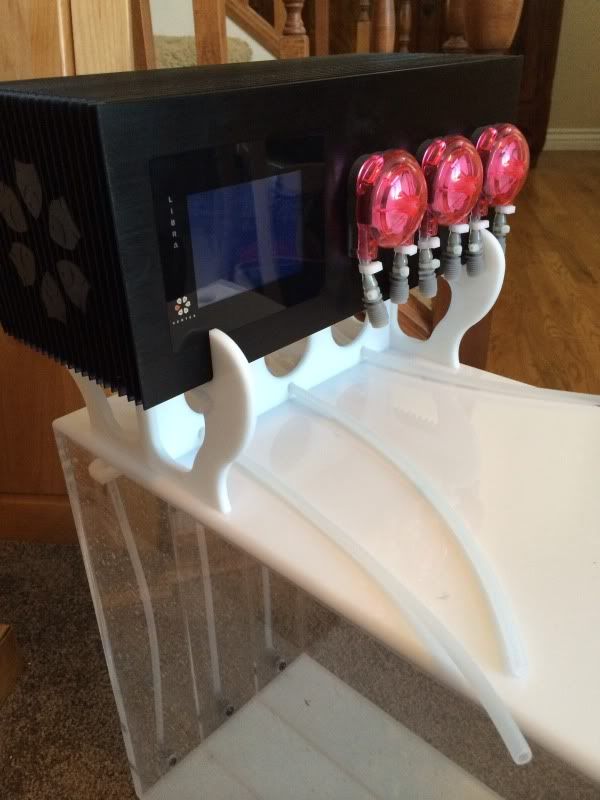 As you can see, the 1/4 inch tubing goes directly from the box to the Vertex and then over to the sump where I had the same connections installed. 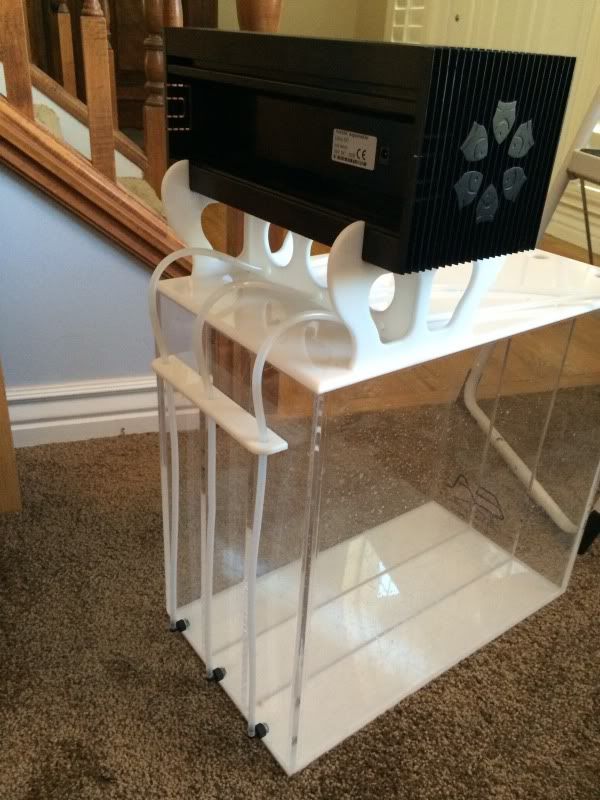 I have not zip tied all the cords yet because I have more Vortech's and all my Radion Pros that I have to add over the next couple weeks. But you can see how it fits nicely under the cabinet. 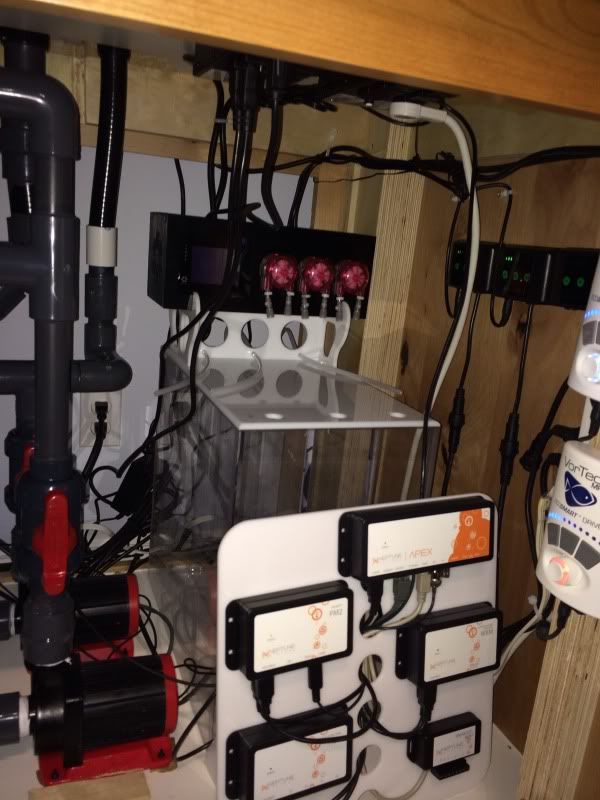
|
|
|

|
|
|
#25 |
|
Registered Member
Join Date: Apr 2004
Location: Saratoga Springs, UT
Posts: 1,306
|
Tyler is the man! That looks great!

|
|
|

|
 |
| Thread Tools | |
|
|