
|
|
 12/30/2008, 01:55 PM
|
#1 |
|
Moved On
Join Date: Dec 2007
Location: Tiger Stadium Baton Rouge, Louisiana
Posts: 529
|
staining pine stands...any help apreciated!
anyone have some pics of stands that they stained that were made from pine? ive read all i can take and think im ready to stain it but im worried because everything says how difficult it is to stain properly....tell me if this sounds right
1) apply wood conditioner and let sit for 5-10 minutes 2) apply stain and let sit for same amount of time 3) re apply stain if necessary for darker colors 4) apply 2-3 coats of polyurethane |

|

|
|
12/30/2008, 02:04 PM
|
#2 |
|
Premium Member
 
Join Date: Mar 2006
Location: U.S.A.
Posts: 3,810
|
polyurethane will yellow over time.
use Boiled Linseed Oil and it will bring out the wood grain fantastic, just make sure you get the Boiled kind or it will stink you out of the house... 
__________________
GIVE A MAN A FISH, YOU FEED HIM FOR A DAY. TEACH A MAN TO FISH, HE FEEDS HIMSELF FOR LIFE. (NEVER, underestimate another man's greed) Current Tank Info: SPS dominated barebottom display with BB sump since 2005, most consistant parameters in 19+ years of reefkeeping. |
|
|
|
|
12/30/2008, 04:55 PM
|
#3 |
|
Registered Member
Join Date: Aug 2002
Location: Illinois
Posts: 719
|
I just used a regular minwax stain and ploy when I built one for a 29G. I Did some tests with some scrap pieces and couldn't tell a difference with the conditioner. I mixed several different stains together to get the right shade I wanted tho. The only issue I have with staining pine is the ends of the cut. You need to hide those with trim or angled cuts for a clean look. I never had any issues with the ploy yellowing as one of the posters mentioned. This stand was 10 years old when I got rid of it this year..
Drew.. |
|
|
|
|
12/30/2008, 05:30 PM
|
#4 |
|
Registered Member
Join Date: Jun 2008
Location: Jonesboro, AR
Posts: 414
|
If you end up with exposed ends showing, when you do your final sanding of the stand, for example to 180 grit, sand the ends with 220 and it will make then blend in alot better. No matter which grit you end up with, step the end grain up to the next highest one and the end grain will always look better blended into the project.
__________________
Always remember, no matter where you go, there you are. "Buckaroo Banzai" Current Tank Info: 2-75 Gal Mixed Reefs / with T-5 Nova Extremes // 1-10 gal nano reef w/ PC's |
|
|
|
|
12/30/2008, 05:55 PM
|
#5 | |
|
Registered Member
Join Date: Feb 2006
Location: Ga
Posts: 1,333
|
Quote:
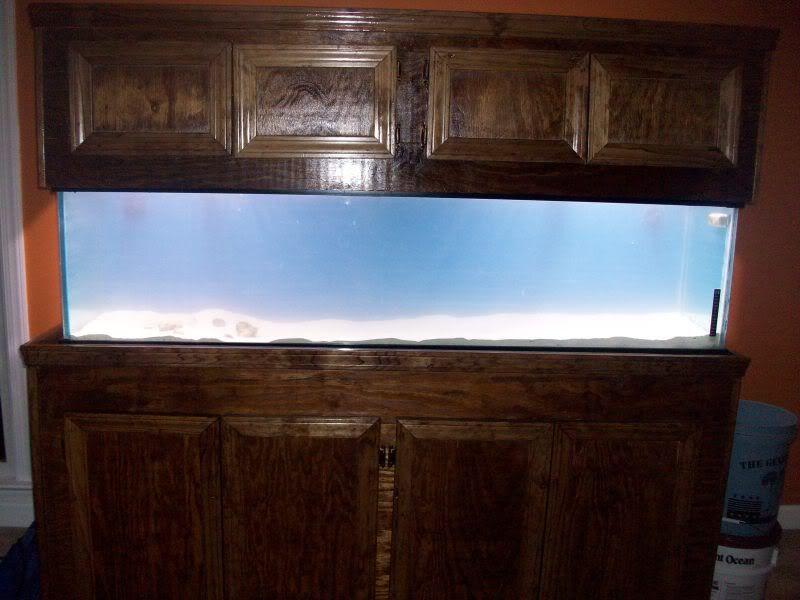
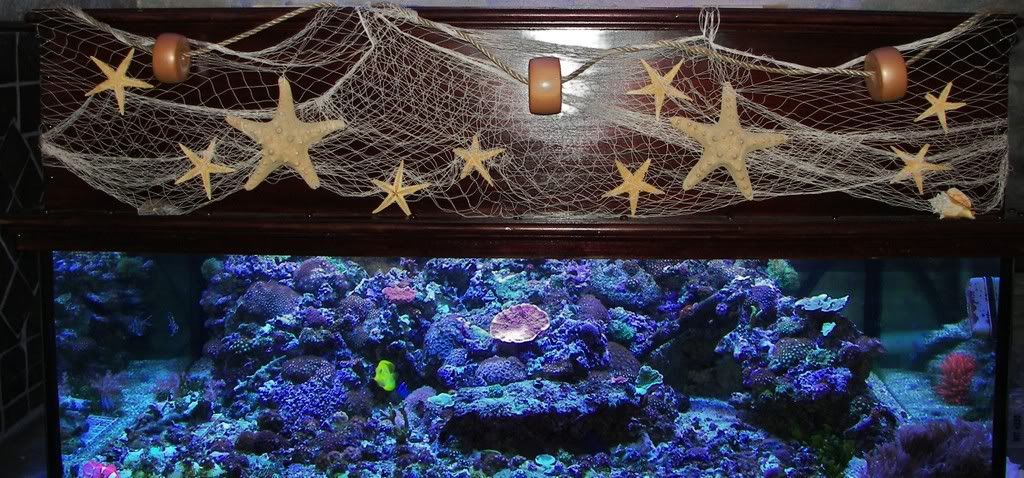
Here is an old photo of the one I made a few years ago. It is still here, but my animals have out grown it, so I am doing an inwall 90g.  The tank is very different now, but the stand is the same!
__________________
"No honey I can't just send it back. It's all wet and they won't take it back now!" Current Tank Info: 90g inwall with a 30g sump |
|
|
|
|
|
12/30/2008, 06:14 PM
|
#6 |
|
Registered Member
Join Date: Jun 2008
Location: Jonesboro, AR
Posts: 414
|
I like the way that one looks. It appears in the picture to have aged really well.
__________________
Always remember, no matter where you go, there you are. "Buckaroo Banzai" Current Tank Info: 2-75 Gal Mixed Reefs / with T-5 Nova Extremes // 1-10 gal nano reef w/ PC's |
|
|
|
|
12/30/2008, 06:18 PM
|
#7 |
|
Registered Member
Join Date: Feb 2006
Location: Ga
Posts: 1,333
|
That photo was taken when everything was new, but the stand still looks about the same. It is the tank that has changed!
__________________
"No honey I can't just send it back. It's all wet and they won't take it back now!" Current Tank Info: 90g inwall with a 30g sump |
|
|
|
|
12/30/2008, 07:19 PM
|
#8 |
|
Registered Member
Join Date: Aug 2006
Location: North Carolina
Posts: 693
|
here is mine (The tank was a bit cloudy at the time):
__________________
" Hours spent in thoughtful silence, help us make the right decisions, more than days and days of talking." --Meteu Current Tank Info: starting a 125g SPS dominated reef |
|
|
|
|
12/30/2008, 07:21 PM
|
#9 |
|
Registered Member
Join Date: Dec 2008
Location: Virginia Beach, VA
Posts: 65
|
I've tried the conditioner on white pine and couldn't really tell the difference. If you're using an oil based stain with a water based poly, make sure you let the stain dry 48hrs before you finish it.
Here's a canopy I finished recently, I know it's oak, but I used a water based pickling stain for the first time and found it very difficult to work with. If you don't wipe the excess off quickly it will actually water-log the wood. I'm assuming it's a characteristic of all water based stain.   Let us know how yours turns out. |
|
|
|
|
12/30/2008, 07:46 PM
|
#10 |
|
Registered Member
Join Date: Oct 2006
Location: Barrie, Ontario, Canada
Posts: 6,639
|
it really depends on the look and colour your going for...
i stained my pine stand with ebony stain....turned out like poop cause i didnt use the conditioner...the grain shows realy black where the wood shows as a dark walnut colour...not at all what i was going for and i should have used conditioner to get a more uniform look...anything in the natural to red tones you likely dont need the conditioner....anything walnut/chocolate to black i would use the conditioner... any oil based poly will turn the pine an orangey colour over time...especially with exposure to sunlight...point in fact i left my entertainment stand natural and gave it four coats of poly....set my centre channel speakers on the top and tv components etc into it...this weekend, 5years after the fact i finally got a plasma and a new stand, and the wood was the same as the day i did it under the components...but everything else was orange... |
|
|
|
|
12/30/2008, 07:52 PM
|
#11 |
|
Registered Member

Join Date: Oct 2008
Location: st petersburg, florida
Posts: 10
|
J.R.L- Make sure after you apply the conditioner and the stain to wipe off any excess to keep a uniform color. I am currently making a stand for my 125g. The wood in the pics are pine, with wood conditioner first, and now 3 coats or poly. I'm still going to do a 4th coat.
One of the doors for the hood 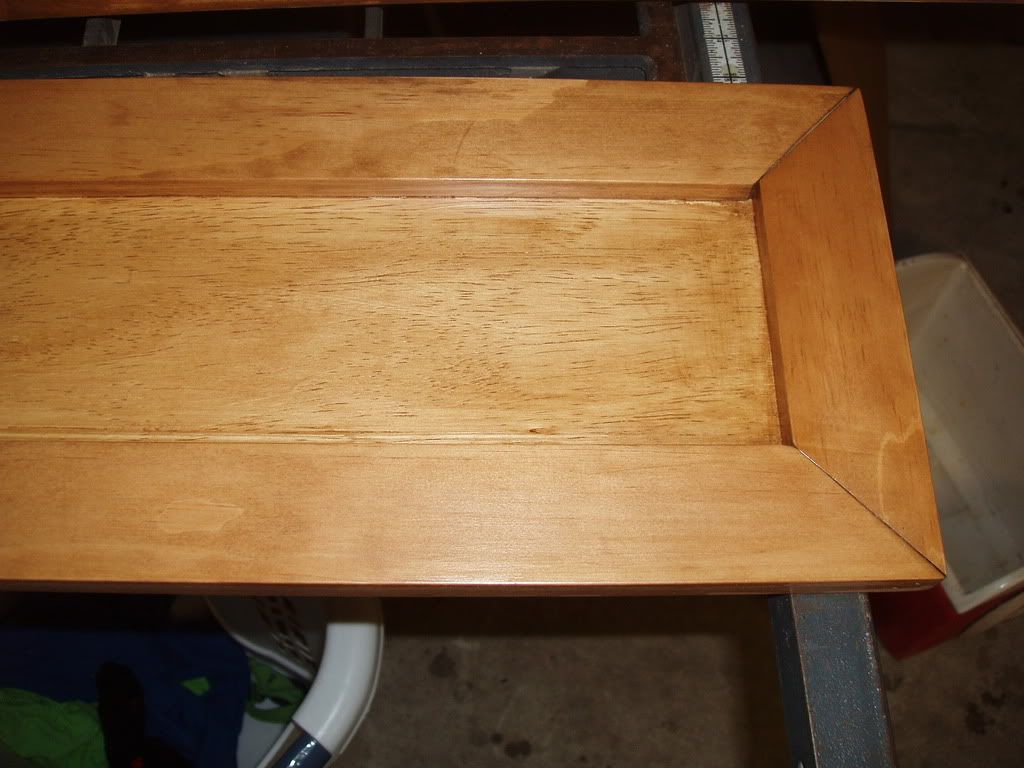 Another pic with the hood 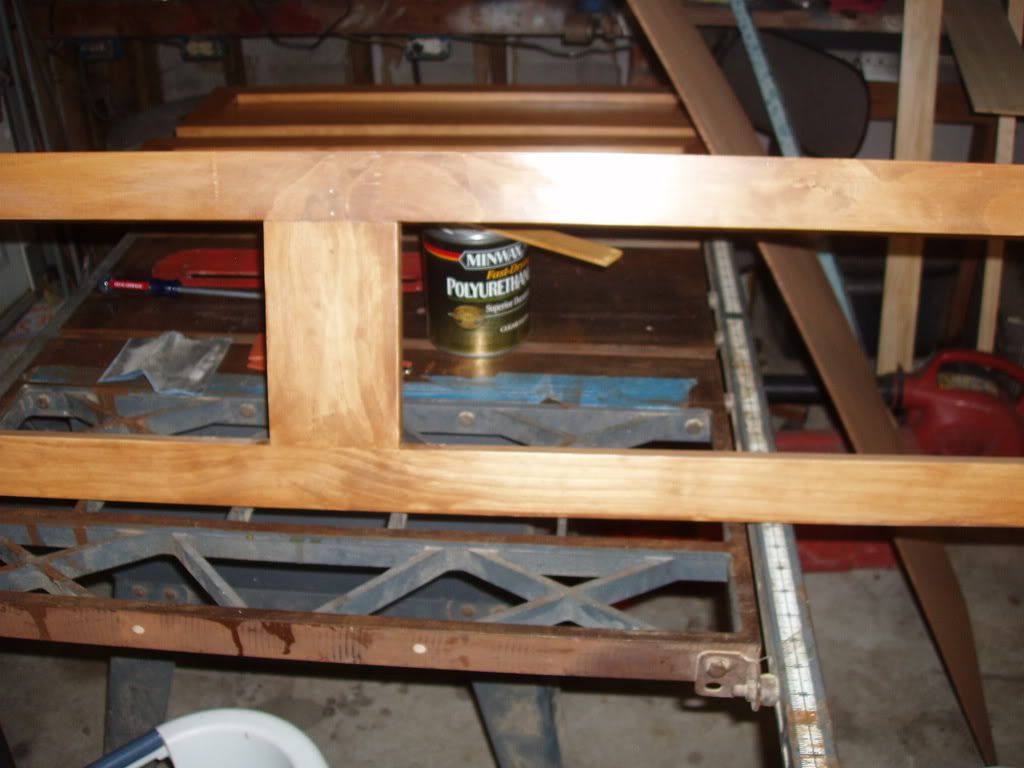
|
|
|
|
|
12/30/2008, 09:42 PM
|
#12 |
|
Moved On
Join Date: Dec 2007
Location: Tiger Stadium Baton Rouge, Louisiana
Posts: 529
|
wow thanks for the responses guys! after staring at all my scrap pieces with diff. stains i decided i would just go ahead and do the side of the stand and see what would happen and it turned out better than i thought it would...im using minwax cherry 235 and after just one coat (after the wood conditioner) it looks better than i expected...so im sure after a few coats and some poly it will look good
hey billet22 what progression of sand paper did you use? |
|
|
|
|
12/30/2008, 10:23 PM
|
#13 |
|
Registered Member
Join Date: Sep 2008
Posts: 1,840
|
I know it is old but it just kills me to see a piece of equipment treated like that.
|
|
|
|
|
12/30/2008, 10:47 PM
|
#14 |
|
Moved On
Join Date: Dec 2007
Location: Tiger Stadium Baton Rouge, Louisiana
Posts: 529
|
huh?
|
|
|
|
|
12/31/2008, 10:43 AM
|
#15 |
|
Moved On
Join Date: Dec 2007
Location: Tiger Stadium Baton Rouge, Louisiana
Posts: 529
|
my first coat came out nicely
|
|
|
|
|
12/31/2008, 12:50 PM
|
#16 |
|
Registered Member
Join Date: Mar 2005
Location: Pottstown, PA
Posts: 100
|
looks good so far man! Nice looking stand!
|
|
|
|
|
12/31/2008, 01:07 PM
|
#17 |
|
Registered Member
Join Date: Dec 2004
Location: Atlanta, GA
Posts: 710
|
J.R.L -
Be sure and do a very light sanding with 320 grit paper (by hand) after the wood conditioner is dry. The conditioner works by swelling the porous grain of the wood, then hardening it as it dries. That way, when you come back and lightly sand, it flattens the (now closed) pores. So, the steps should be: 1) Sand bare wood, 150-220-320 grit. 2) Apply wood conditioner & let dry. 3) Lightly hand sand, 320 grit. 4) Remove dust with tack cloth. 5) Stain (several coats if desired) 6) Linseed sealer (do not use polyurethane, it will yellow) |
|
|
|
|
12/31/2008, 03:15 PM
|
#18 |
|
Moved On
Join Date: Dec 2007
Location: Tiger Stadium Baton Rouge, Louisiana
Posts: 529
|
ok gotcha rededge! thanks!
|
|
|
|
|
12/31/2008, 05:07 PM
|
#19 | |
|
Moved On

Join Date: Dec 2008
Location: howell
Posts: 19
|
Re: staining pine stands...any help apreciated!
Dont worry about the conditioner. One thing to do if your gonna use the urithane and stain in one to stain, Is to get some steel wool for in between coats to smooth out any rough spots. I did like 3 coats on my hood. nice dark cherry......
 Quote:
|
|
|
|
|
|
12/31/2008, 05:43 PM
|
#20 |
|
Moved On
Join Date: Dec 2007
Location: Tiger Stadium Baton Rouge, Louisiana
Posts: 529
|
so youre saying use steel wool in between coats of polyurethane
|
|
|
|
|
01/01/2009, 12:05 AM
|
#21 | |
|
Registered Member
Join Date: Sep 2008
Posts: 1,840
|
Quote:
Sorry, I was reffering to the table saw. Any tool IMO should be treated the way you would want to be. On the other hand I think that your stand is comming along nicely. Very nice job. 
|
|
|
|
|
|
01/01/2009, 05:42 PM
|
#22 |
|
Registered Member
Join Date: Dec 2008
Location: Virginia Beach, VA
Posts: 65
|
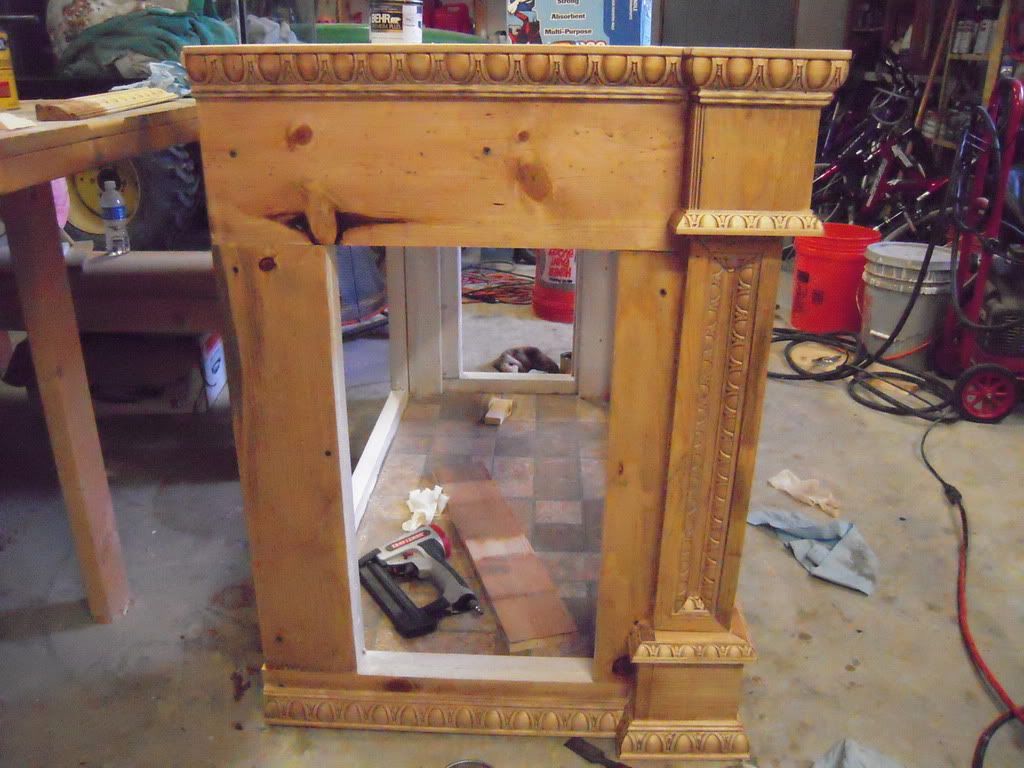
JRL,
What do you have in the base that's making that checkerboard pattern? |
|
|
|
|
01/01/2009, 08:34 PM
|
#23 |
|
Registered Member
Join Date: Oct 2008
Location: st petersburg, florida
Posts: 10
|
At first I used 220 grit with an orbit sander on the bare wood. Then I used 150 grit after I applied the wood conditioner, then I've been using 220 grit on the poly by hand.
|
|
|
|
|
01/01/2009, 08:40 PM
|
#24 | |
|
Moved On
Join Date: Dec 2007
Location: Tiger Stadium Baton Rouge, Louisiana
Posts: 529
|
Quote:
billet22, thanks i understand now heres an update shot with the stand finished with stand waiting on poly and the canopy with its first coat of stain...came out much better than expected 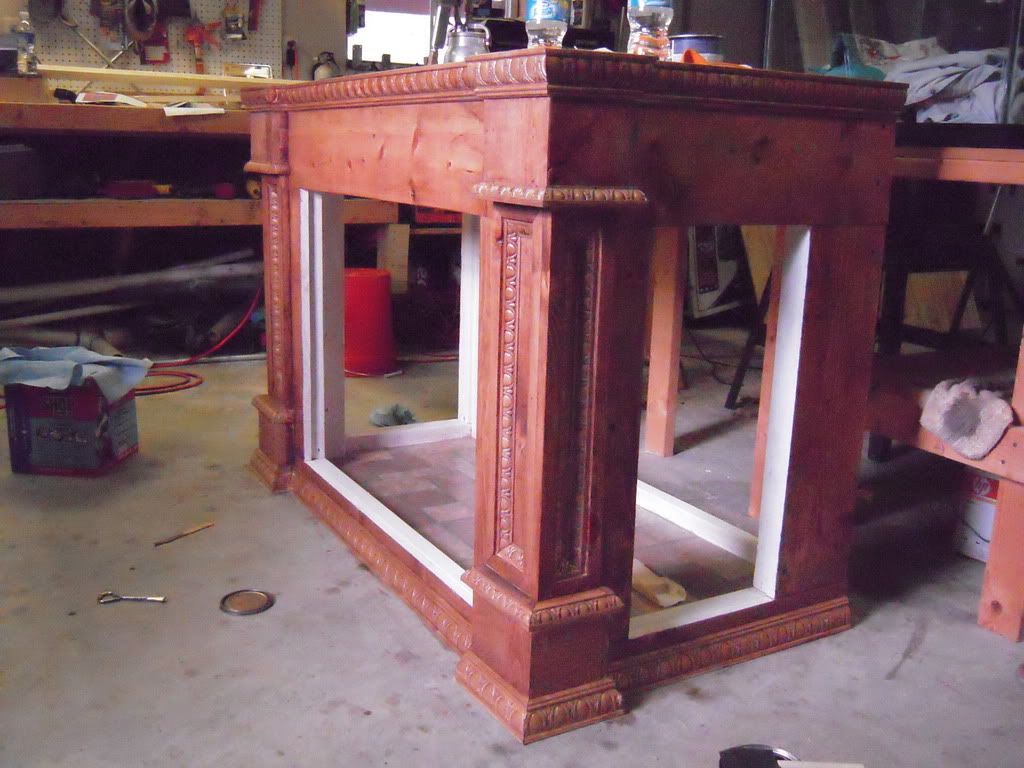 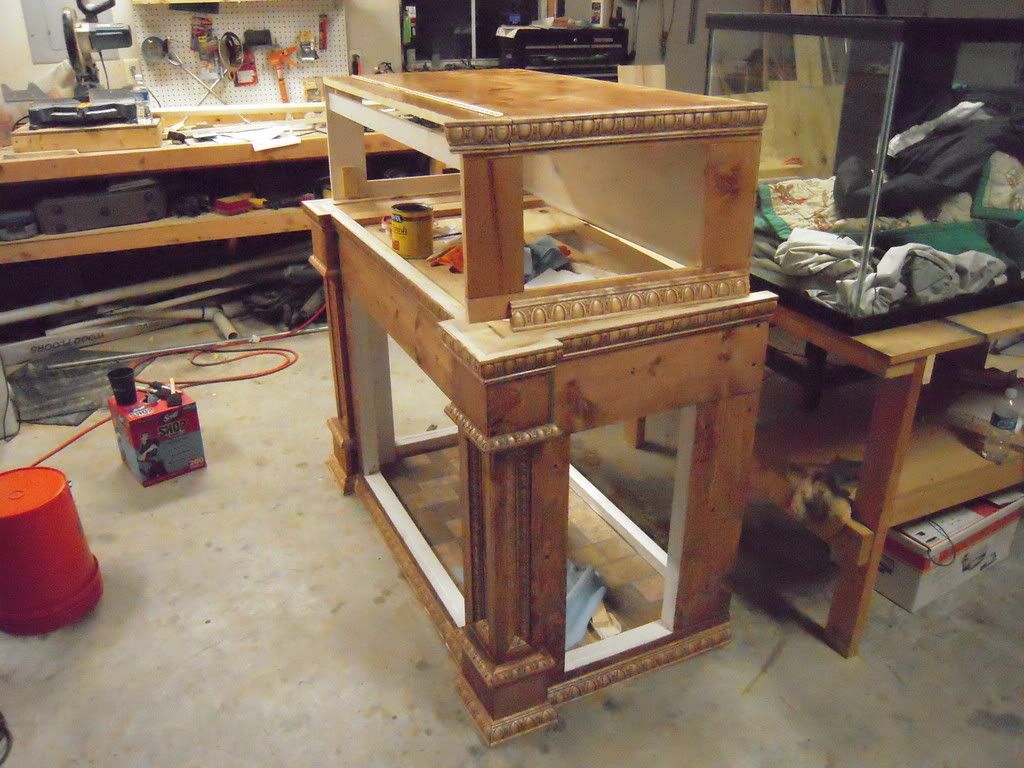
|
|
|
|
|
|
01/01/2009, 09:11 PM
|
#25 |
|
Registered Member
Join Date: Oct 2008
Location: st petersburg, florida
Posts: 10
|
Looks really good!
|
|
|
|
 |
| Thread Tools | |
|
|


