
|
|
 09/10/2014, 10:03 PM
|
#26 |
|
Registered Member
Join Date: May 2002
Location: London, Ontario
Posts: 200
|
Here are some shots from the recent move from my garage down to my basement. The key here was lots of planning and preparation. I had to go with an alternative plan since the landing between my upper and lower level was tight.
Tank double wrapped in blankets and plastic wrap We also braced the inside with some wood to prevent any additional stress during the move… 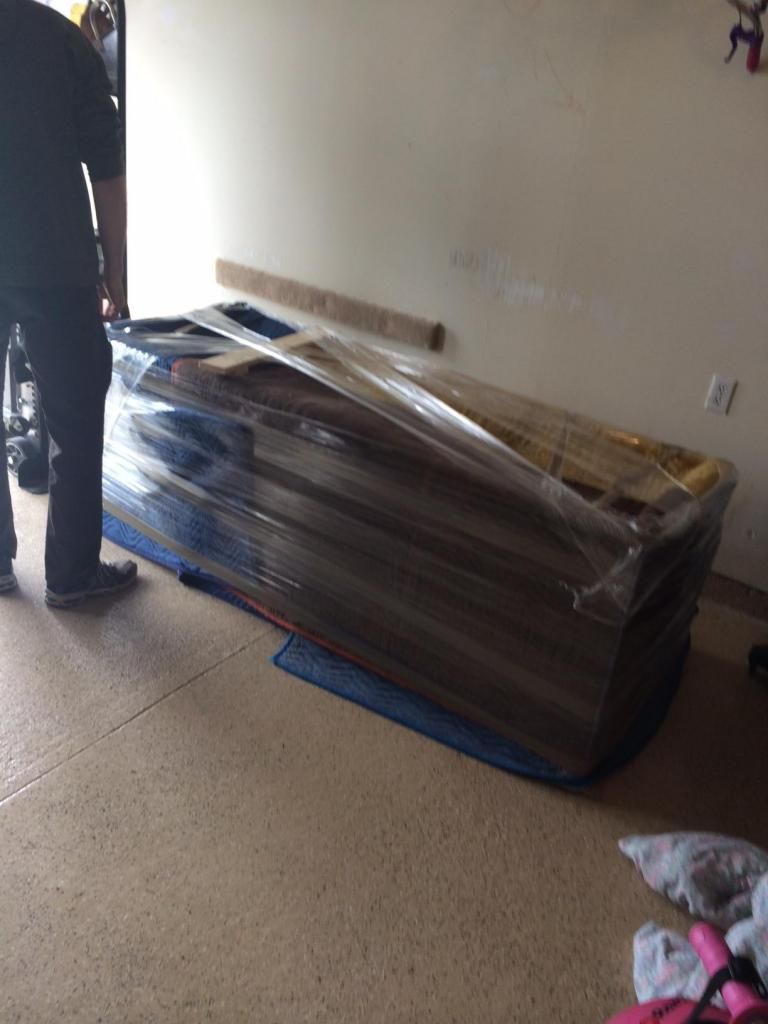 Some extra tape and blankets (just in case)  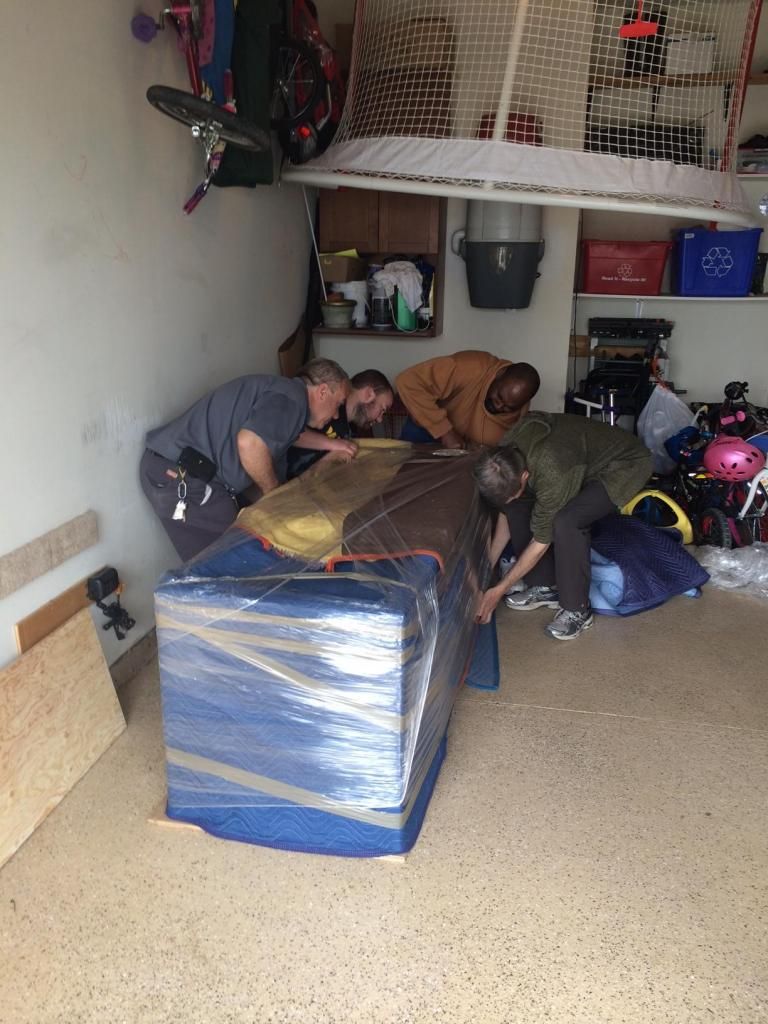 Here is a picture of the mechanical appliance stair dolly that made things super easy…  We got it vertical, harder then it looks… 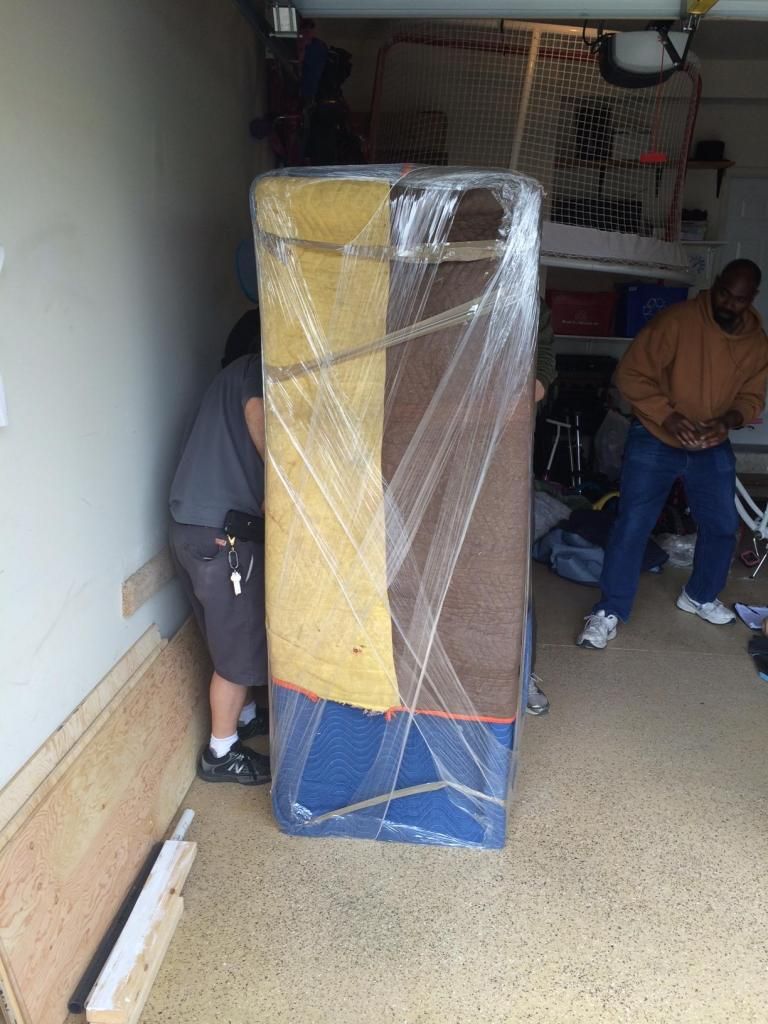 Easy does it… 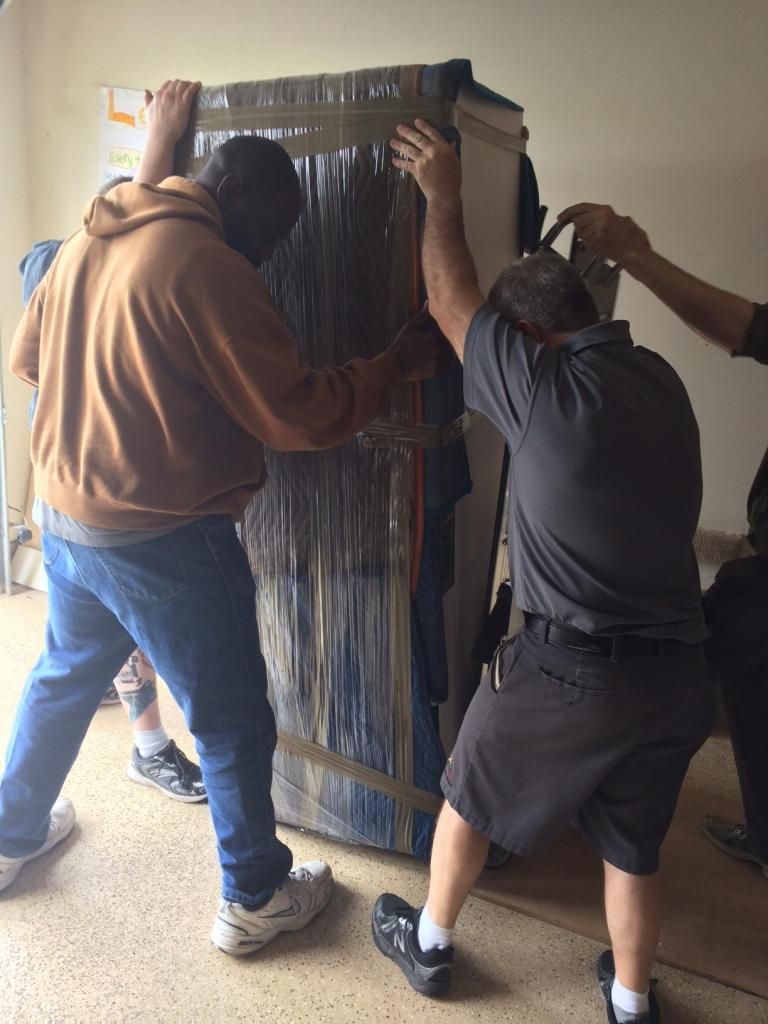 Belts tightened and ready to go into the main level… 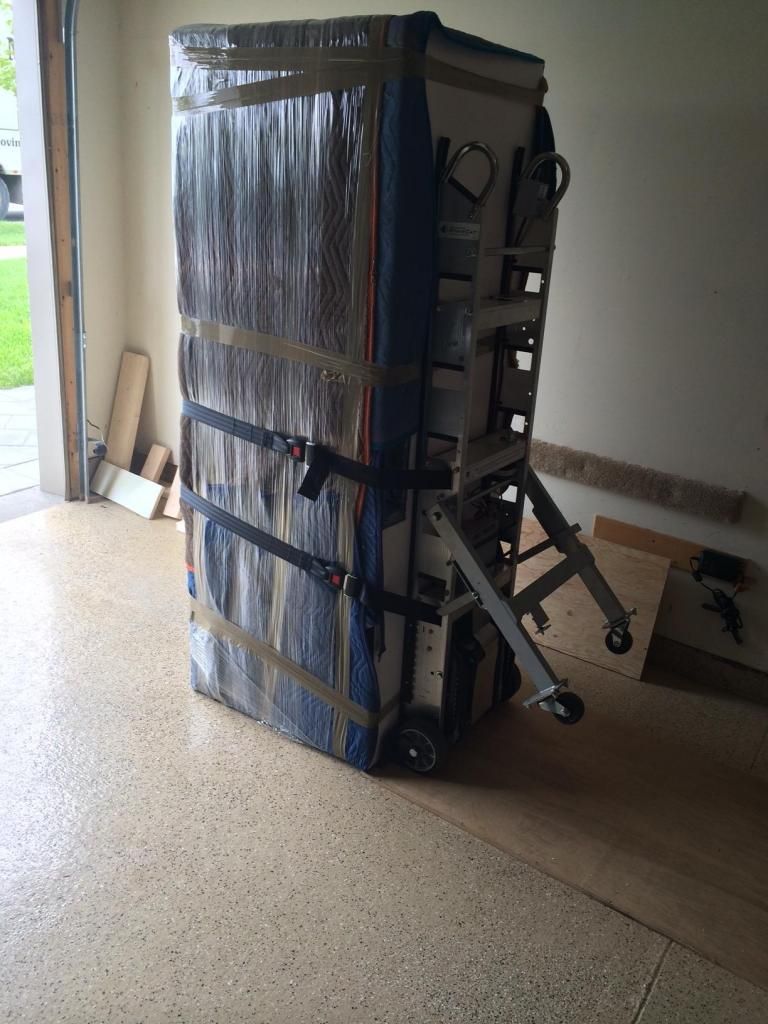
|

|

|
|
09/10/2014, 10:18 PM
|
#27 |
|
Registered Member
Join Date: May 2002
Location: London, Ontario
Posts: 200
|
out of the garage and up the front landing
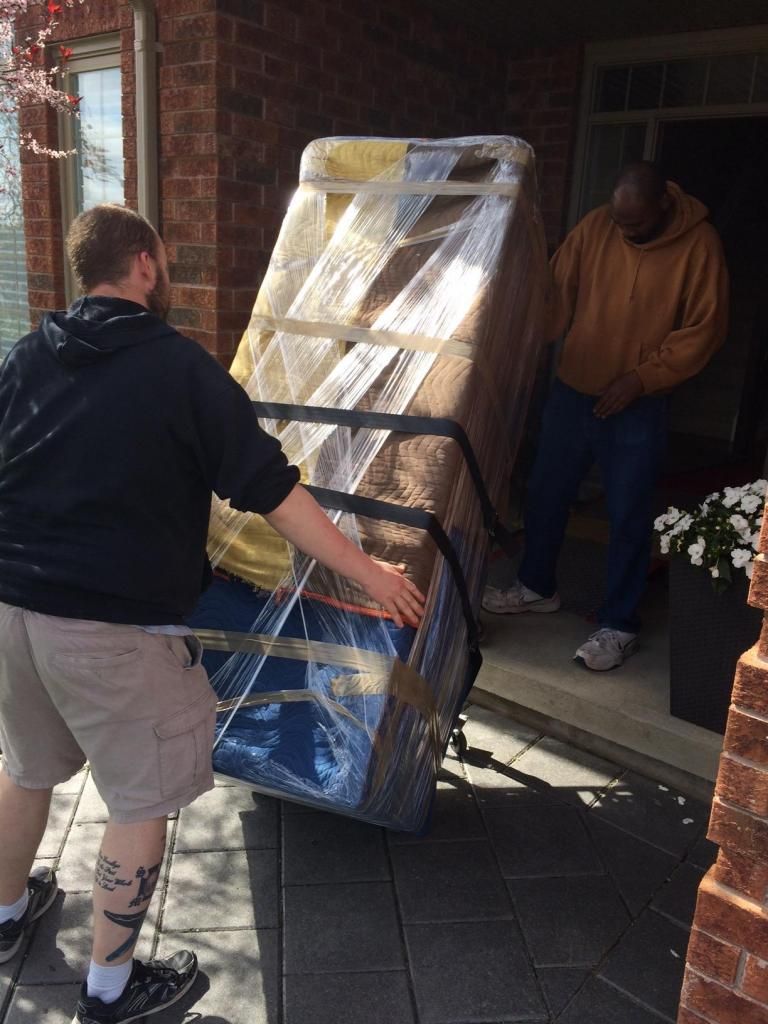 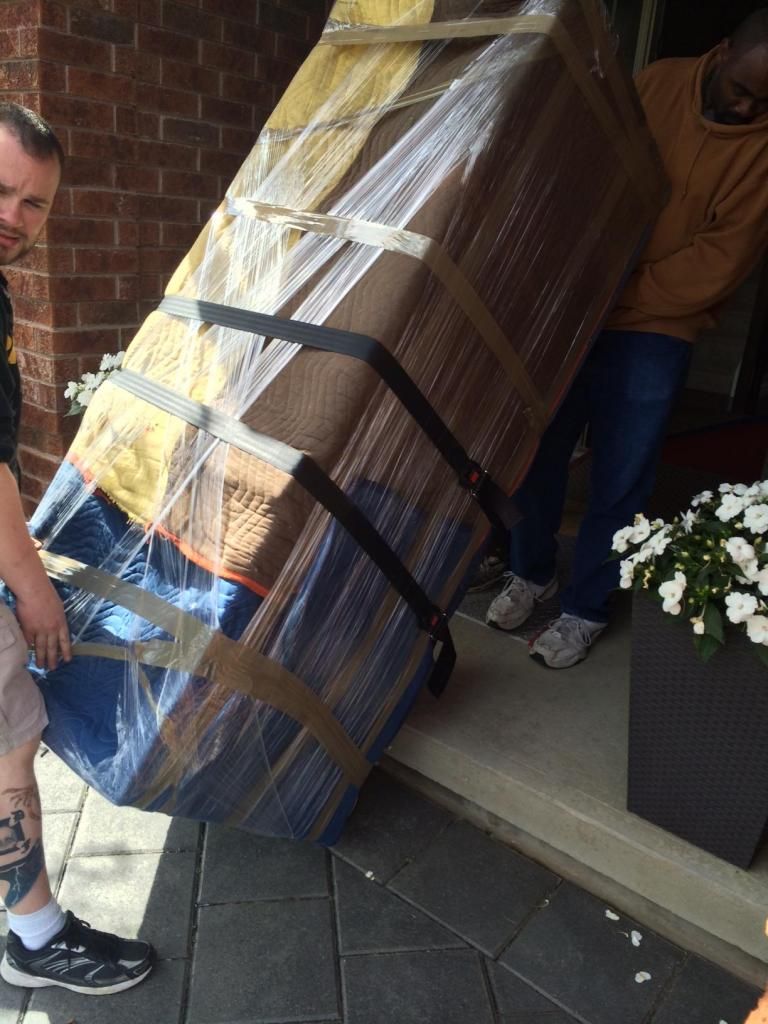 ..and up another step into the front doors 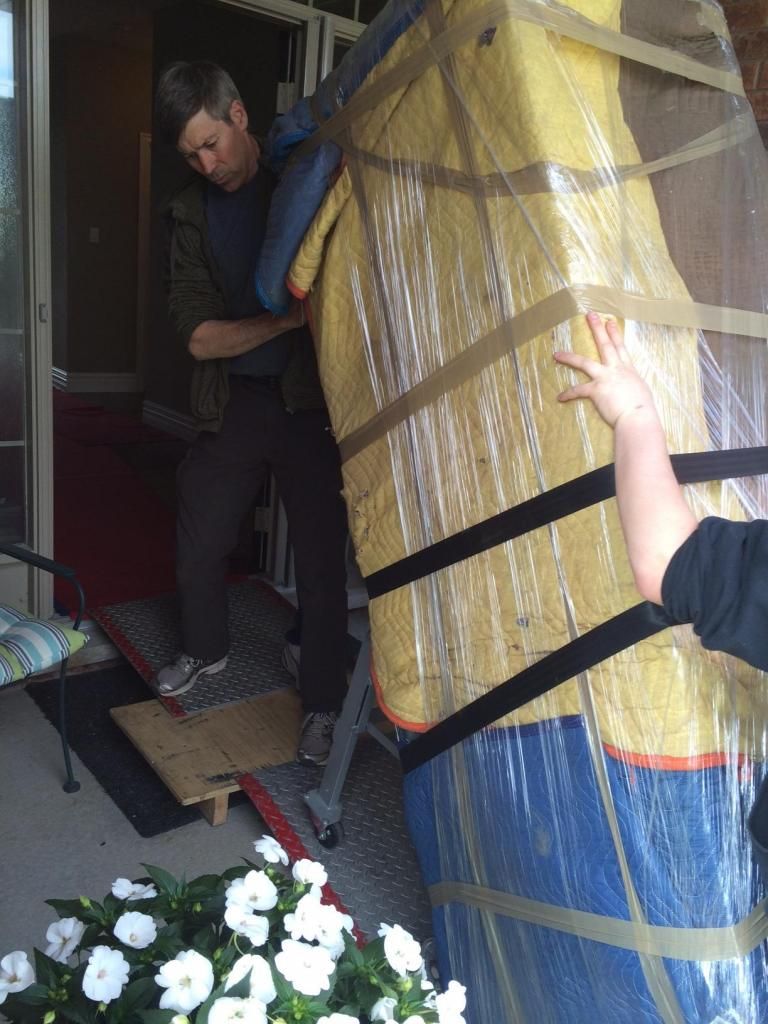 through the house... 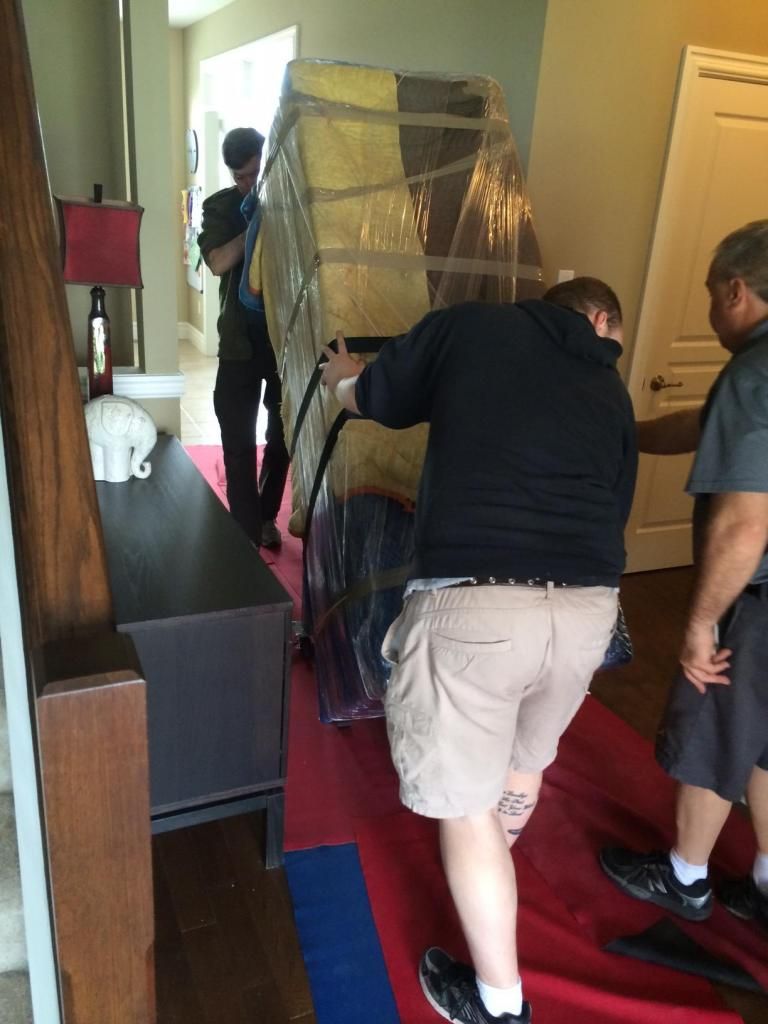 ..to the top of the landing... 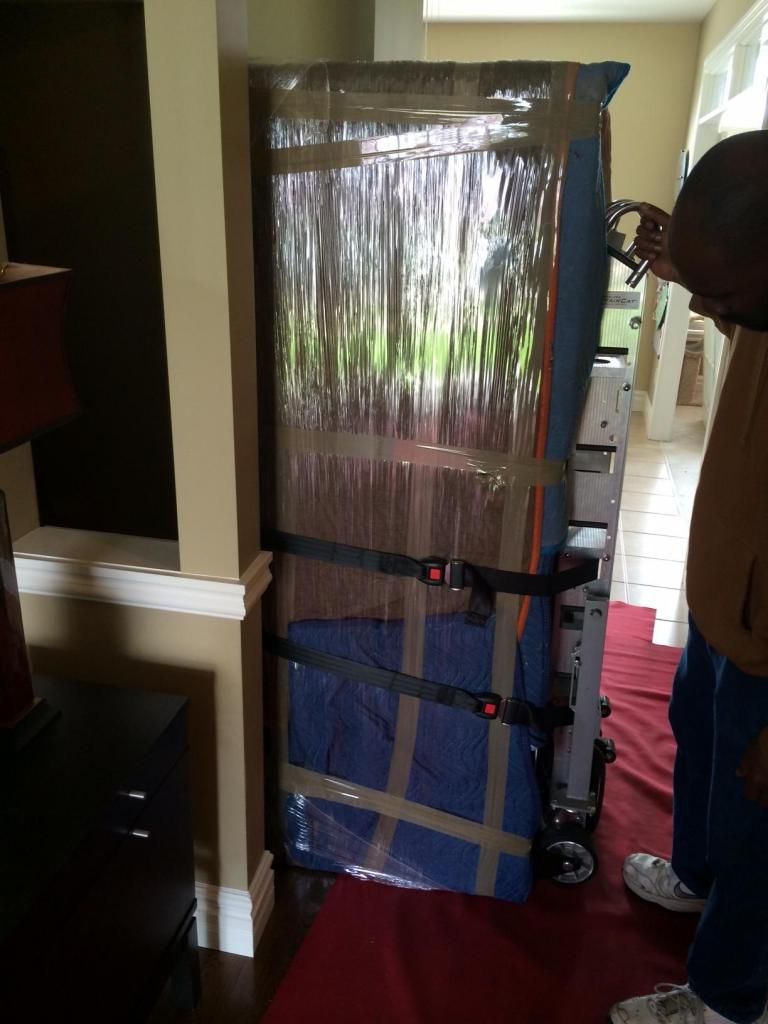 ..easy does it, slowly but surely, we put some plywood boards against the walls just in case  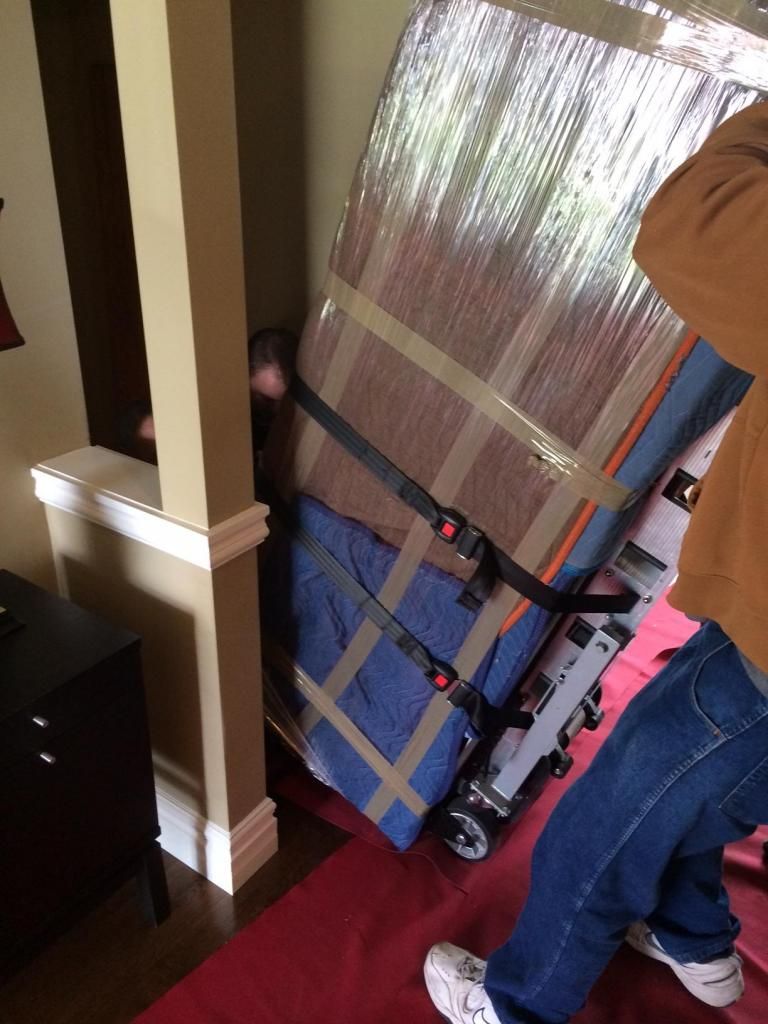 Now this is where it gets interesting, as it "kinda" gets stuck. We had to get it up on a 4 wheeled dolly to spin it around so it could fit through the door way and go down the last section of stairs 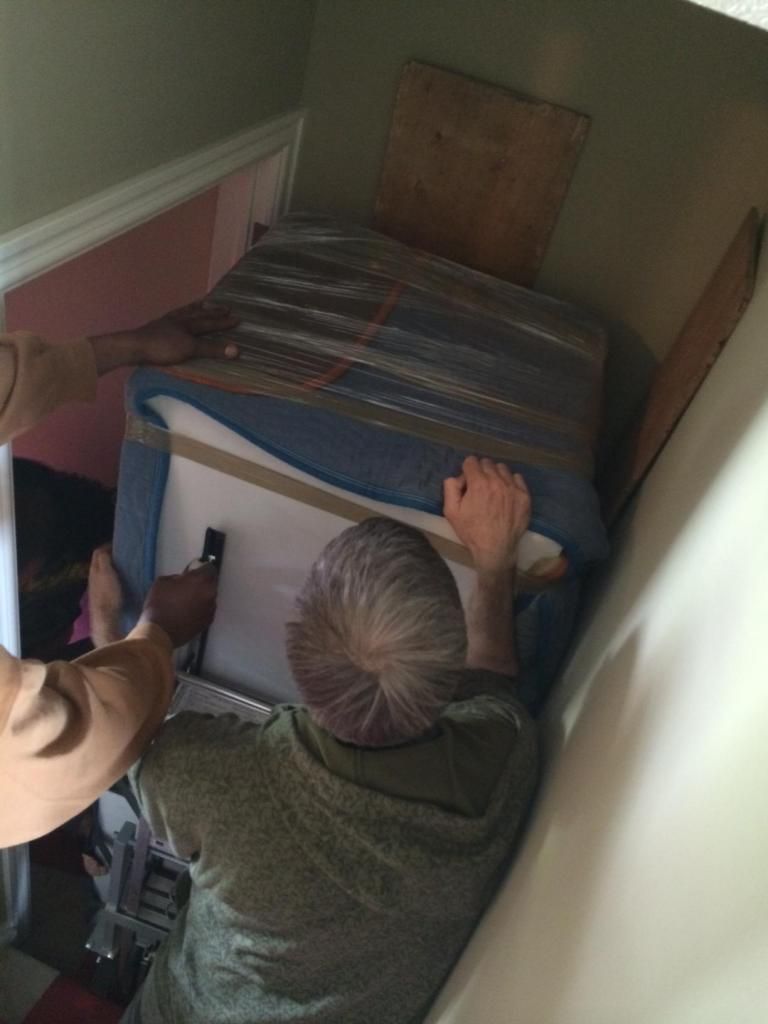 and I was seriously considering going with an 8 footer 
|
|
|
|
|
09/10/2014, 10:25 PM
|
#28 |
|
Registered Member
Join Date: May 2002
Location: London, Ontario
Posts: 200
|
..so here are the rest of the pics for the move down the stairs. This is when it got easy...easy for me to say
..a little help from gravity (notice the sweat on the runner  .. ..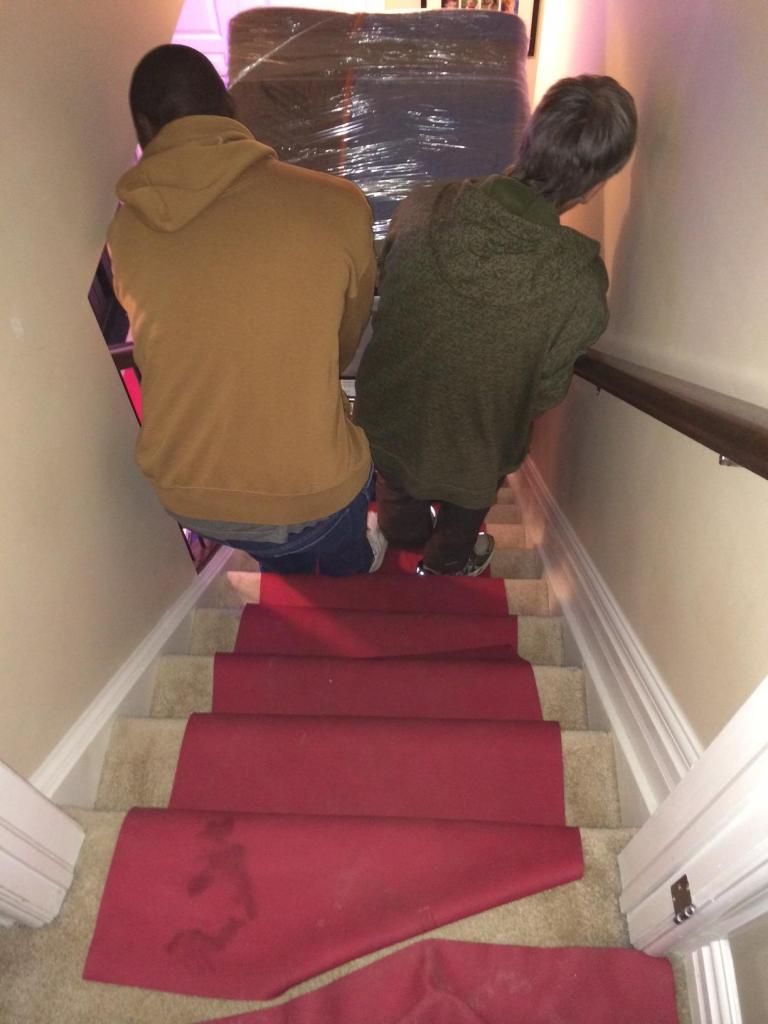 ..straight back 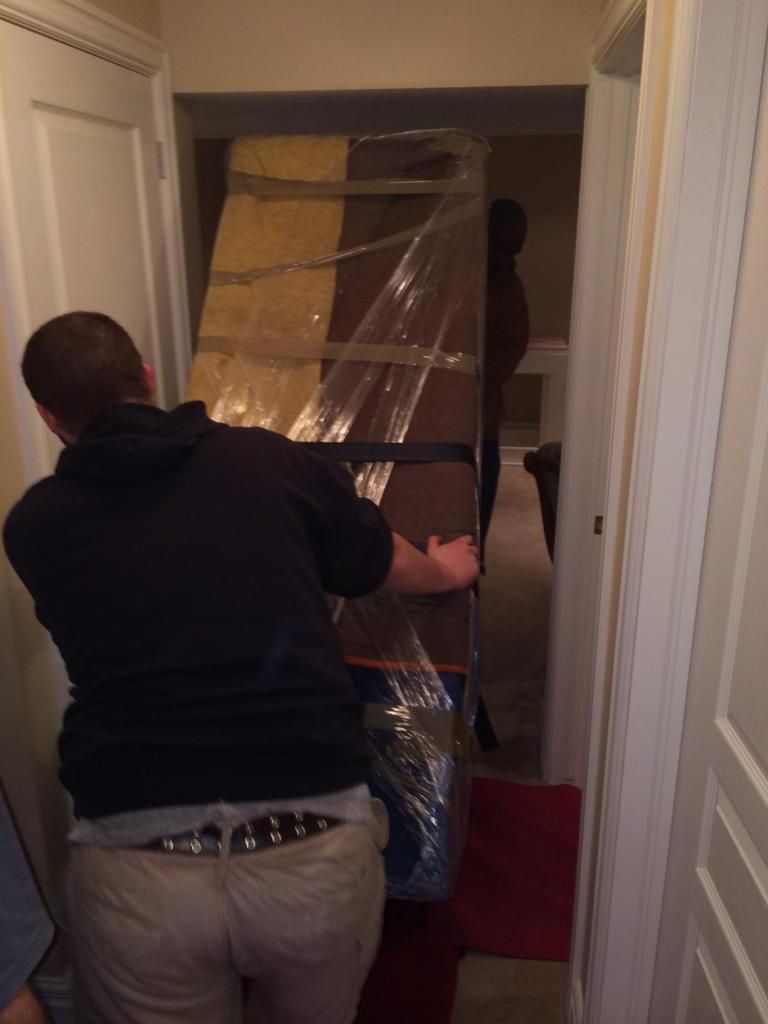 ...a little more to the left . 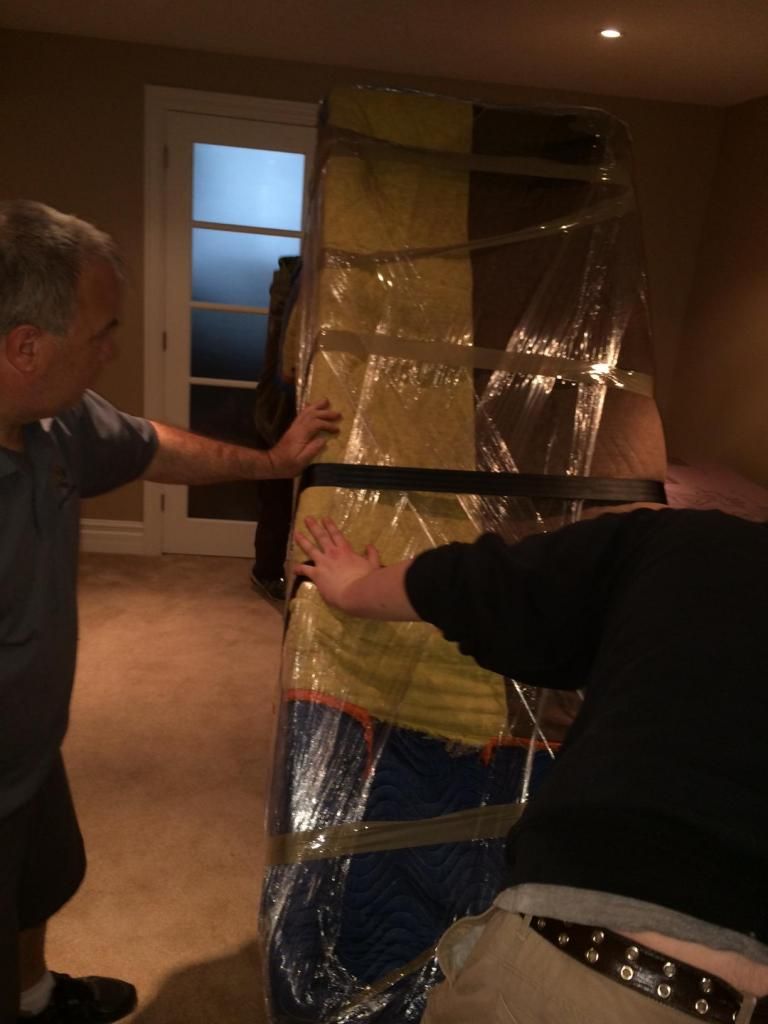 ready to take off the dolly, unwrapped and lifted back up on the stand . (notice the thin layer of white foam on the bottom of the tank, this was applied from the factory) 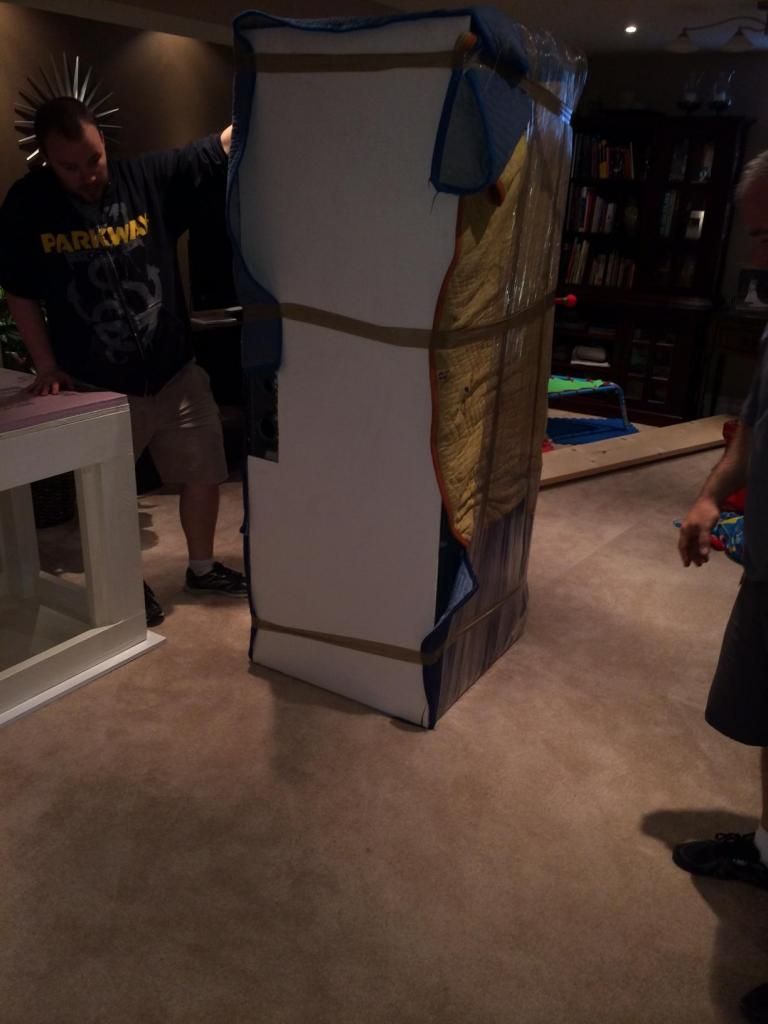 ..and here it rests, finally on its stand.. 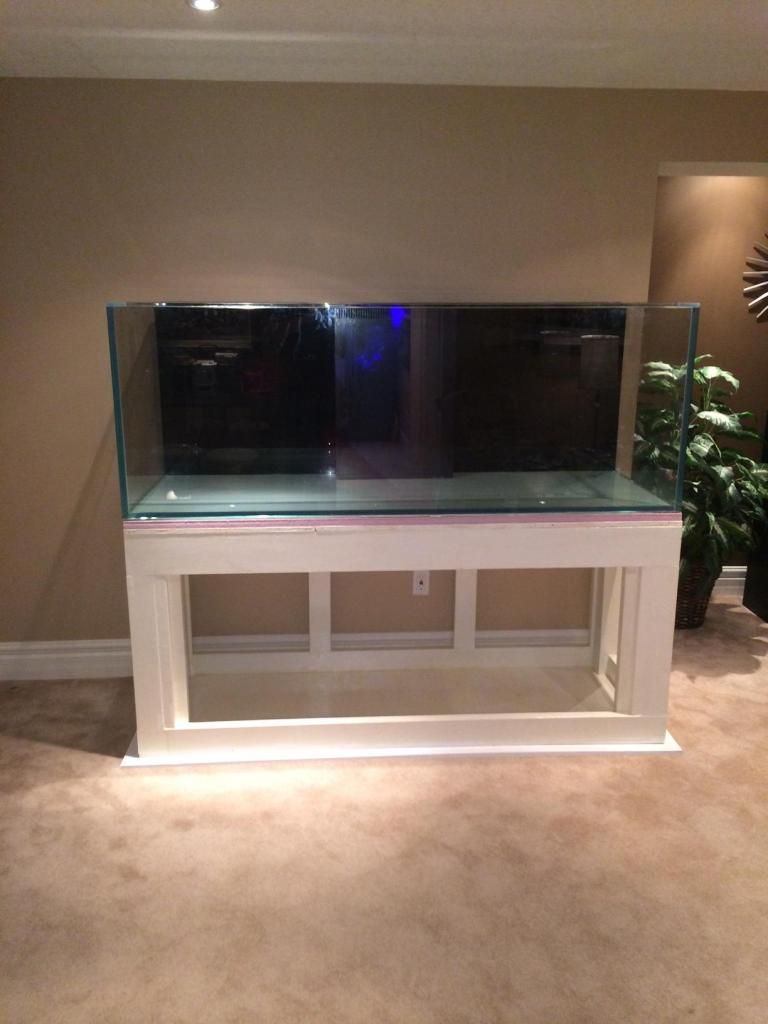 Now the fun can begin! 
|
|
|
|
|
09/11/2014, 08:26 AM
|
#29 |
|
Registered Member
Join Date: Feb 2012
Location: Chesterfield, MI
Posts: 1,209
|
Looking great! Cant wait!
|
|
|
|
|
09/11/2014, 09:42 AM
|
#30 |
|
Registered Member
Join Date: Dec 2013
Location: Wine Country CA
Posts: 2,593
|
Beautifully built tank with a great footprint! Excited to watch this one
__________________
Member of Wine Country Reefers Current Tank Info: 75 gal SPS dominant reef. Geo calcium reactor with masterflex pump, Deltec 1455 skimmer, 2 mp40QD, mp10wes, lit by a 6x54 dimable ATI sunpower and controlled by Reef Angel |
|
|
|
|
09/11/2014, 11:04 AM
|
#31 |
|
Registered Member
Join Date: May 2011
Location: Georgia
Posts: 113
|
Subscribed
Very nice!
|
|
|
|
|
09/11/2014, 11:44 AM
|
#32 |
|
Registered Member
Join Date: Feb 2008
Location: Miramar, FL
Posts: 7,518
|
Looks great. The first stand design is the same I used. Here it is finished....
 It was easy to put together. There are tons of pics and details on my build thread. Hope you don't mind the picture...... |
|
|
|
|
09/11/2014, 04:14 PM
|
#33 | |
|
Registered Member
Join Date: May 2002
Location: London, Ontario
Posts: 200
|
Quote:
 I keep coming back to that design and it looks fairly simple to build over top of my existing frame. I am going to add a third door, as my stand is 72 inches. I have been thinking that I will keep it on magnets for easy removal and mount the left and right doors on hinges. Thanks for sharing your pic, much appreciated. I did check out your build thread and I will refer back to it for pointers! |
|
|
|
|
|
09/11/2014, 04:15 PM
|
#34 | |
|
Registered Member
Join Date: May 2002
Location: London, Ontario
Posts: 200
|
Quote:
|
|
|
|
|
|
09/11/2014, 04:16 PM
|
#35 | ||
|
Registered Member
Join Date: May 2002
Location: London, Ontario
Posts: 200
|
Quote:
Quote:
|
||
|
|
|
|
10/04/2014, 09:07 AM
|
#36 |
|
Registered Member
Join Date: May 2002
Location: London, Ontario
Posts: 200
|
Just another update, I wasn't happy with my original overflow, as it needed a few mods. It also was made of 1/8" acrylic and it didn't think it be would be durable enough for the longterm.
I put an order out to JT custom acrylics, and Jon hooked me up with a masterpiece! Can't say enough about how good Jon is to work with, and would recommend him to anyone wanting custom acrylic work. Here are a few shiny pics of it all glued together and ready to go…   
|
|
|
|
|
10/04/2014, 09:12 AM
|
#37 |
|
Registered Member
Join Date: May 2002
Location: London, Ontario
Posts: 200
|
Here are some more pics of the plumbing run from my tank to the water-change area
now that's a lot of hose!  the beginning i.e. my furnace room  through the ceiling, along the hallway..  and under the stairs and into the closet  back out of the closet, into the ceiling, across the hallway, and into the ceiling of a storage room  a hole is cut into the ceiling close to the wall to where the tank is (you can see where I broke the drywall as I was shoulder deep shoving the tubing down the wall)..  then the remaining hose is run along the ceiling and down toward the sump underneath the tank, I cut into a decorative plate to clean things up 
|
|
|
|
|
10/04/2014, 09:14 AM
|
#38 |
|
Registered Member
Join Date: May 2002
Location: London, Ontario
Posts: 200
|
Here is a pic of the run going in the ceiling between the floor joists..

|
|
|
|
|
10/04/2014, 09:31 AM
|
#39 |
|
Registered Member
Join Date: May 2002
Location: London, Ontario
Posts: 200
|
I am using dry rock for this build, as I have been slowly building my collection of genuine BRS Pukani rock and BRS shelf rock.
 Here is a pic of my bin of Pukani  Here is a pic my bin of shelf rock  I have already prepped it for my tank by: - power washing - physically plucking any dead organic matter - weak dip in muratic acid dip - multiple soaks it in RODI water for many months - soak in vinegar - dried out in sun So it is ready to be all glued together. I have a bunch of acrylic rods and epoxy on hand, so I need to get going on this too. Im going to go with a simple 2 island aquascape. Both structures will have a pyramidal design, being very wide at the the bottom to prevent shadowing and lots of space for my sticks |
|
|
|
|
10/05/2014, 10:02 AM
|
#40 |
|
Registered Member
Join Date: Feb 2008
Location: Canada
Posts: 1,555
|
Overflow looks good and looking forward to seeing the scape! Set aside any extra rock you have and I'll happily buy it off you.
__________________
45 Gallon Shallow Aquacultured SPS Reef |
|
|
|
|
10/05/2014, 11:17 AM
|
#41 |
|
Dansreeftank
Join Date: Jun 2012
Location: chula vista Ca
Posts: 1,388
|
Man I was sweating with you guys watching going down the stairs must have been nerve racking. ..Can't wait to see what u do with those rocks like pukani rocks. .
__________________
48x30x20 Leemar rimless starphire panels, lit by an Ati hybrid powermodule, apex controller with apex dos, ghl dosing, mp40qd and tunze. And korallen skimmer. |
|
|
|
|
10/05/2014, 11:41 AM
|
#42 | |
|
Registered Member
Join Date: May 2002
Location: London, Ontario
Posts: 200
|
Quote:
|
|
|
|
|
|
10/05/2014, 11:52 AM
|
#43 | |
|
Registered Member
Join Date: May 2002
Location: London, Ontario
Posts: 200
|
Quote:
I will hopefully have my scape figured out soon! |
|
|
|
|
|
10/05/2014, 12:43 PM
|
#44 |
|
Moved On
Join Date: Sep 2014
Location: Sunny San Diego
Posts: 69
|
Looks superb! Following this build.
|
|
|
|
|
10/06/2014, 11:00 AM
|
#45 | |
|
Registered Member
Join Date: Feb 2008
Location: Canada
Posts: 1,555
|
Quote:
__________________
45 Gallon Shallow Aquacultured SPS Reef |
|
|
|
|
|
10/06/2014, 11:03 AM
|
#46 | |
|
Acroholic
 Join Date: Jan 2013
Location: London, Ontario
Posts: 296
|
Quote:
__________________
~Phil Current Tank Info: 205 gallon in-wall, SPS dominated |
|
|
|
|
|
10/06/2014, 11:48 AM
|
#47 |
|
Registered Member
Join Date: Aug 2007
Location: Lexington, SC
Posts: 709
|
Tagging along to see things develop.
|
|
|
|
|
10/07/2014, 08:45 PM
|
#48 | ||||
|
Registered Member
Join Date: May 2002
Location: London, Ontario
Posts: 200
|
Quote:
 Quote:
 Quote:

|
||||
|
|
|
|
10/12/2014, 10:54 AM
|
#49 |
|
Ultimate Reefer
Join Date: Apr 2002
Location: London, UK
Posts: 8,540
|
This is a quality build!
 Looking forward to seeing this wet. Any further updates for us? Looking forward to seeing this wet. Any further updates for us?
|
|
|
|
|
10/19/2014, 08:12 PM
|
#50 | |
|
Registered Member
Join Date: May 2002
Location: London, Ontario
Posts: 200
|
Quote:
Set up my bean animal drain system this weekend...  You can see my return coming up through the bulkhead on the far left. I went from 1" rigid PVC to 1" flexible PVC, then reduced into a 3/4" manifold that will run along the rear of the top of the overflow. It will tie into two 3/4" loc-line connections. The trickle and full siphon drains go from 1" bulkheads to 1.5" PVC The emergency drain runs from a 1.5" bulkhead straight up into 1.5" PVC  Had to make sure all went together as planned, before things were krylon fusioned!  
Last edited by teebone110; 10/19/2014 at 08:17 PM. |
|
|
|
|
 |
|
|


