
|
|
 04/07/2021, 05:10 PM
|
#1 |
|
Registered Member
Join Date: Jun 2010
Location: Jonesboro, Ar
Posts: 284
|
DIY magnetic stirrers
I posted earlier that I was in the process of making a DIY magnetic stirrer. I've got it finished and here are the pictures I took along the way, with a few comments. I've got to say it works perfectly.
here you go.... 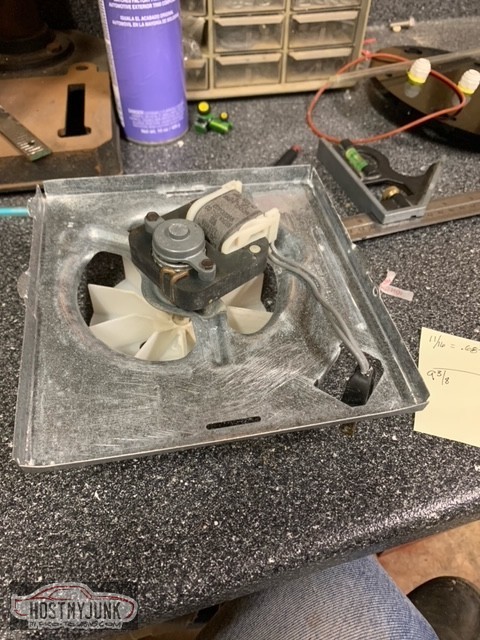 This is the fan motor taken out of the exhaust fan, bottom side 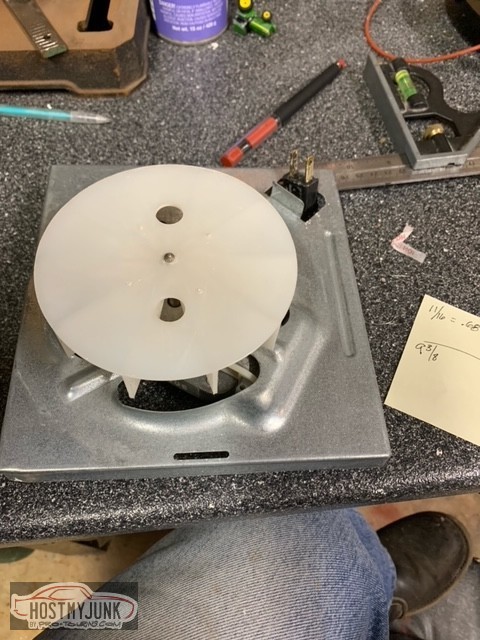 Same picture but the top side of fan. 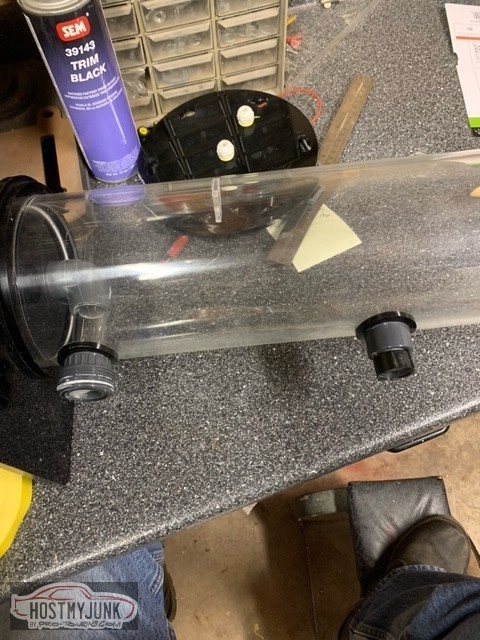 This shows the original kalkwasser (stirrer) I started with. 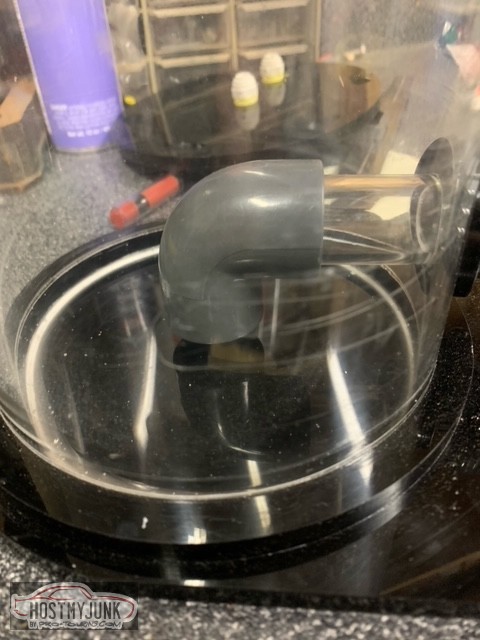 This elbow has to be cut off because it isn't used anymore and it's just in the way of the magnetic stirrer. 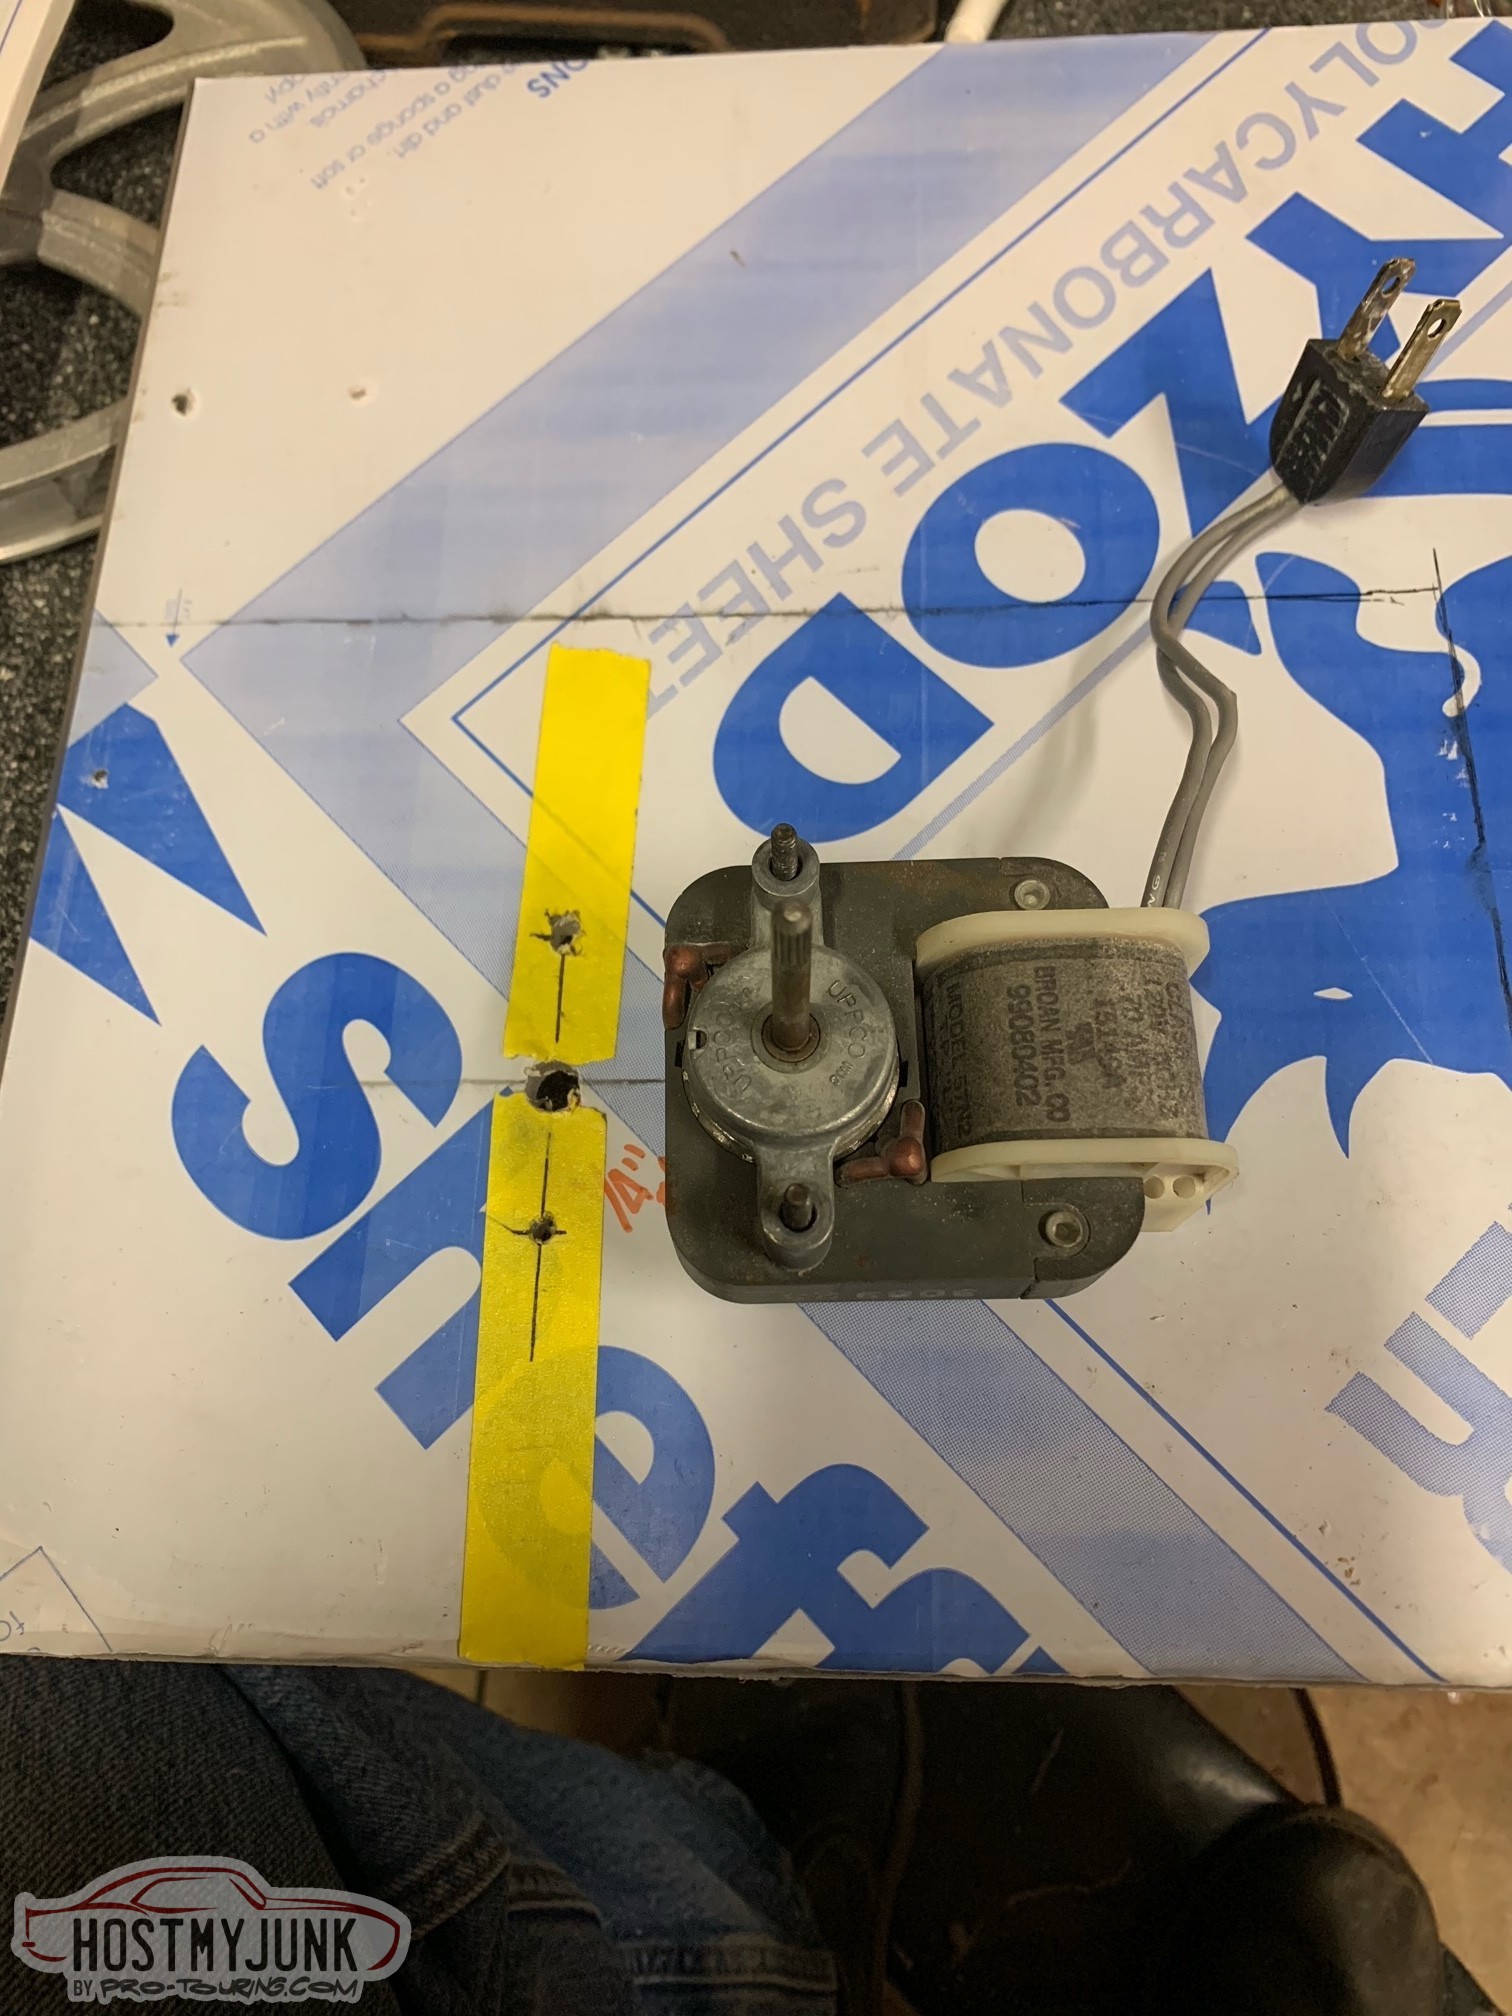 This image shows the polycarbonate I used as the "holder" of the motor assembly. 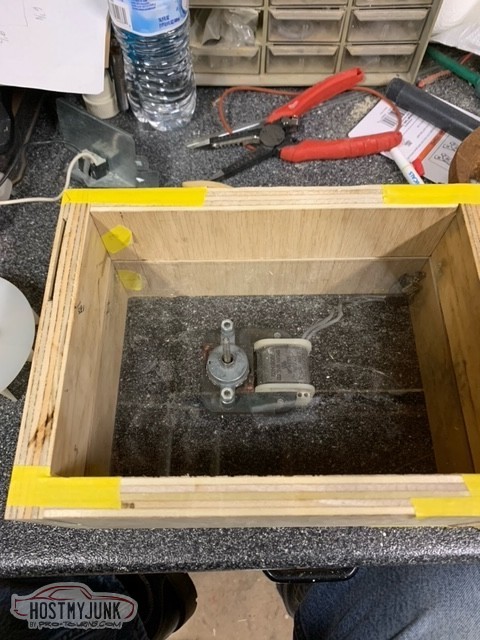 After making the box out of plywood and putting it together this picture shows the motor assembly in the box. 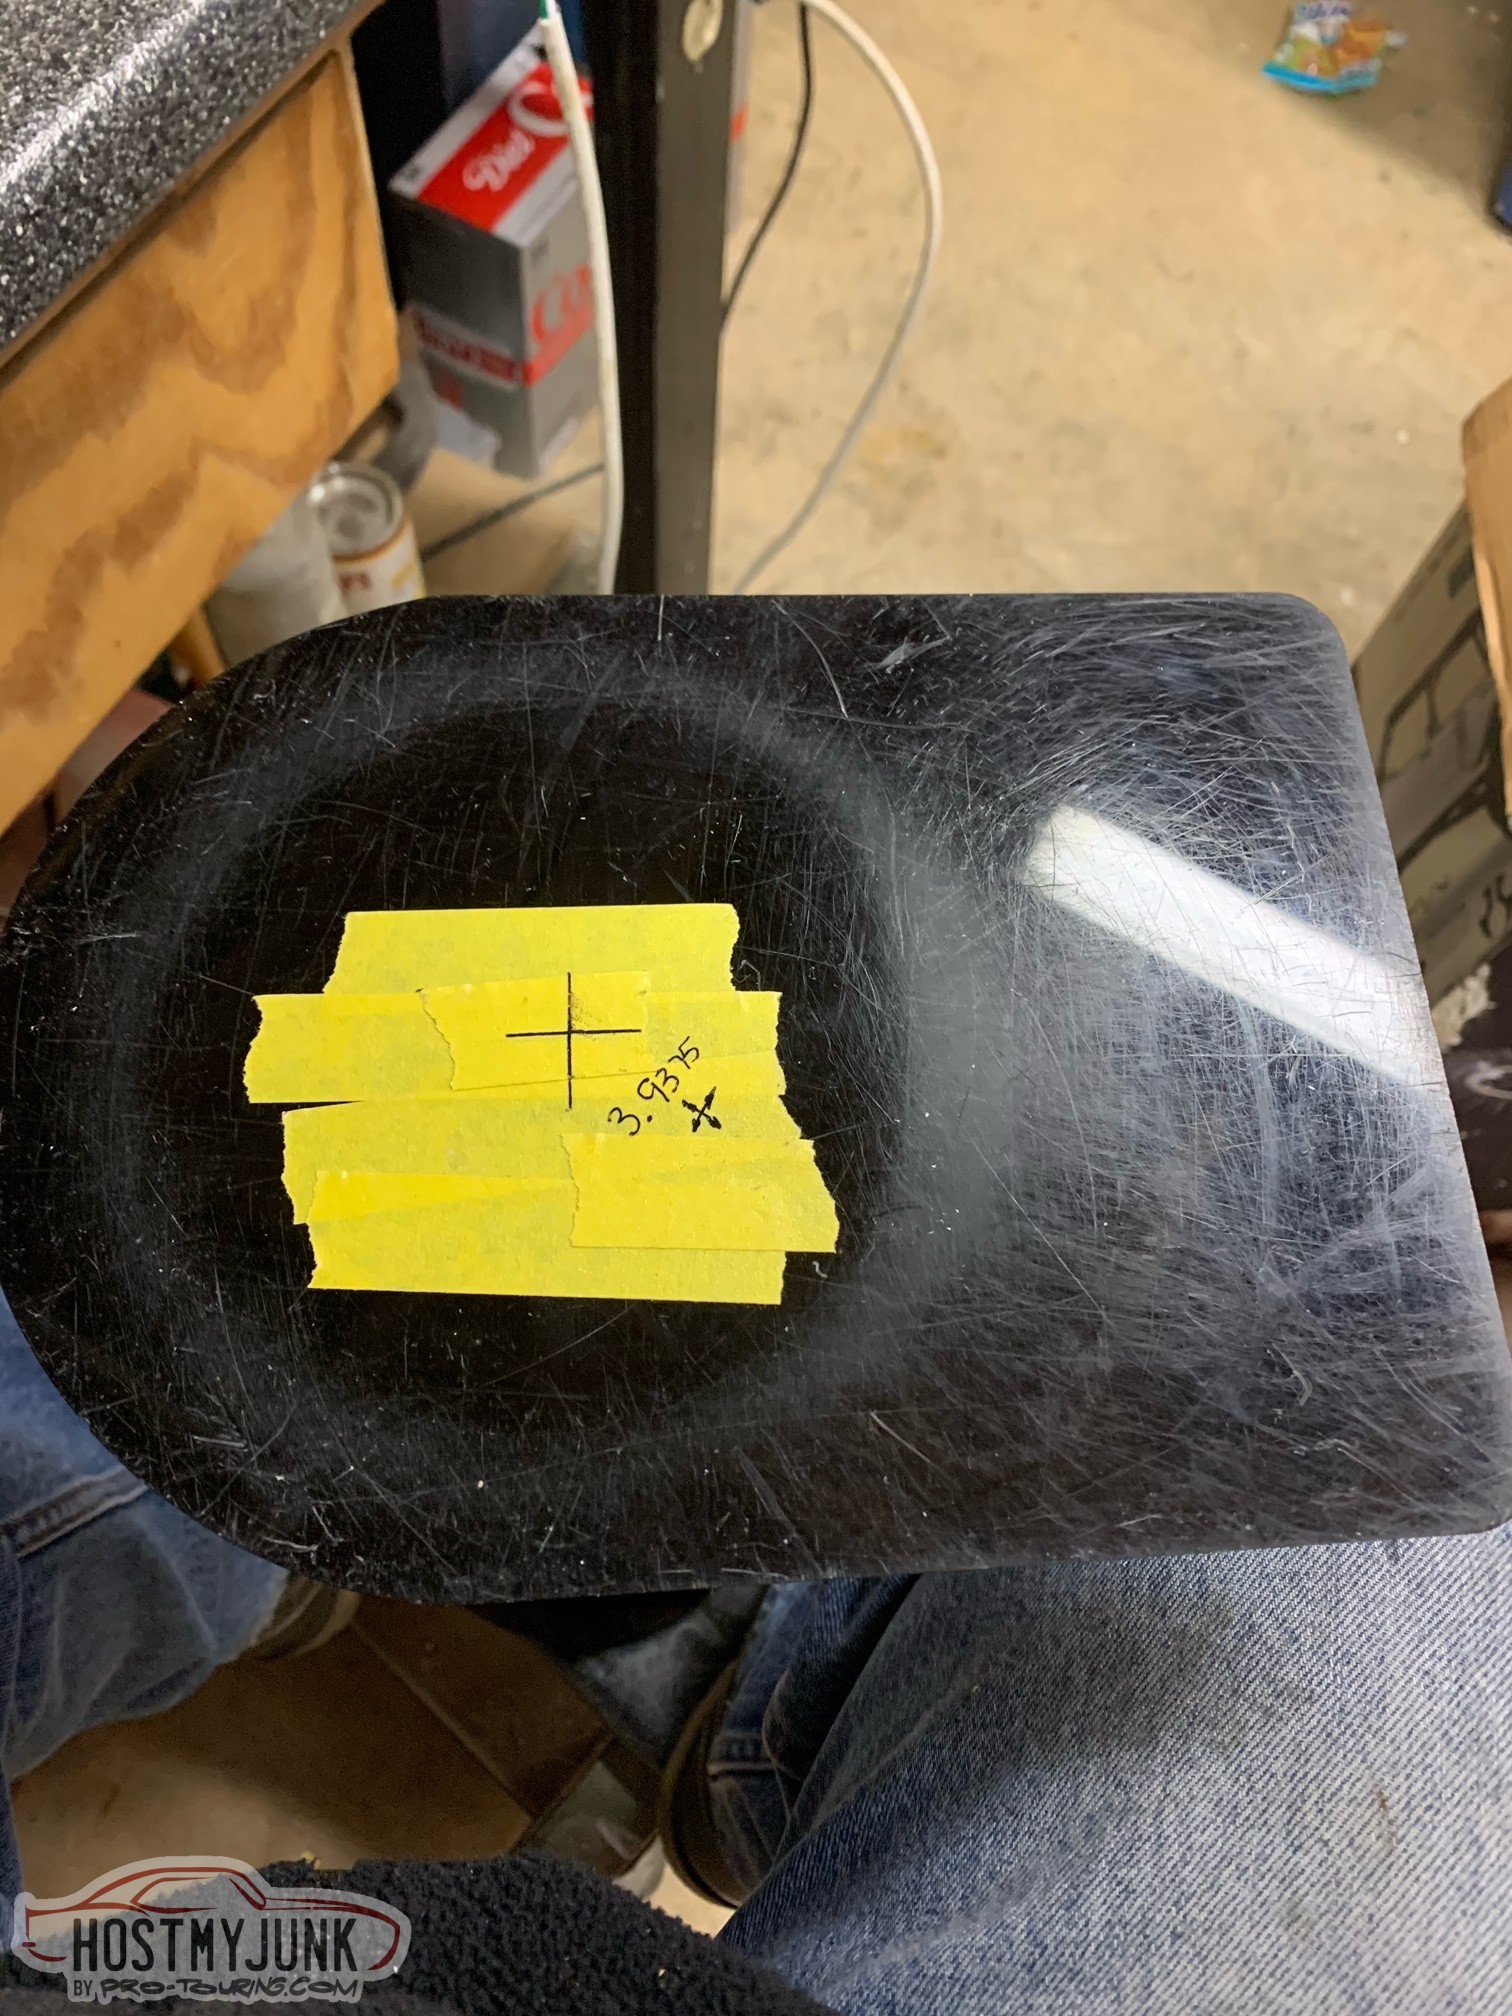 I measured, and found the center of the old kalk stirrer. NOTE: it is better to have the motor and the magnets as close to concentric as possible. It will make for a smoother operation. 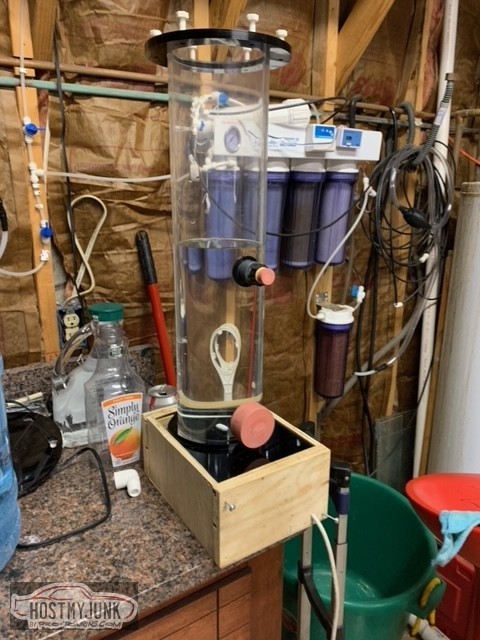 A picture of the completed unit.. You'll see the two red objects, they are plugs. The PVC fittings that the original kalk stirrer was plumbed with are metric fittings. I couldn't find but in one place. I ordered them and when they arrived they were too big, so I made my own. 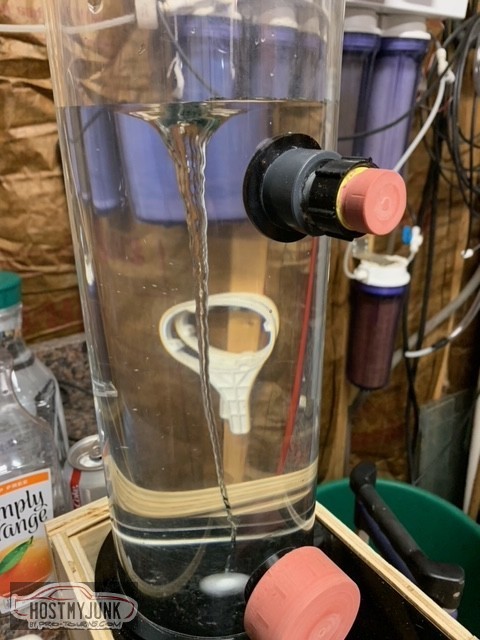 Completed with the stirrer half full of water and running. Light at the end of the tunnel!! 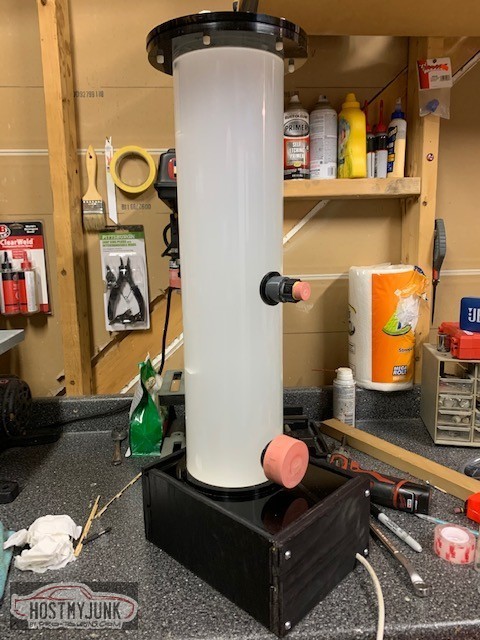 This shows the stirrer with a little kalk powder in it. Works really well. For some reason I did not show any pictures of the magnets glued onto the fan base. If anyone wants pictures of that, or where and what kind of magnets I used I will be more than glad to get that for you. My son was remodeling his bathroom and wanted a new exhaust fan with a light. He was going to throw the old one away, so that came pretty cheap. Anyway enjoy. I hope I have these in somewhat of a decent order. Let me know what you guys think. Last edited by wilsonreefs; 04/07/2021 at 05:37 PM. |

|

|
|
04/13/2021, 09:27 AM
|
#2 |
|
Registered Member
Join Date: Jun 2010
Location: Jonesboro, Ar
Posts: 284
|
no thoughts from anyone?
|
|
|
|
|
04/13/2021, 01:04 PM
|
#3 |
|
Registered Member
Join Date: Feb 2018
Posts: 18
|
thats brilliant mate, nicely done !
|
|
|
|
|
04/13/2021, 01:07 PM
|
#4 |
|
Registered Member
Join Date: Feb 2018
Posts: 18
|
would like to see the magnets on the fan if you have those pics, onky thing missing
|
|
|
|
|
04/15/2021, 05:59 PM
|
#5 |
|
Registered Member
Join Date: Jun 2010
Location: Jonesboro, Ar
Posts: 284
|
I'll take some pics this weekend, or maybe even tomorrow (Friday). I really don't understand why I left those out. At any rate I'll get those pics posted.
|
|
|
|
|
04/23/2021, 04:26 PM
|
#6 |
|
Registered Member
Join Date: Jun 2010
Location: Jonesboro, Ar
Posts: 284
|
Sorry for the delay...
Here you go 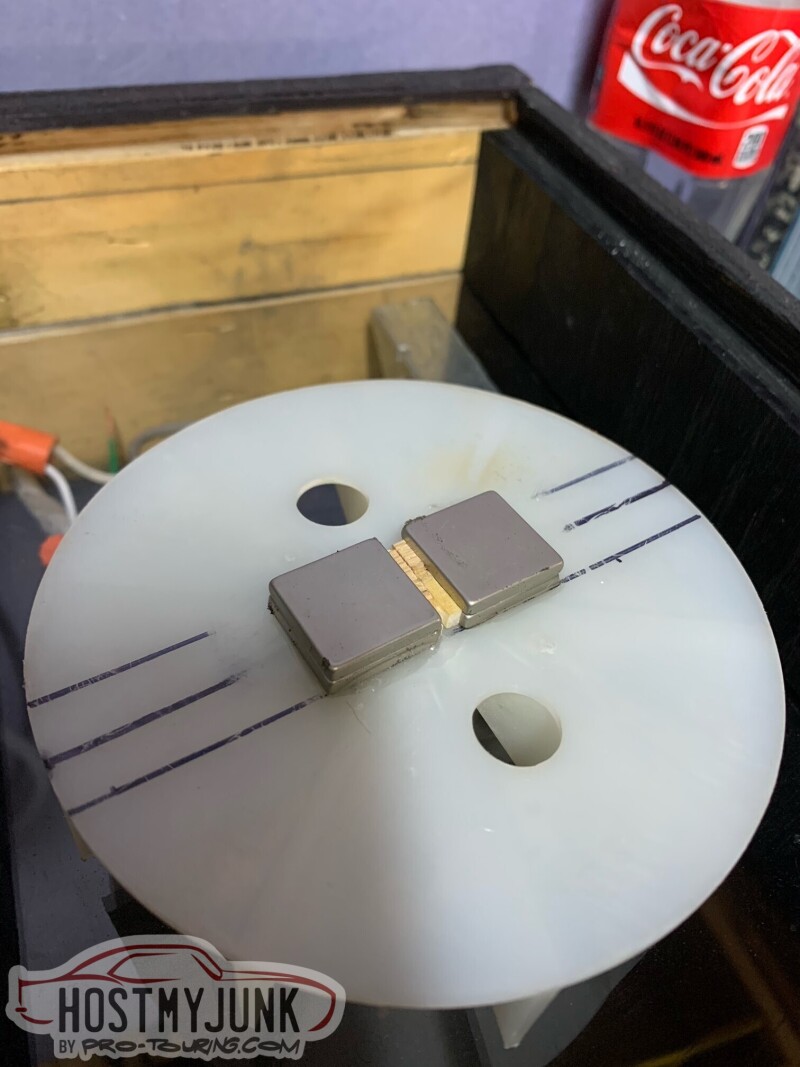 I used the neodymium magnets that were 1/8" thick by 3/4" x 3/4". I used two magnets on each end and glued them on with a two part epoxy. Try to make the magnets spread equal to the length of the spinner. I used the 1" spinner. Last edited by wilsonreefs; 04/23/2021 at 04:35 PM. |
|
|
|
|
04/24/2021, 12:38 AM
|
#7 |
|
Registered Member
Join Date: Feb 2018
Posts: 18
|
good stuff , thanks for the info mate
|
|
|
|
|
05/10/2021, 07:30 AM
|
#8 |
|
Registered Member
Join Date: Sep 2002
Location: TX
Posts: 1,090
|
Nicely done!
__________________
Steve My Tanks 50x30 ABS Tub & a 48x24 frag tank at the moment Steve's Reef 265 Build In Progress |
|
|
|
|
05/12/2021, 05:03 PM
|
#9 |
|
Registered Member
Join Date: Jun 2010
Location: Jonesboro, Ar
Posts: 284
|
Thanks guys...
|
|
|
|
 |
| Thread Tools | |
|
|


