
|
|
|
|||||||
 |
| Thread Tools |
 06/05/2009, 10:05 PM
|
#101 |
|
Registered Member
Join Date: May 2007
Location: Englewood, co
Posts: 519
|
Almost can't go wrong with that plan, we all have learned a bit that way I'm sure me for sure
|

|

|
|
06/09/2009, 09:35 AM
|
#102 |
|
Moved On
Join Date: Oct 2008
Location: here.
Posts: 2,509
|
well the tank is offically 100% done just needs a good cleaning from all the wax and stuff from polishing....i got the 5ft calflo overflow installed and all three 1.5" durso's for the bean animals dead silent failsafe operation..thanks bean, and jim "uncleof6"for sticking with me and helping out.......
almost there........  it should be filled in less than 3 weeks...SWEET!!!!!! it should be filled in less than 3 weeks...SWEET!!!!!!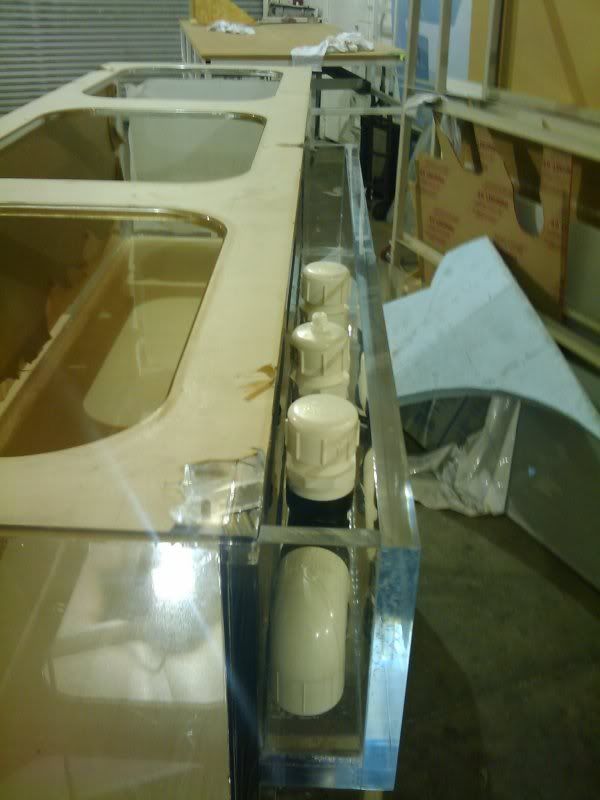  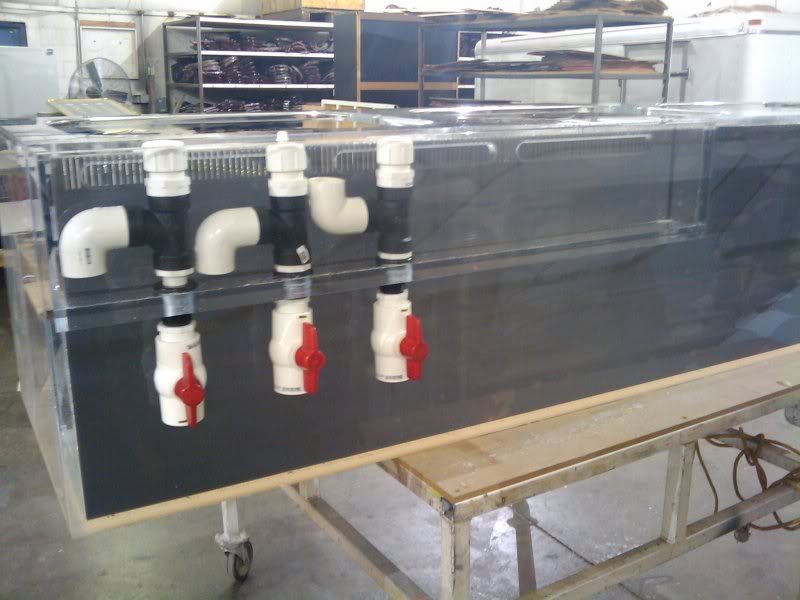 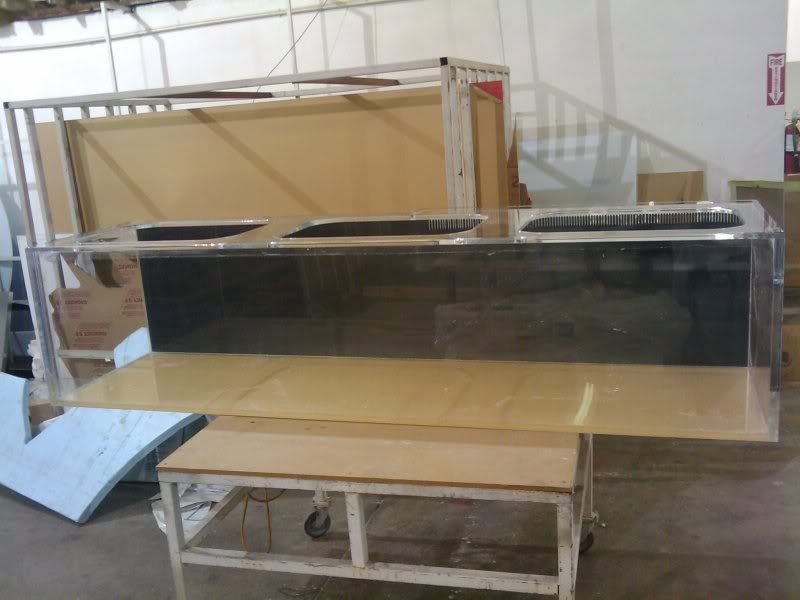
|
|
|
|
|
06/09/2009, 10:26 AM
|
#103 |
|
Registered Member
Join Date: Oct 2007
Location: The Dirty South
Posts: 315
|
Very nice!
What are the final dimensions? dantimdad
__________________
The scientists of today think deeply instead of clearly. One must be sane to think clearly, but one can think deeply and be quite insane. - Nikola Tesla Current Tank Info: 50 reef (dry docked after vandalism...long story), 46 reef and getting ready to setup 300+ shark tank |
|
|
|
|
06/09/2009, 11:36 AM
|
#104 |
|
Moved On
Join Date: Oct 2008
Location: here.
Posts: 2,509
|
it turned out to be 30w 22t and 96l......i know its a funky size but my material came a little oversized and i utilized as much as i could get out of it. turned out to be a 275 but it's close enough to 300 to make me happy......
my current display is only a 160 so this will be nice and give me room for stuff......here is one more i couldnt edit the above post with the pics  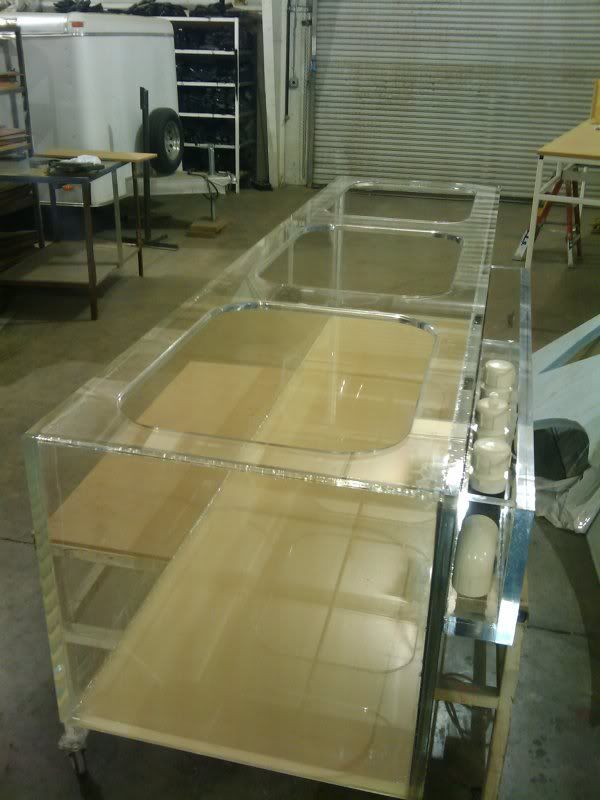
Last edited by troylee; 06/09/2009 at 12:03 PM. |
|
|
|
|
06/10/2009, 12:55 PM
|
#105 |
|
Registered Member
Join Date: Feb 2009
Posts: 355
|
Very nice tank.
How did you choose to have overflow on half side of the tank but not at the center or both ends? |
|
|
|
|
06/10/2009, 01:27 PM
|
#106 |
|
Moved On
Join Date: Oct 2008
Location: here.
Posts: 2,509
|
"thanks"just the way i plan on setting it up.......pretty much guessed since not very many people have exp. in the design i guess i asked around for awhile....... my plan was to have all the power heads on the left side and push everything to the right side......the overflow actually covers more than half the back of the tank i think it will be fine.......i hope anyways......those famous last words.lol.
well soon found out.......
|
|
|
|
|
06/11/2009, 03:27 PM
|
#107 |
|
Moved On
Join Date: Oct 2008
Location: here.
Posts: 2,509
|
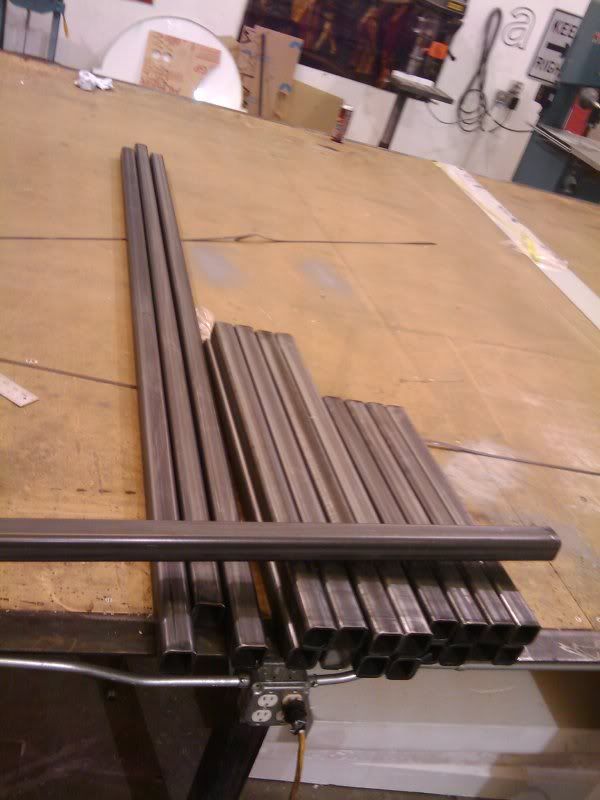
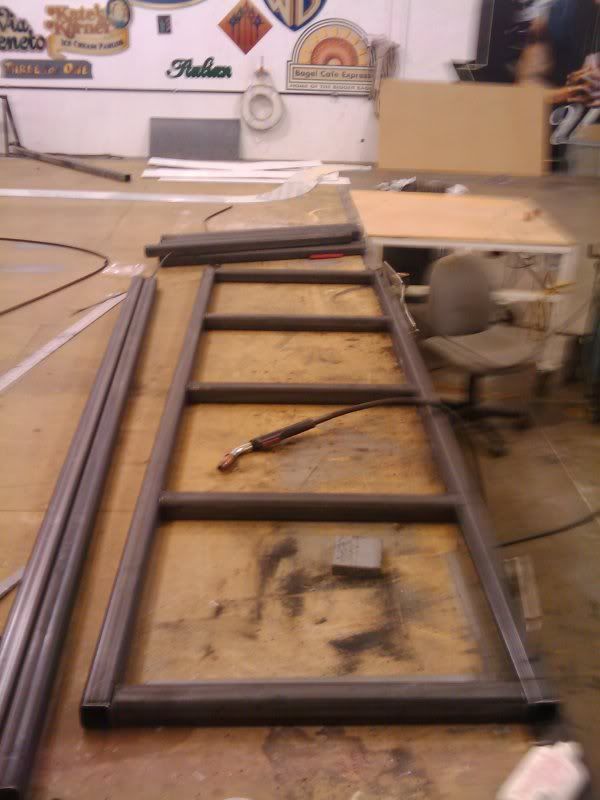
well the steel arrived finally for the stand so i got it all cut and degreased and tacked the top frame together.......hopefully tomorrow it will be ready to go.
|
|
|
|
|
06/11/2009, 04:49 PM
|
#108 |
|
Registered Member
Join Date: May 2007
Location: Hamilton Ontario
Posts: 160
|
nice progress
i love your build so far Can't wait to see more progress Zack |
|
|
|
|
06/11/2009, 06:19 PM
|
#109 |
|
Registered Member
Join Date: May 2007
Location: Englewood, co
Posts: 519
|
Looks great, the tank looks very nice. Are you adding adjusters to the stand for leveling?
|
|
|
|
|
06/11/2009, 11:54 PM
|
#110 |
|
Registered Member
Join Date: Apr 2009
Location: MN
Posts: 599
|
Troylee that tank is looking great! Wish I was good using acrylic and could build my own tank!
__________________
I smell something Fishy! Oops excuse me! Current Tank Info: 180gal Mixed Reef |
|
|
|
|
06/12/2009, 07:55 AM
|
#111 |
|
Registered Member
Join Date: Oct 2005
Location: Charleston,SC
Posts: 766
|
What a beauty!! Well done TroyLee!
|
|
|
|
|
06/12/2009, 08:51 AM
|
#112 |
|
Moved On
Join Date: Oct 2008
Location: here.
Posts: 2,509
|
Thanks for the kind words frankie and ferret and d-tech.....almost got the stand done will post pics in a little while....can we say over kill?????lol...my co-workers think I'm nuts there like man you could park a russian tank on that thing......it don't really look overkill to me but the material is a real heavy gauge..and the stand is heavy its self around 3or 400lbs......the only thing it 's gonns hurt is my back moving it in lol.....
|
|
|
|
|
06/12/2009, 01:45 PM
|
#113 |
|
Moved On
Join Date: Oct 2008
Location: here.
Posts: 2,509
|
well i finished up the stand the frame anyways.still gonna skin it with wood down the road, real nice after momma pics out some wood she likes.....
.....so here is some pics as promised and the tank loaded in my truck coming home today for a leak test over the weekend........WHICH BRINGS ME TO THE SCARIEST PART OF THE BUILD SO FAR INTRODUCING THE WIFE TO THE NEW TANK!!!!!!!! she is gonna kill me lol......i told it her it was just a tad bigger than the one i have now which it is it's only a foot wider and 2ft longer lol.........it sounded good..... so time to pay the price and get it off my shoulders.she will be fine by monday....i got back up shes getting a new bigger house so there is no arguing lol.......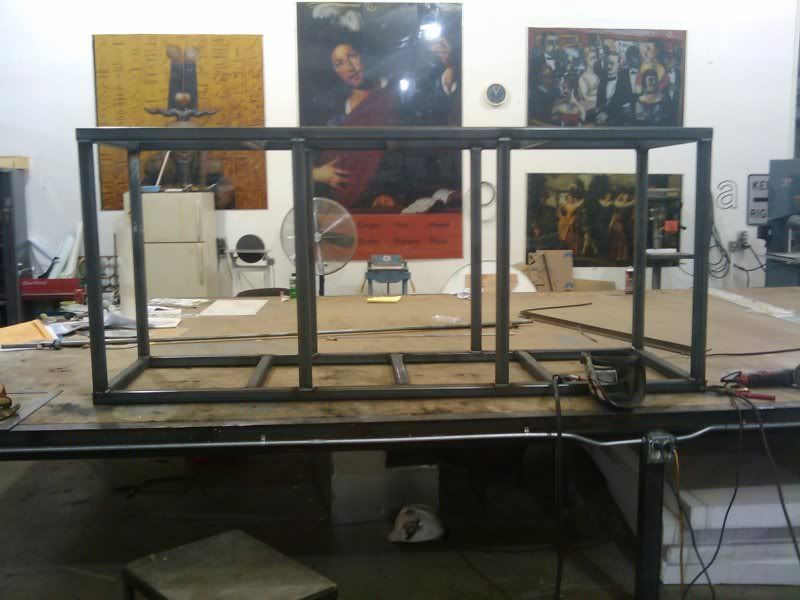 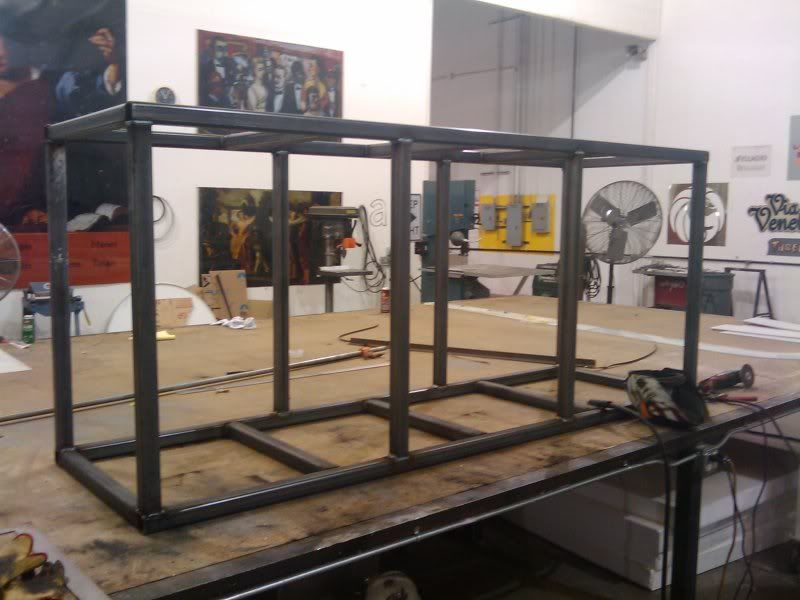  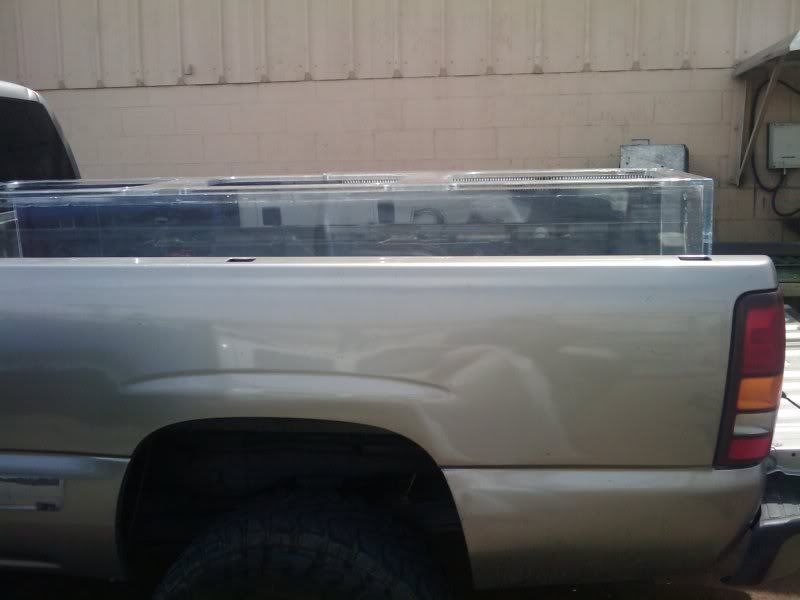
|
|
|
|
|
06/12/2009, 04:41 PM
|
#114 |
|
Moved On
Join Date: Oct 2008
Location: here.
Posts: 2,509
|
well the introduction went well the wife won't speak to me..her last words were "well im done packing my stuff have fun in your new house with your new tank......lol.
she will get over it....and more good news the leak test passed and 2 out of my 3 curious little ones joining in on the fun.... more pics to come.....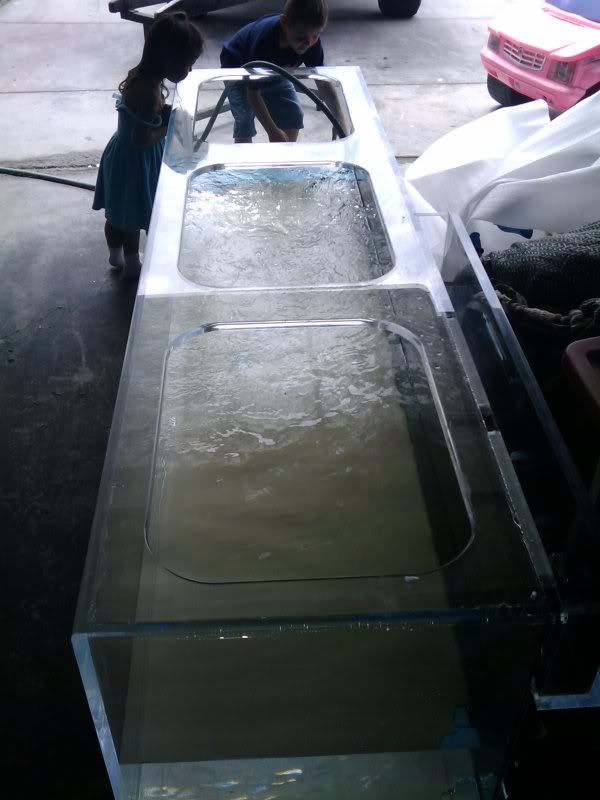 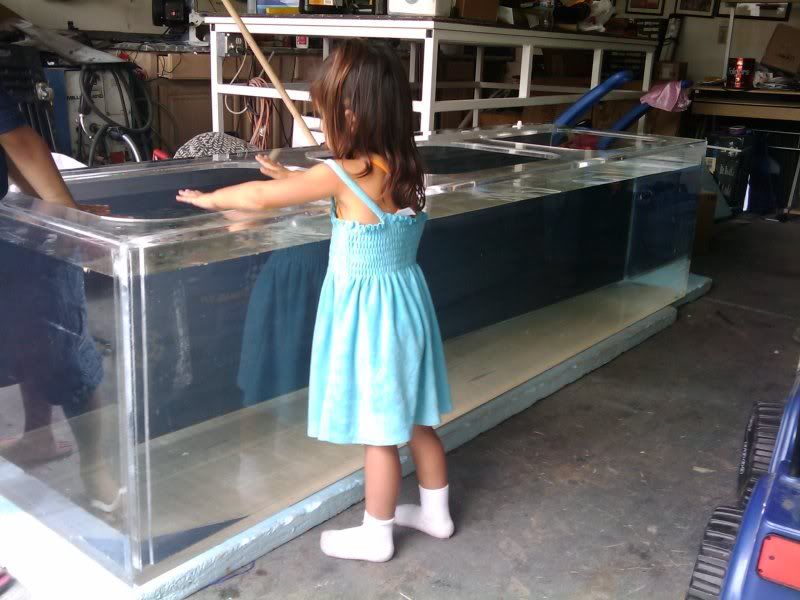
|
|
|
|
|
06/12/2009, 08:22 PM
|
#115 |
|
Registered Member
Join Date: Oct 2005
Location: Charleston,SC
Posts: 766
|
That's awesome
Well worth a week or two in the dog house 
|
|
|
|
|
06/12/2009, 09:34 PM
|
#116 |
|
Registered Member
Join Date: May 2007
Location: Englewood, co
Posts: 519
|
Worth it I say too
Looks good with H2O in there.
|
|
|
|
|
06/12/2009, 11:14 PM
|
#117 |
|
Registered Member
Join Date: Jul 2004
Location: AWOL
Posts: 12,013
|
I think the kids want to go swimming in it Troylee. When it is done balancing out, get them all a little Nemo.
Jim
__________________
"Things should be made as simple as possible, but not simpler." (oft attributed to Einstein; most likely paraphrasing by Roger Sessions; compactly articulates the principle of Occam's Razor) Current Tank Info: 325 6' wide Reef |
|
|
|
|
06/13/2009, 10:08 AM
|
#118 |
|
Moved On
Join Date: Oct 2008
Location: here.
Posts: 2,509
|
Now jim.....come on man we all know the picture is coming you know the tradtional one on tank builds this large.....I already promised them they could go swimming in it...lol....just needs to warm up...
heck I was already in it before I filled it with water its pretty big inside there.....
|
|
|
|
|
06/15/2009, 03:17 PM
|
#119 |
|
Moved On
Join Date: Oct 2008
Location: here.
Posts: 2,509
|
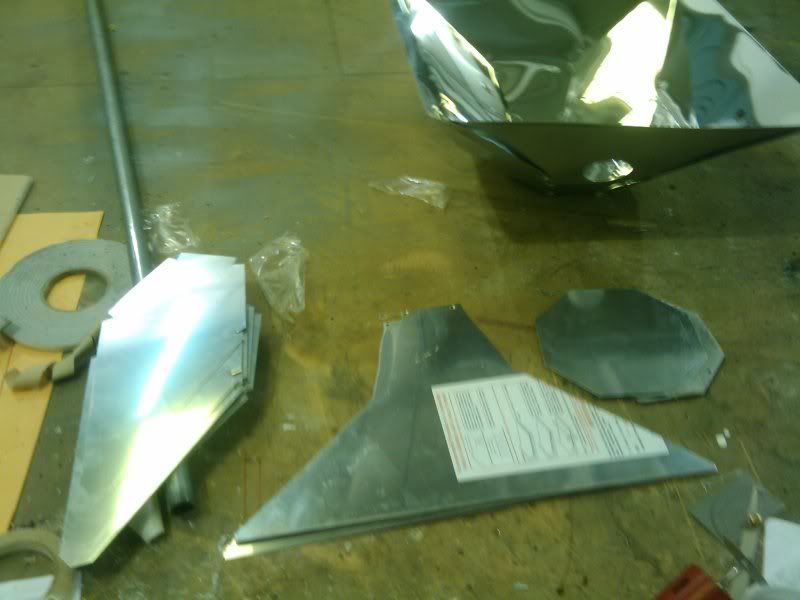
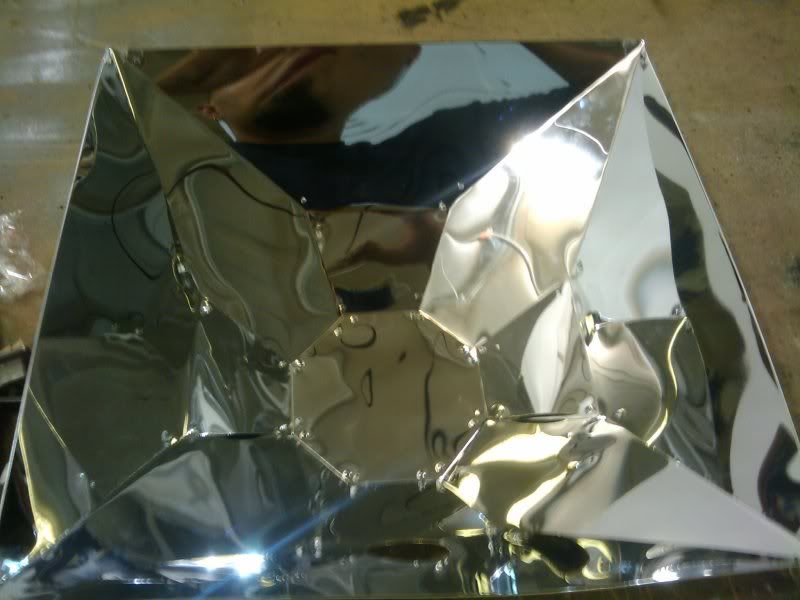
well after a break for the week end i hit it hard again today and got all my material cut out and the first of 4 d.i.y. lumenarcs done.....
|
|
|
|
|
06/17/2009, 02:19 PM
|
#120 |
|
Moved On
Join Date: Oct 2008
Location: here.
Posts: 2,509
|
ok the lumenarcs are done the frame is rhino lined and the power/breaker box is wired and ready for install......my darn labeler ran out so not all the switches and plugs are labeled but they will be please forgive me.....lol.....i got five 20amp gfi plugs all wired ind. with a switch to kill each one and a master switch that will kill all 5 if your wandering why there is 6 switches and 5 plugs........
QUICK RECAPP...... diy tank diy sump diy stand diy rhino line on stand... diy lumenarcs diy breaker box..... all thats left is the wood for the frame and canopy but thats later after shes up and running.....  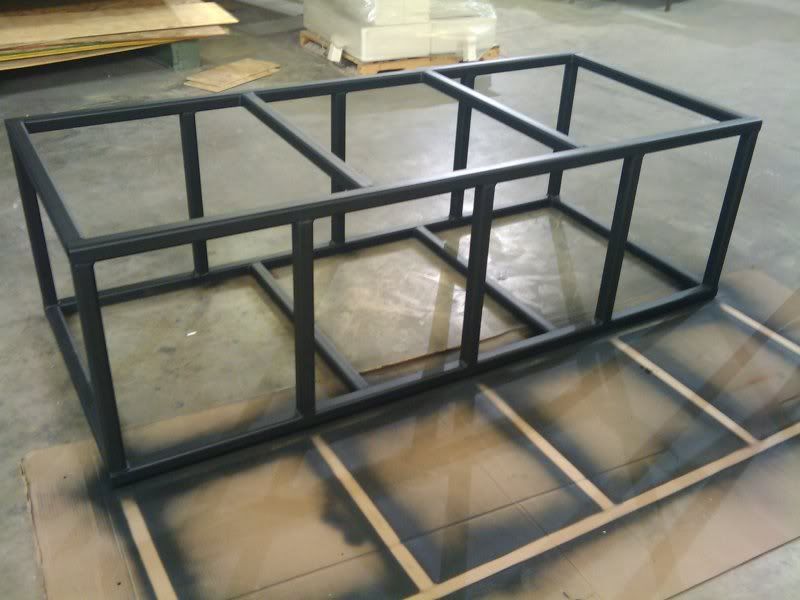 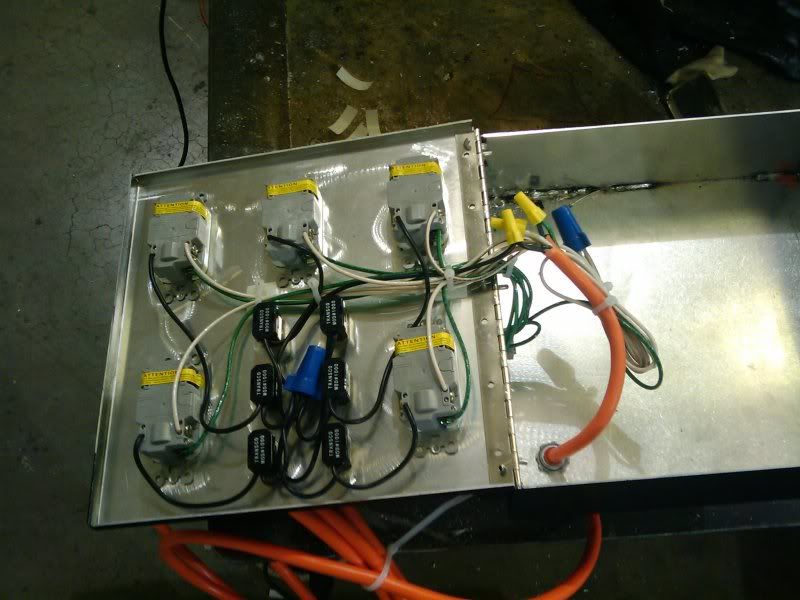 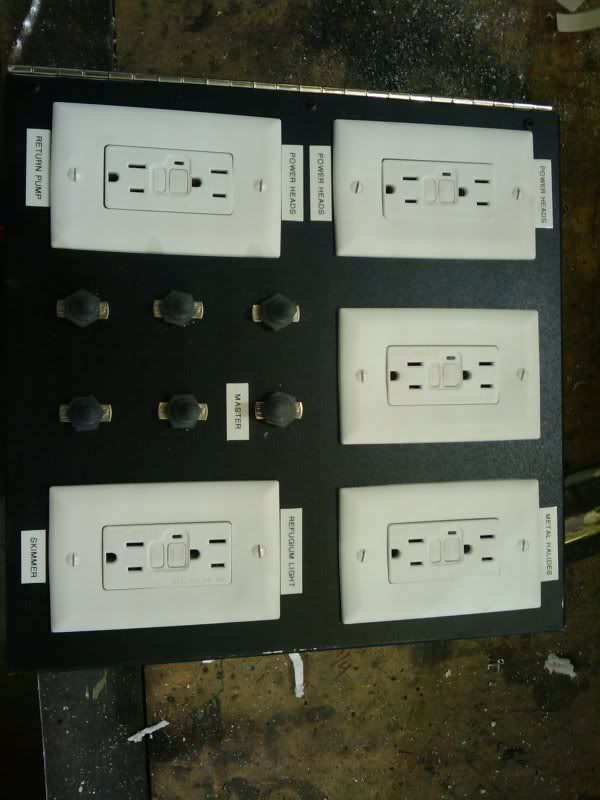
|
|
|
|
|
06/17/2009, 02:54 PM
|
#121 |
|
Registered Member
Join Date: Jun 2003
Location: Michigan
Posts: 541
|
Looking good!
|
|
|
|
|
06/17/2009, 05:22 PM
|
#122 |
|
Registered Member
Join Date: Apr 2009
Location: Bogalusa, La
Posts: 47
|
Wow man nice job. Ill be watching from here on out. Really like the DIY lumenarc, and the outlet box.
__________________
Knock knock knock...We saw the blue glow, we're with the government, can we talk? Current Tank Info: 15 is running, filling the 125 now! |
|
|
|
|
06/17/2009, 05:27 PM
|
#123 |
|
Pro builder/aquarist hack
 
Join Date: Jul 2002
Location: NORCAL (Vacaville, CA)
Posts: 5,125
|
Just a suggestion, get a double pole switch for the master and run 2 circuits. That way if one trips (the circuit breaker, not the GFI), you dont kill the whole tank.
Your boss may want you to start building tanks out of your shop now, lol. Plus, you may be living there unless your wife comes around, so you will have lots of time
|
|
|
|
|
06/17/2009, 05:34 PM
|
#124 |
|
Registered Member
Join Date: Dec 2005
Location: A Very Long Island
Posts: 548
|
I just skimmed through this thread and its great. I really love what you've done so far. I dont know if you already are planning on it but if not, make sure to have a proper quarantine, for your fish and corals. It be terrible to spend all this time and money on such a beautiful tank ( even a small one but its a real PITA with one this size ) only to have to tear it down to catch one little fish with ich or introduce a pest with a frag and have to treat the whole tank.
|
|
|
|
|
06/17/2009, 05:39 PM
|
#125 | |
|
Moved On
Join Date: Oct 2008
Location: here.
Posts: 2,509
|
Quote:
|
|
|
|
|
|
|
|


