
|
|
 06/13/2011, 06:23 PM
|
#26 |
|
Registered Member
Join Date: May 2006
Location: NC
Posts: 419
|
Are you going to "cook" the rock? I wasn't going to do that at first, but I've started the process and it was a good thing I did. Horrible smell and it fouled the water pretty bad. Maybe rinsing it would be enough, but I'd consider doing the full soak.
I'd also watch out for those metal clamps. Those will probably start rusting pretty quick. I've been using all PVC and glueing them in. I use unions in key places to allow me to make adjustments or repairs. Not sure what kind of pipe the flexible stuff is or if it'll work with that or not? Looks like you're making a lot of progress. Good luck with the rest of the build! |

|

|
|
06/13/2011, 07:15 PM
|
#27 |
|
Registered Member
Join Date: May 2011
Location: Cleveland, Ohio
Posts: 277
|
Dang Michael! I was hoping i wouldnt have to cook them since its was Marco Rock.. I have my whole aquascape how i like it and i spent alot of time on it lol.. and its kind of together with aquarium glue...
 So i may just deal with the smell and just do frequent water changes... Hope that will do. As for the clamps, i can probably take them off it was just a little extra for the anal me lol. I had to really twist the rubber hoses on and they were very tight. So i could just take them off. Do you think it would be ok to see if they start to rust and if they do remove them? i could always put some tape or soemthing over them where no moisture got to them.. just an idea. But yea progress is going pretty well im excited to just get some water flowing lol. Water and rocks for a month+...were getting there.. Have you ever seen the bacteria that cycles your tank in 3-5 days? It would be about 100 bucks for my tank. Mrsaltwatertank did a test with it and put fish (two clowns - hardy fish) right in on a new tank with with it and everything was done cycling in 5 days... i didnt know if you have heard of anyone using anything like that.. the stuff is called One and Only NaH2O-Pure Live nitrifying bacteria... |
|
|
|
|
06/13/2011, 07:37 PM
|
#28 |
|
Registered Member
Join Date: Nov 2009
Location: IL
Posts: 812
|
How much did your tank cost? I'm thinking about upgrading my setup to a 180.
Your tank look really nice with those leds. 
|
|
|
|
|
06/13/2011, 08:13 PM
|
#29 |
|
Registered Member
Join Date: May 2011
Location: Cleveland, Ohio
Posts: 277
|
So far after tank, stand, leds and other equipment around 2600.. but thats with an aquacontroller than added 450 that i necessarily didnt "have" to have. lol.
|
|
|
|
|
06/13/2011, 08:30 PM
|
#30 | |
|
Registered Member
Join Date: May 2006
Location: NC
Posts: 419
|
Quote:
|
|
|
|
|
|
06/13/2011, 08:46 PM
|
#31 |
|
Registered Member
Join Date: Oct 2010
Location: Ontario
Posts: 57
|
wow amazing job on everything, looks awesome man. i may have missed this but what controller u using?
ive been doing alot of research on leds, i want to upgrade to them and make my own DIY fixture, just a little intimidated by the whole thing. |
|
|
|
|
06/13/2011, 08:56 PM
|
#32 |
|
Registered Member
Join Date: May 2011
Location: Cleveland, Ohio
Posts: 277
|
Delucs,I am using the Apex Aquacontroller. Heard it was thebest out there so i figured since im spending alot on one might as well be the best.
I was definately intimidated at first as well. I researched alot and still didnt really understand. I decided to pull the trigger with 72 LEDs (24x3 heatsinks over my tank) and then get more later if i didnt have enough light. All in all, i can say it was pretty easy. I learned a lot and i can say i knew nothing about electronics before and RapidLED sends you instructions. I am not knocking on anyone by any means because i know different companies do tests for PAR ratings.. but a lot of people recommend so many and i think the technology is very new. So i got less than the recommended 96 and i figure i can add more later. Any questions you have on anything you are unsure about, just ask. Ill be happy to give you any input i can.. |
|
|
|
|
06/14/2011, 07:18 AM
|
#33 |
|
Registered Member
Join Date: Nov 2001
Location: Ft. Myers, fl
Posts: 259
|
tagging along, looks like a great start!
|
|
|
|
|
06/14/2011, 11:20 AM
|
#34 |
|
Registered Member
Join Date: Oct 2010
Location: Ontario
Posts: 57
|
thanks for the confidence boost and help
hopefully i will order them in the near future!! keep up the great work |
|
|
|
|
06/14/2011, 12:21 PM
|
#35 |
|
Registered Member
Join Date: May 2011
Location: Cleveland, Ohio
Posts: 277
|
Thanks tedmonds and delucs. Appreciate the kind words
|
|
|
|
|
06/18/2011, 02:22 PM
|
#36 |
|
Registered Member
Join Date: May 2011
Location: Cleveland, Ohio
Posts: 277
|
Heres a little update. Yesterday we finished building the canopy. I have a few shots from the process. Also, wednesday i finished filling the tank and have skimmer and overflows working great. I am still waiting on replacement 2 SVR2 dials for my LED dimmers. Hopefully they should come in this week.
Here is the frame of the canopy as we were building it. 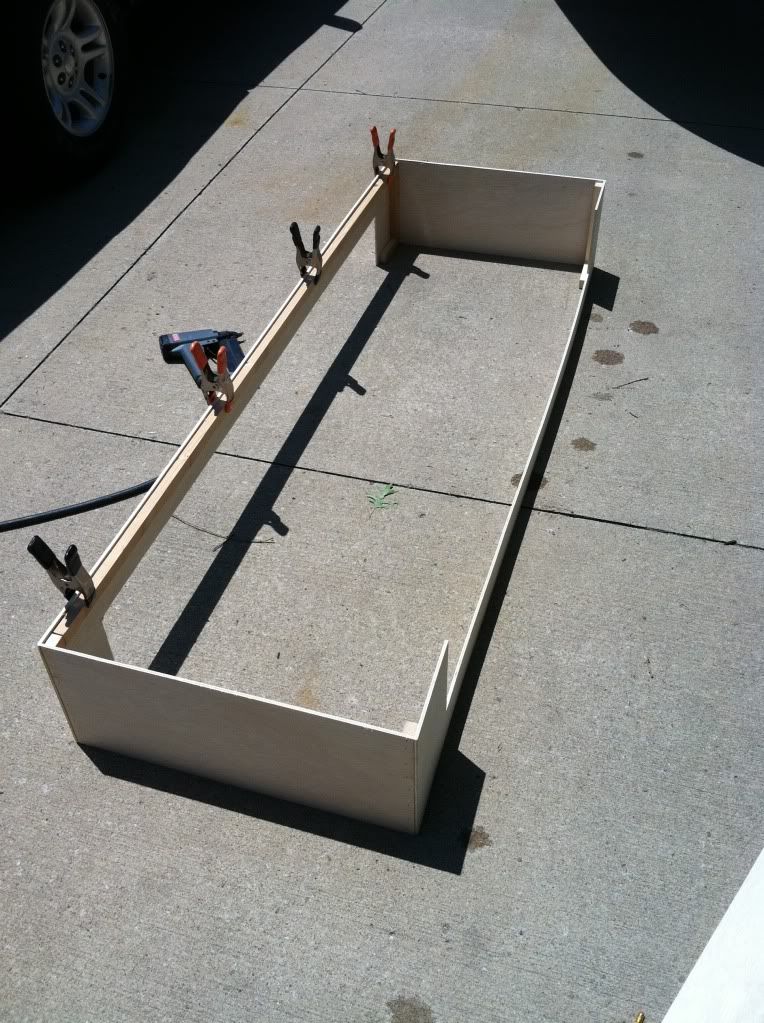 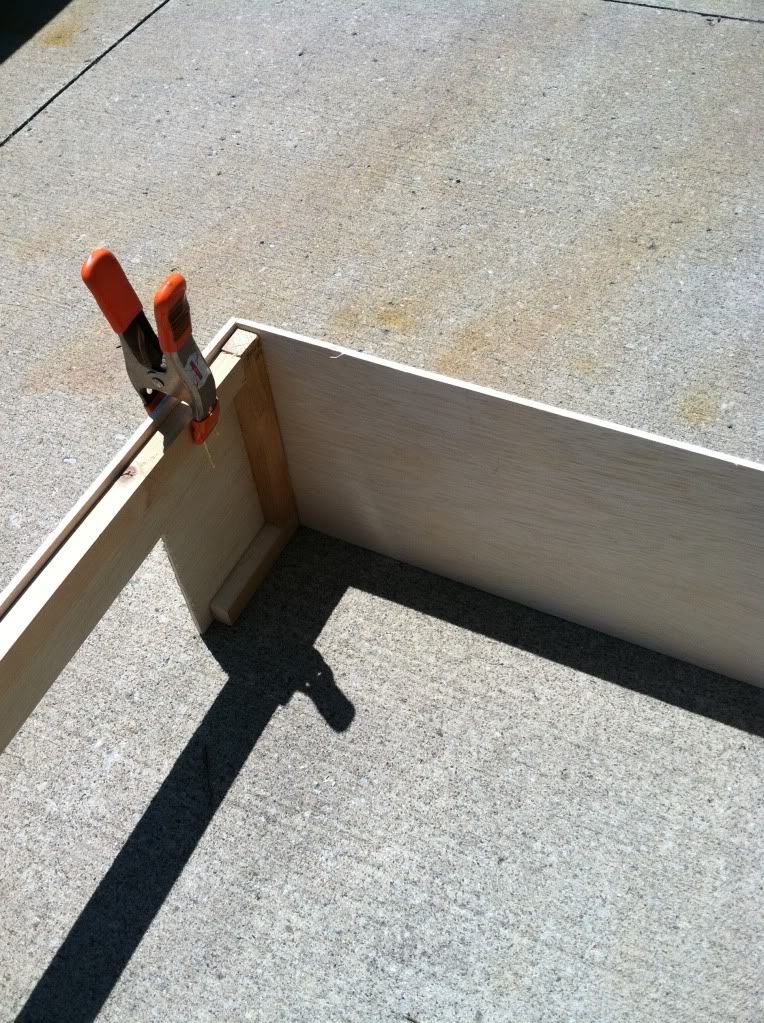 Here is a pic of the braces in the corners in the rear. I also cut out the bottom so wires can run out. I may place some egg crate back there to stop any escapes 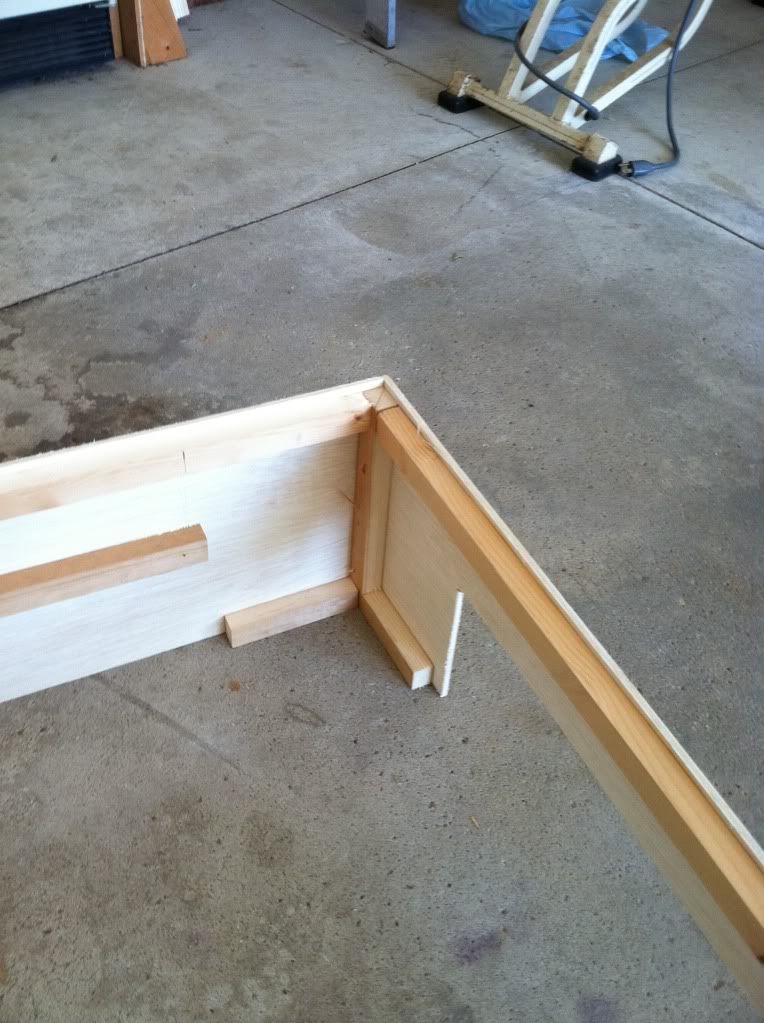 Here is a pic of the whole thing minus the lid 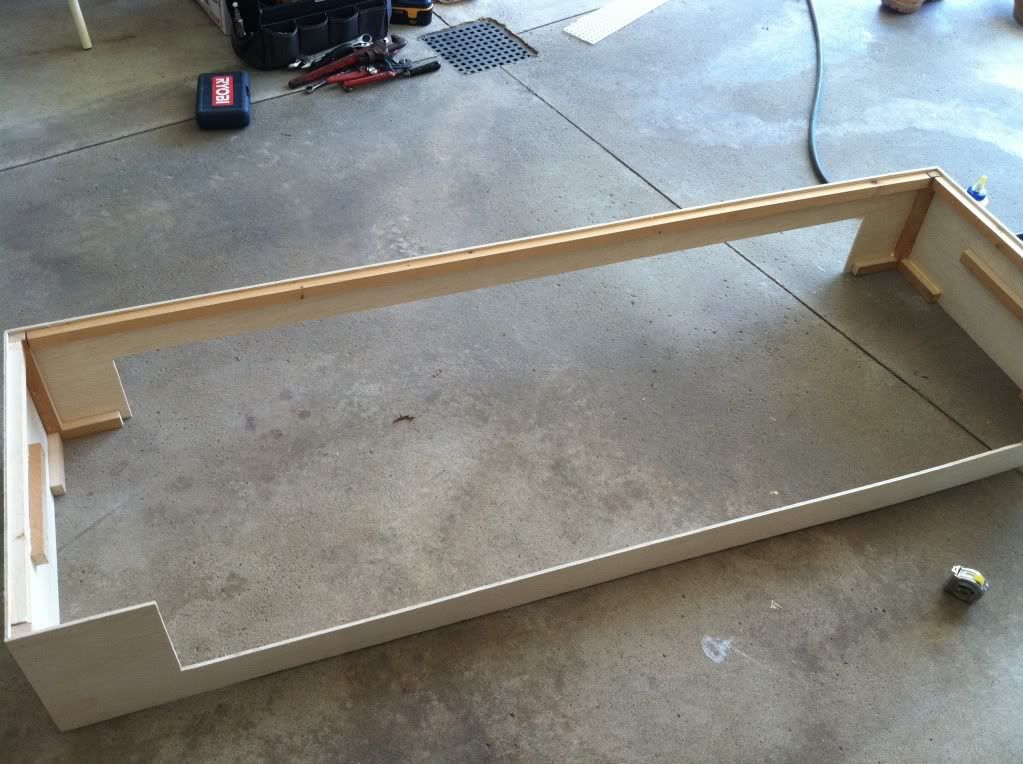 Here is another end shot.. front of canopy is to the left, rear is to the right. 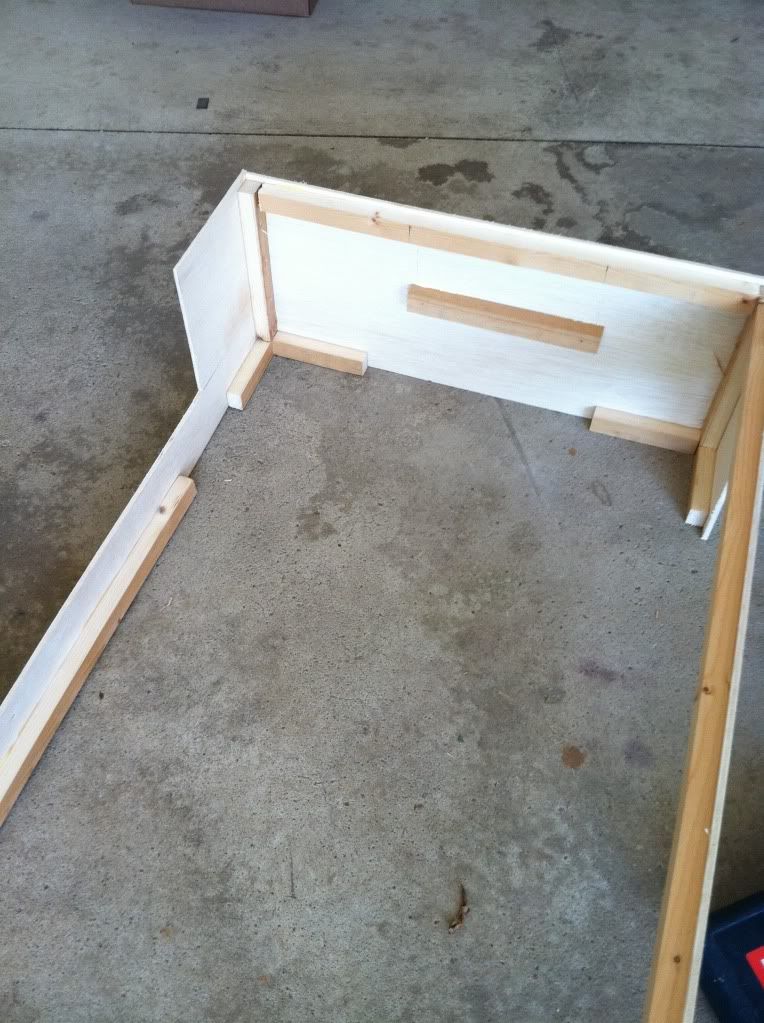 Here is the top upside down. I am placing some egg crate in the top to vent any heat of my LEDs. Also, to let some fresh air in. 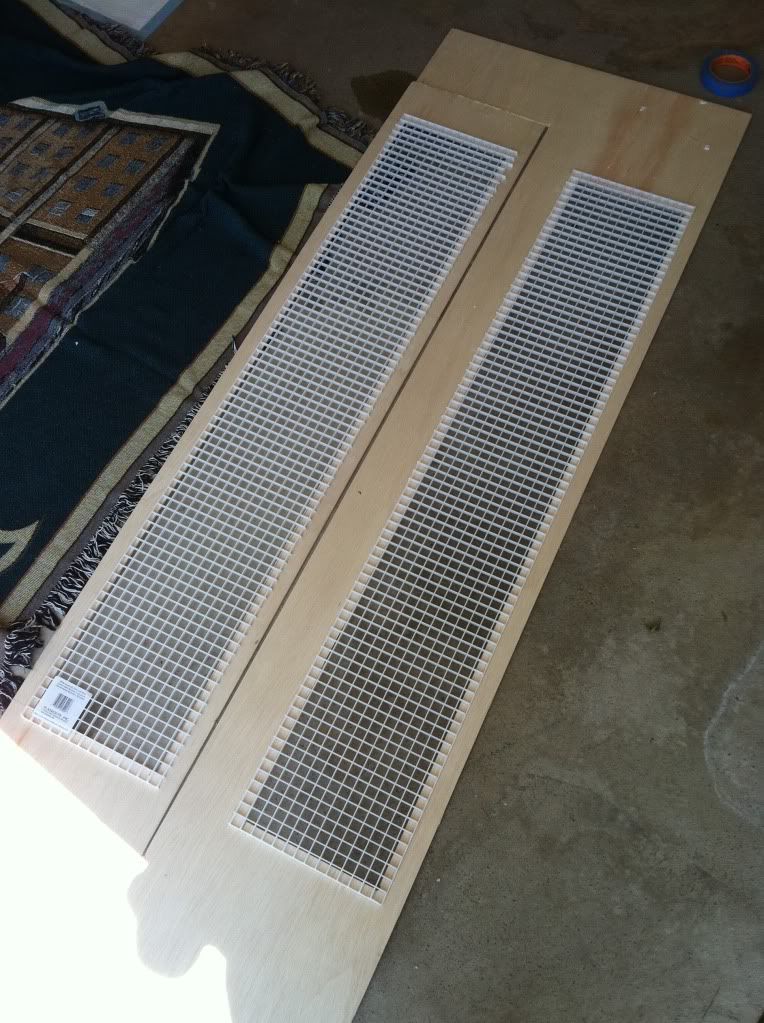 I have to attach the eggcrate to the canopy lid tonight..Since glue failed.. im gonna just some eye hooks upside down. Also i have just finished painting it to match the bottom. I am finishing up the molding to put around the top of the canopy as well as the bottom of the canopy to match the stand. Hope fully that ill be on by next weekend. I am hopefully getting the lights mounted in the canopy tomorrow and will give them a test run with water... I made my canopy out of pretty thin wood so it would be light. Its definately sturdy enough, i just didnt want some matcho canopy. So since its not super heavy, I am going to put velcro on the corners of my tank where the canopy sits on it... Just incase. It shouldnt move once the moldings are on it anyways. |
|
|
|
|
06/19/2011, 01:46 PM
|
#37 |
|
Registered Member
Join Date: May 2011
Location: Cleveland, Ohio
Posts: 277
|
Canopy almost complete... Finishing molding
Today i mounted the LED fixtures into the canopy. I am going to order my fans shortly for ontop of the heat sinks.
Here are a few pictures of the canopy with the lights mounted in them. Since i just received the replacement parts for two of my six drivers, should have those finished probably the middle of this week. so here are some pics of just two of the led fixtures... Canopy looks pretty good. I just have to put the molding around the edges and place some weather stripping where the lid closes down so you do not see any light from the cracks. Moon lights 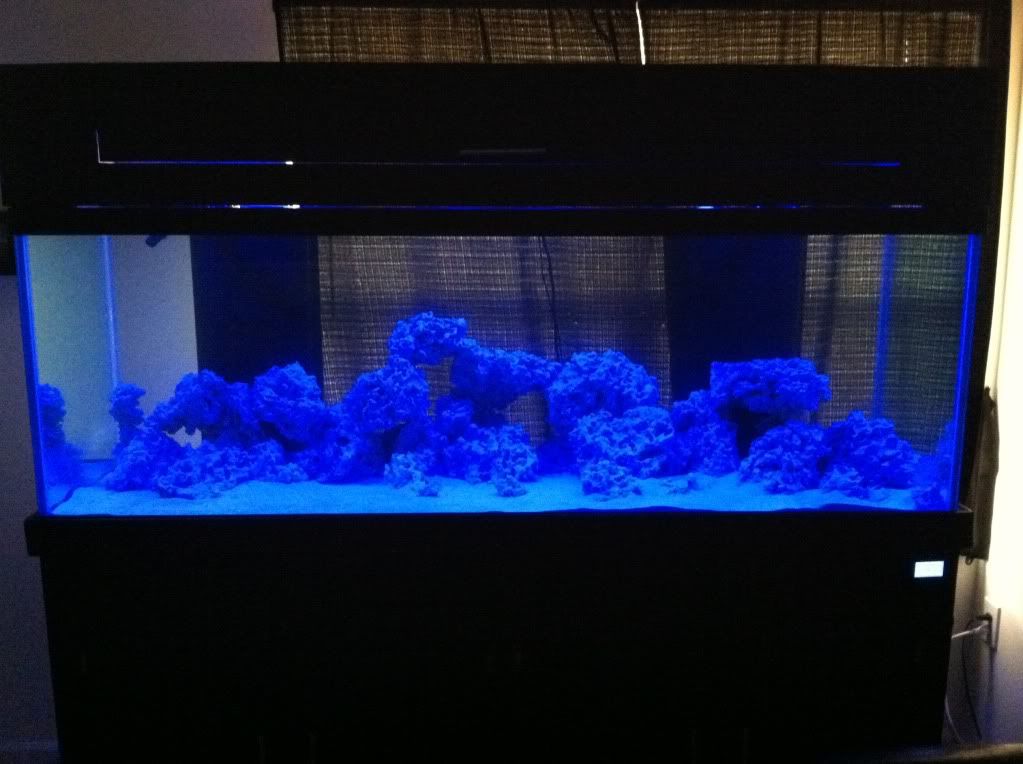 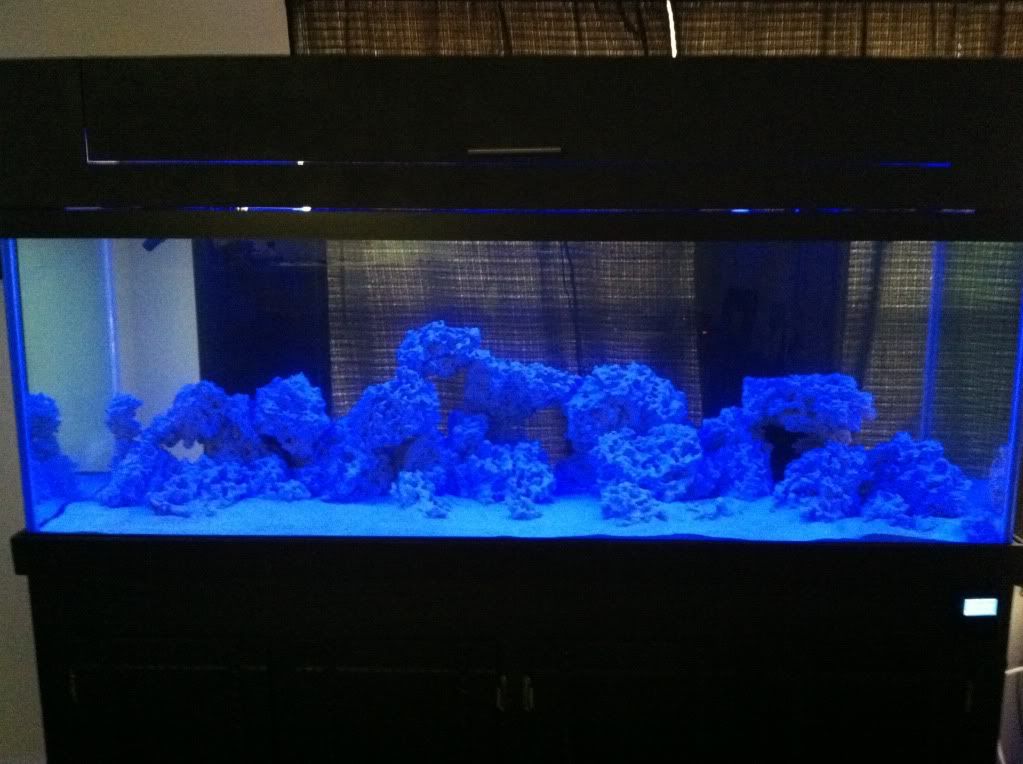 White and blue 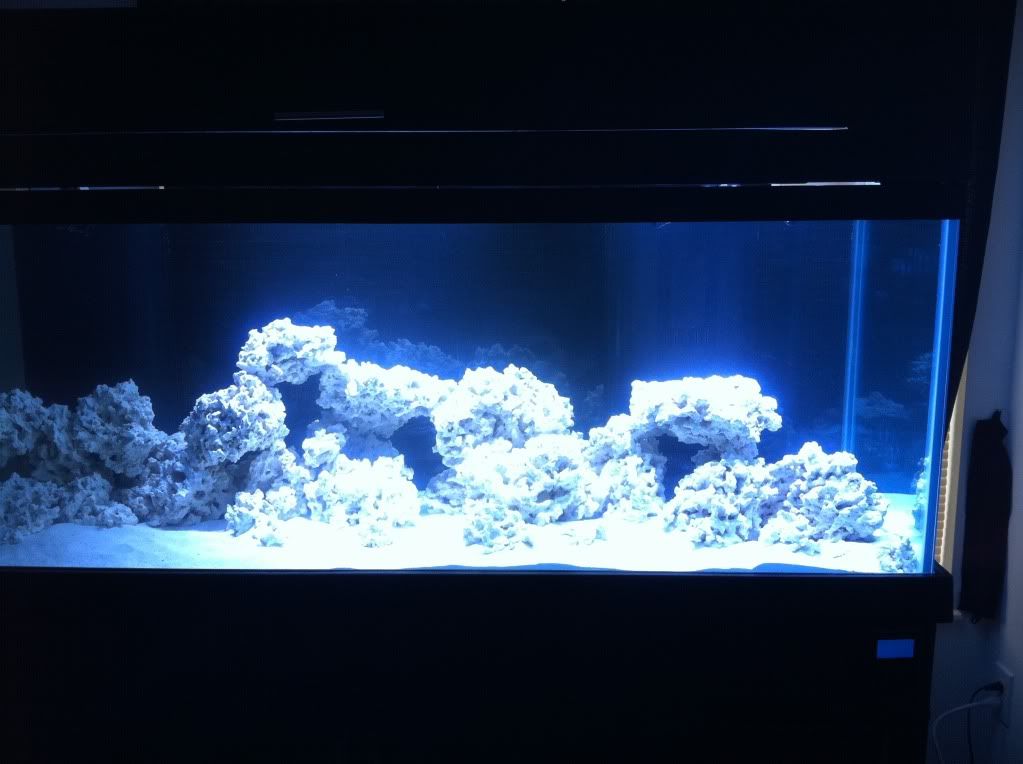 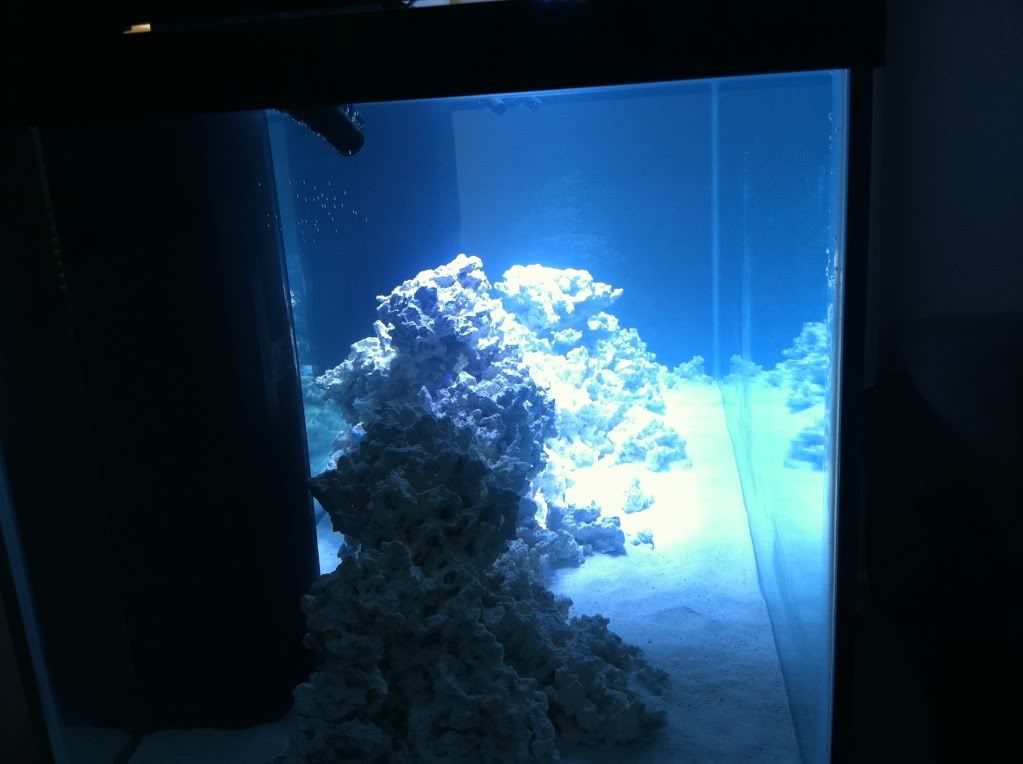 Blue and White with moonlights 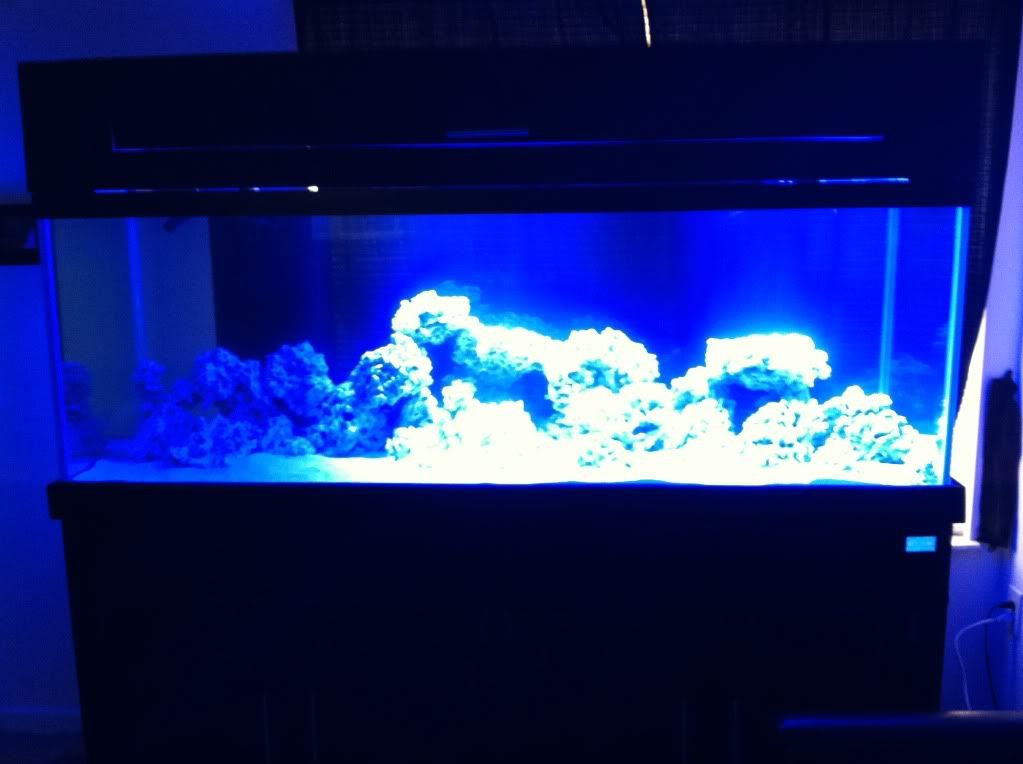 Here are a few shots of the canopy with the egg crate on top or ventilation. I also used piano hinge for the lid. 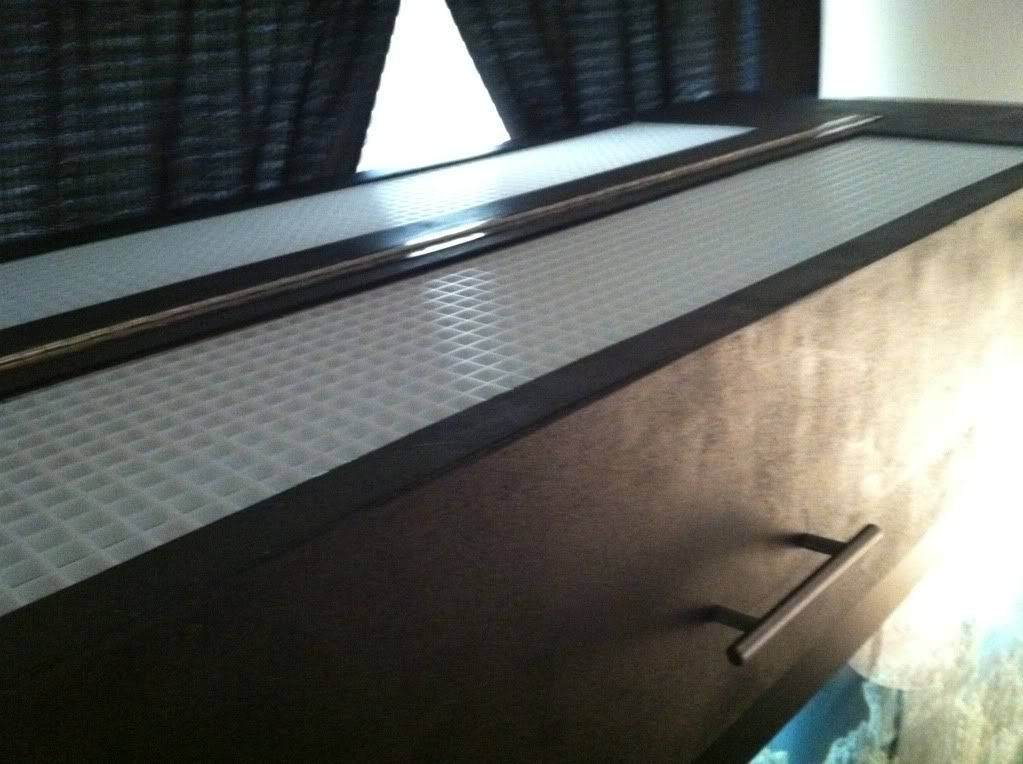 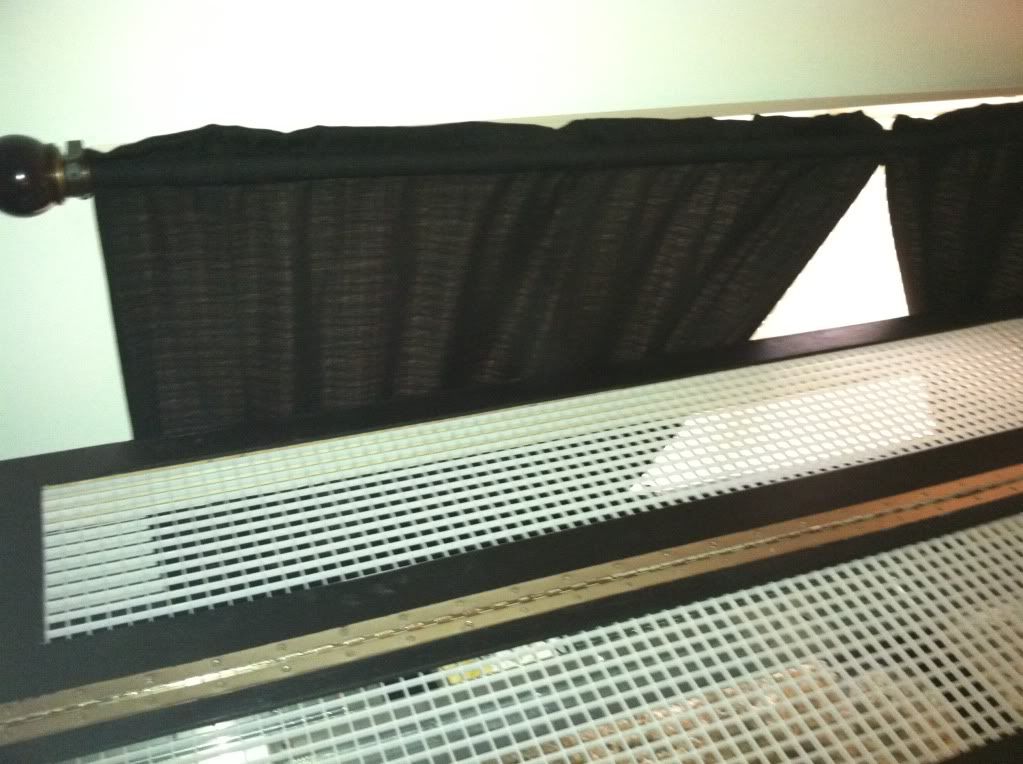 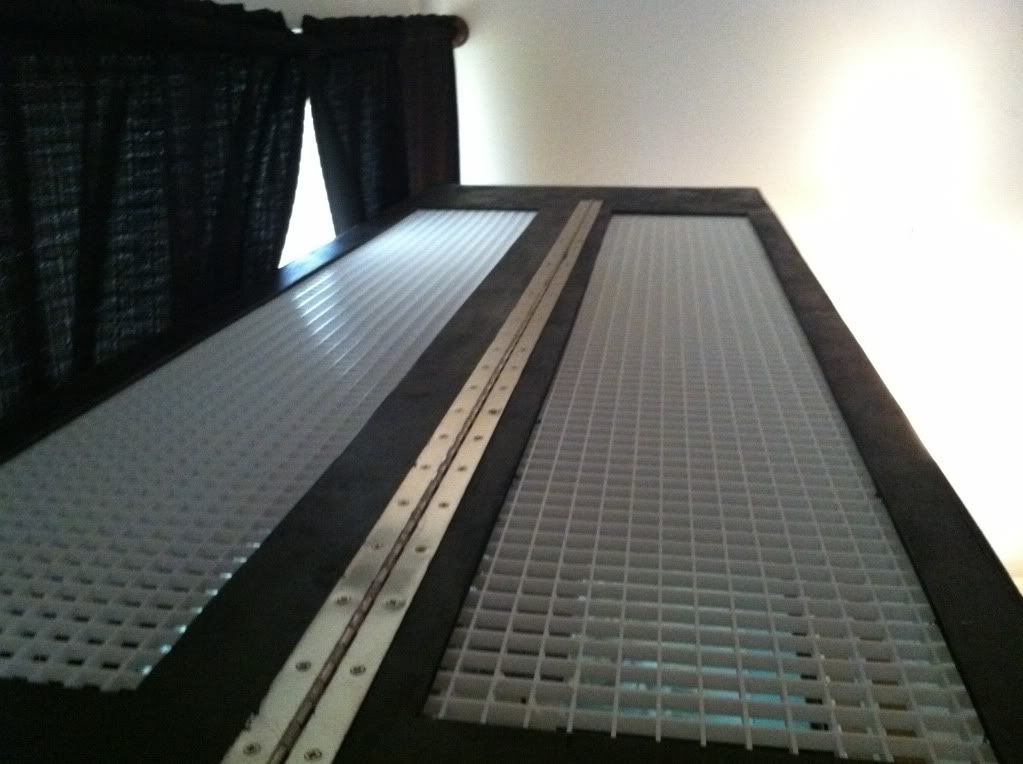 Its comin along.. The lighting looks different in person though. Everybody always says that.. i guess my iphone cannot pick up the blues the LEDs truely put out. The moonlights look more of a purplish.. but they look blue on the phone. Do better cameras pick up the light intensity better? I was never a camera goo roo. When i get some fish and coral in my tank i definately want to take some nice pictures.. if the camera can pickup the depth that the blue leds add i may invest in one.. If so, what do people recommend is a good camera for the price? i know they change about every few months because of changing technology... Thanks for looking! |
|
|
|
|
06/19/2011, 01:47 PM
|
#38 |
|
Registered Member
Join Date: May 2011
Location: Cleveland, Ohio
Posts: 277
|
Also, what are people using for the back of their glass. I definately need something because a big bay window is behind the tank. I was thinking like blue or black poster board. I didnt really want to paint it or use the premade backgrounds since they are all layed out with coral and wont match my tank. What do others use? Thanks i appreciat the help!
|
|
|
|
|
06/19/2011, 06:34 PM
|
#39 |
|
Registered Member
Join Date: Nov 2009
Location: IL
Posts: 812
|
Nice canopy.
|
|
|
|
|
06/19/2011, 06:40 PM
|
#40 |
|
Registered Member
Join Date: May 2011
Location: Cleveland, Ohio
Posts: 277
|
Thanks a lot adam!
|
|
|
|
|
06/19/2011, 06:48 PM
|
#41 |
|
Moved On
Join Date: Jul 2006
Posts: 216
|
hey nice tank, i am considering going with the leds for my 180. How much did you spend on the kits total? (just the led set up?) thanks.
|
|
|
|
|
06/19/2011, 07:09 PM
|
#42 |
|
Registered Member
Join Date: May 2011
Location: Cleveland, Ohio
Posts: 277
|
I want to say 760 and it came with everything needed. I also bought some extra 20 gauge wire (20 bucks) and L-Channel aluminum to mount them on above my tank. That costed around 40 bucks. I am very happy with mine. It was a fun experience. 800 is cheaper and more efficient than basically any halide or LED setup even if it was retrofit kits which came out to around 850.
|
|
|
|
|
06/22/2011, 05:44 PM
|
#43 |
|
Registered Member
Join Date: May 2011
Location: Cleveland, Ohio
Posts: 277
|
Hey guys, a little update. Canopy is on and water parameters are looking good.
Temp: 80 pH: 8.04 Ammonia: 0 Nitrate: 0 Nitrite: 0 I added a flame angel and he is doing really well. Here are a few pics of him munching on some brine shrimp. He loves it! 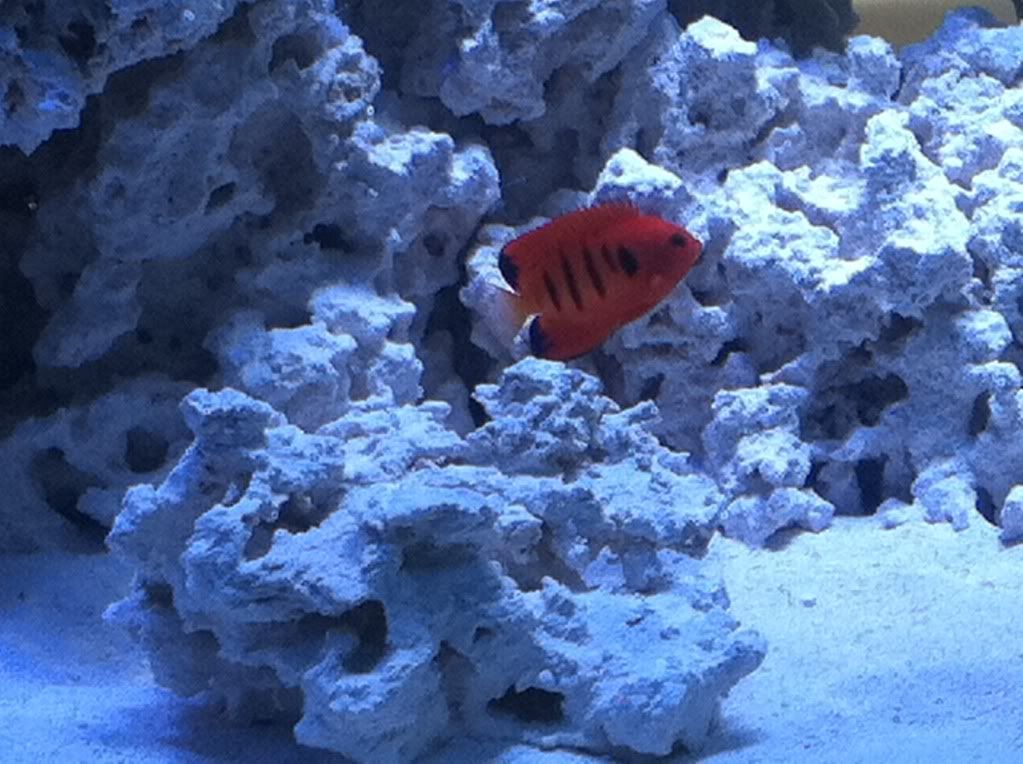 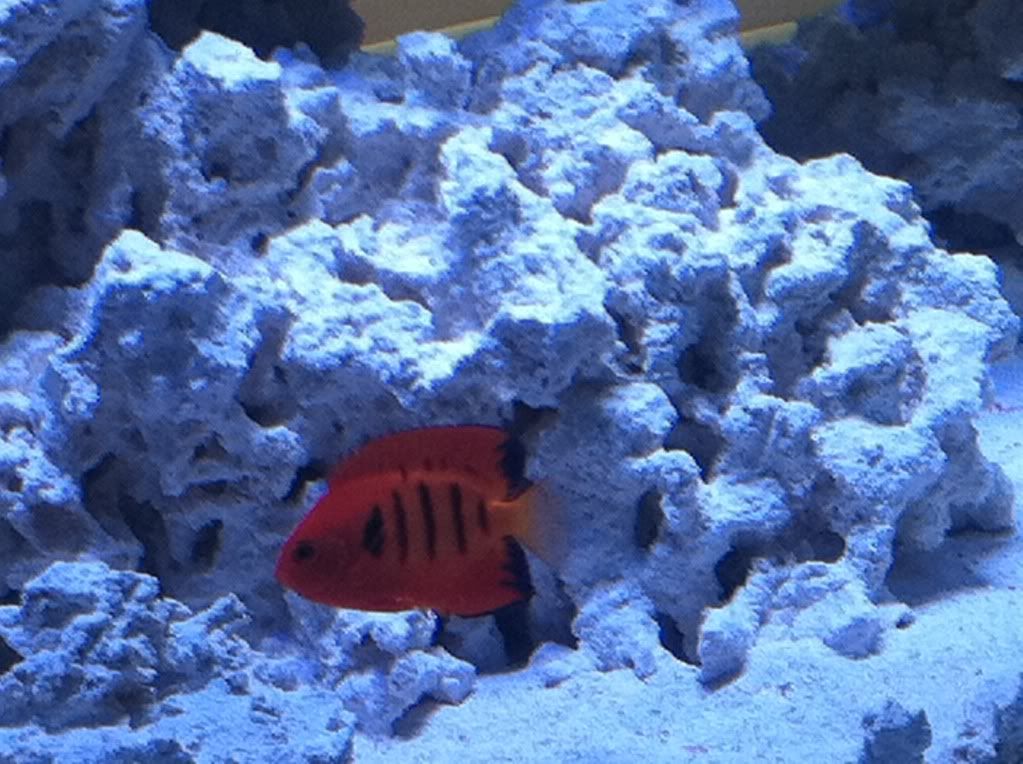 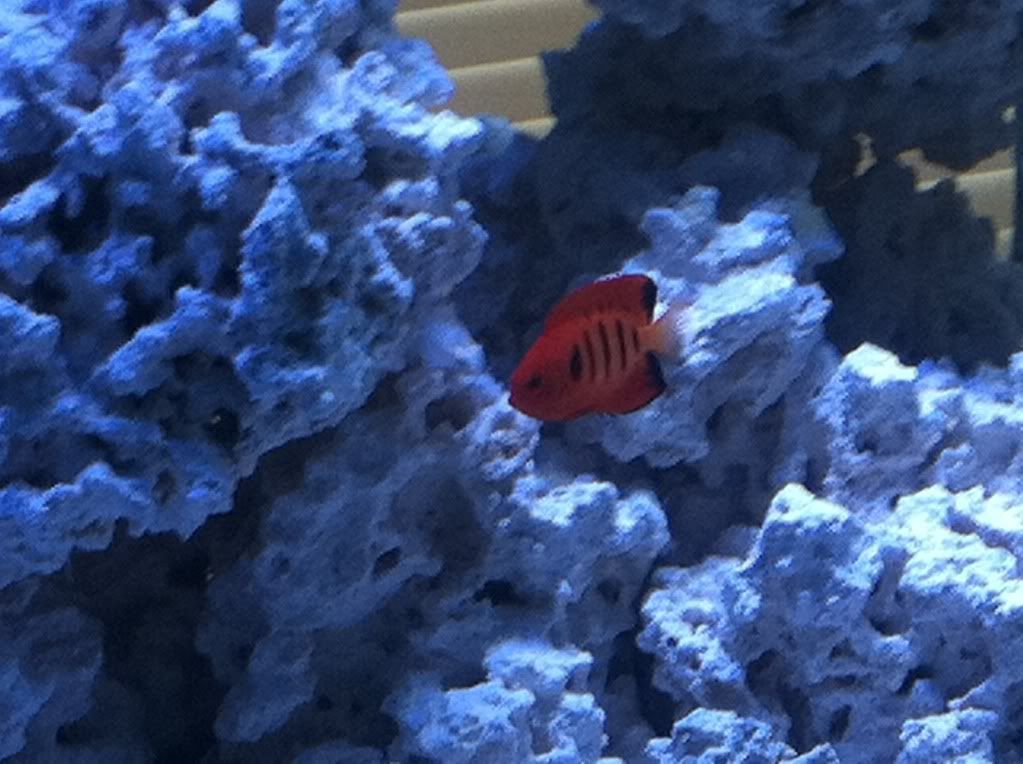  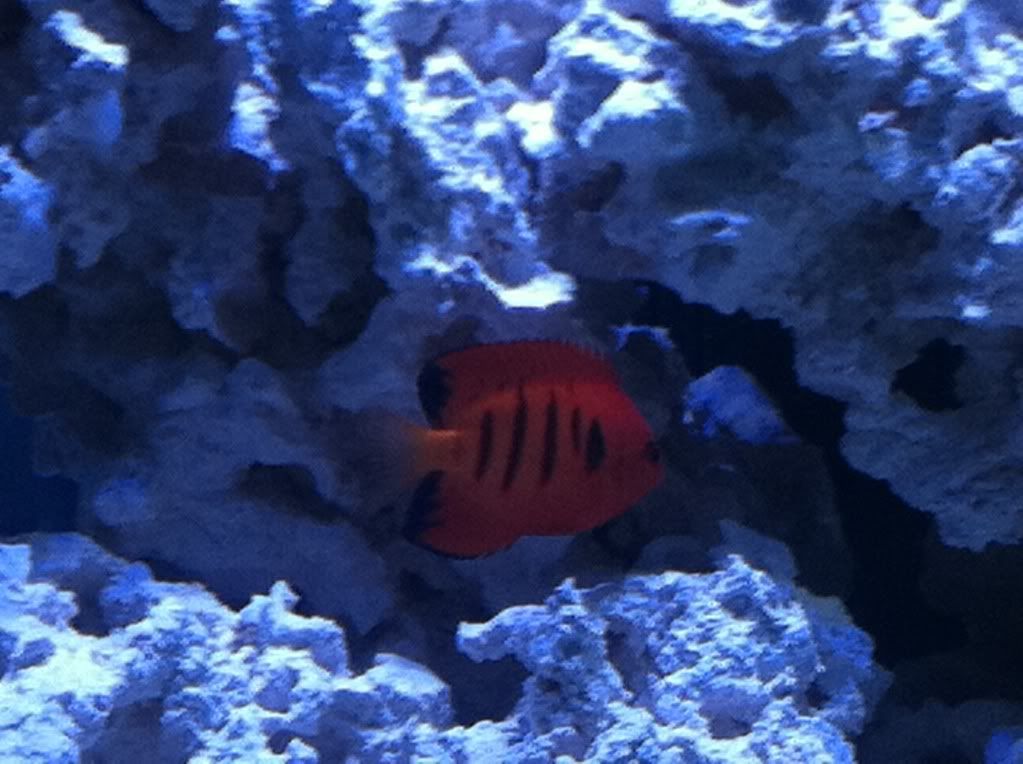 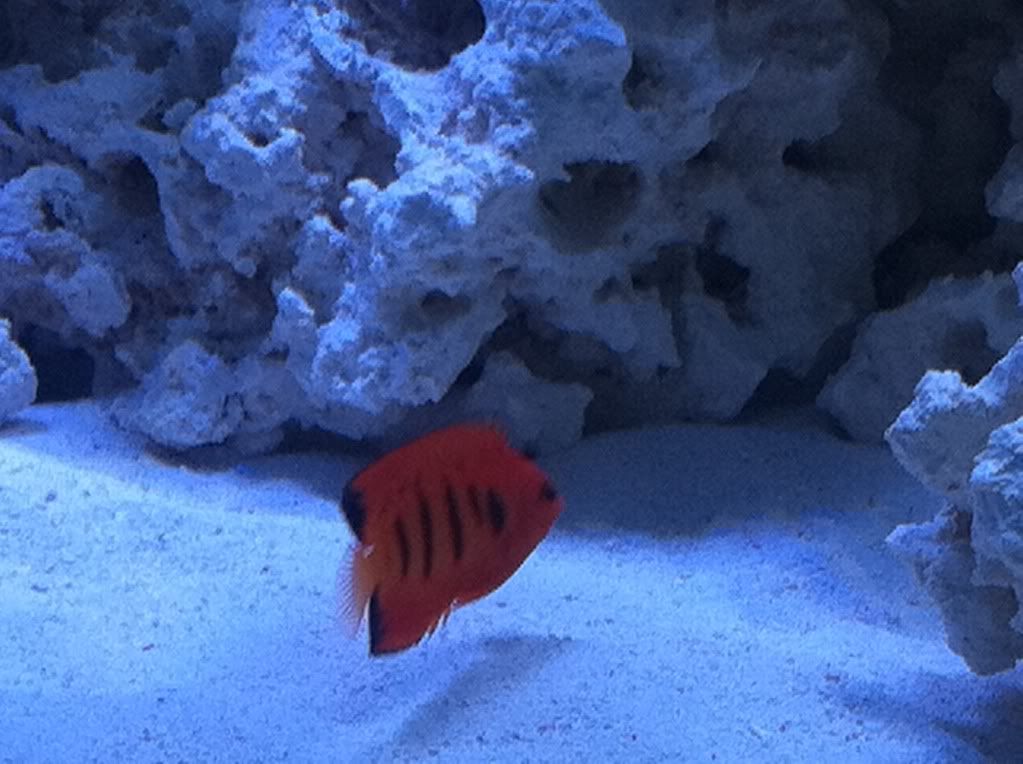 Sorry about the picture quality. I took them real quick on my iphone. I think after i get a few more things i will invest in a nice camera. |
|
|
|
|
06/22/2011, 05:56 PM
|
#44 |
|
Registered Member
Join Date: May 2011
Location: Cleveland, Ohio
Posts: 277
|
Canopy
Here are a few shots of the finished canopy and the finished leds
I finally got my drivers back for my leds and finished the molding on my canopy. I am sorry the pictures arent very bright. 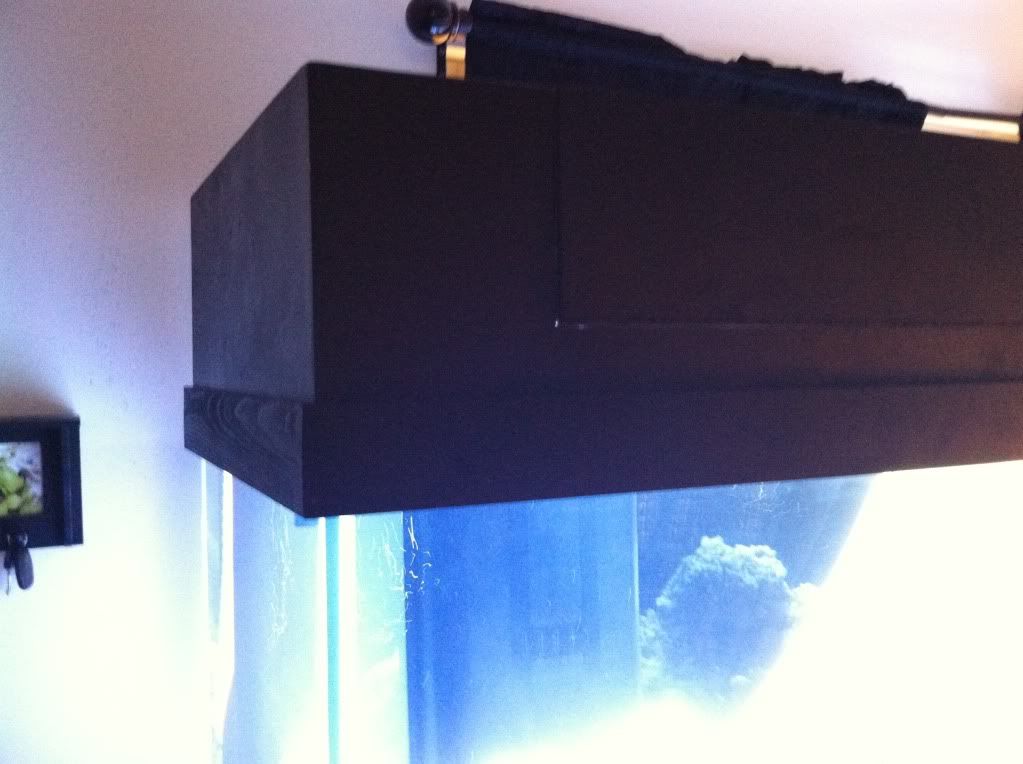  Picture of canopy and tank. The white and blue LEDs are at 20%. 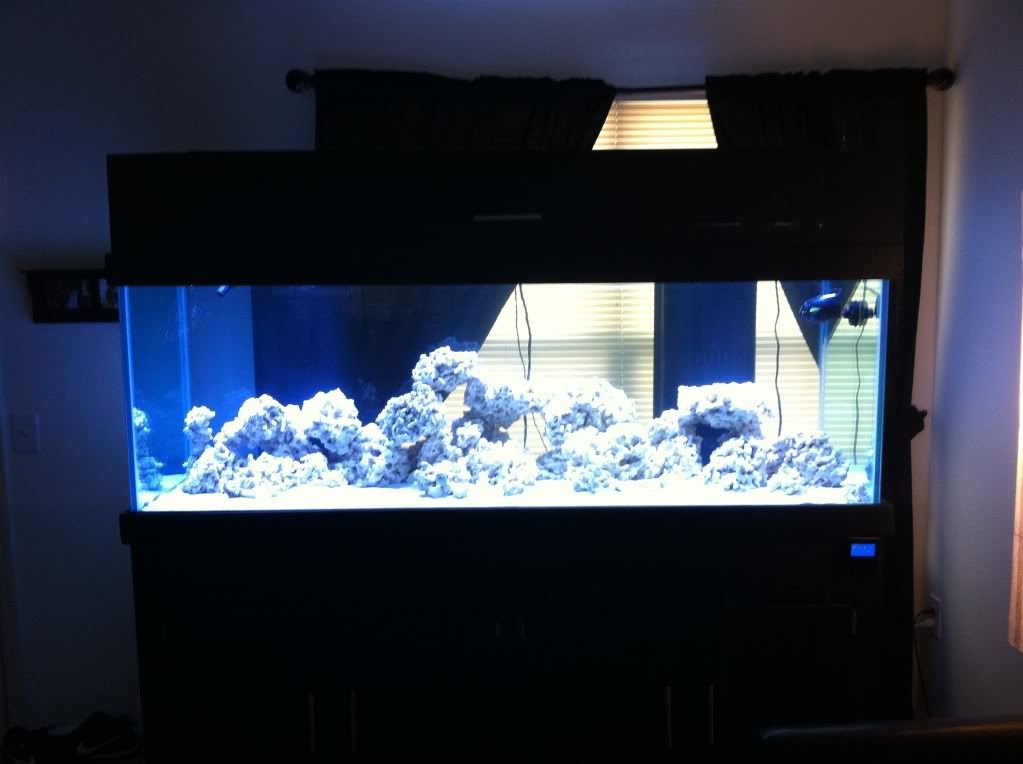 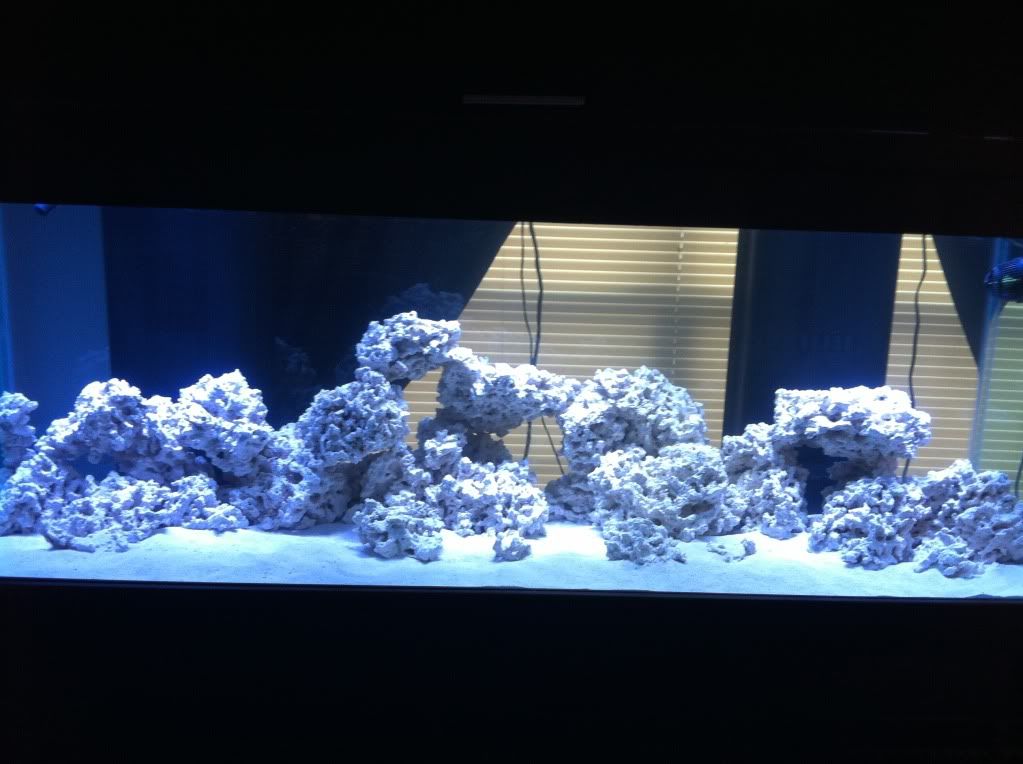 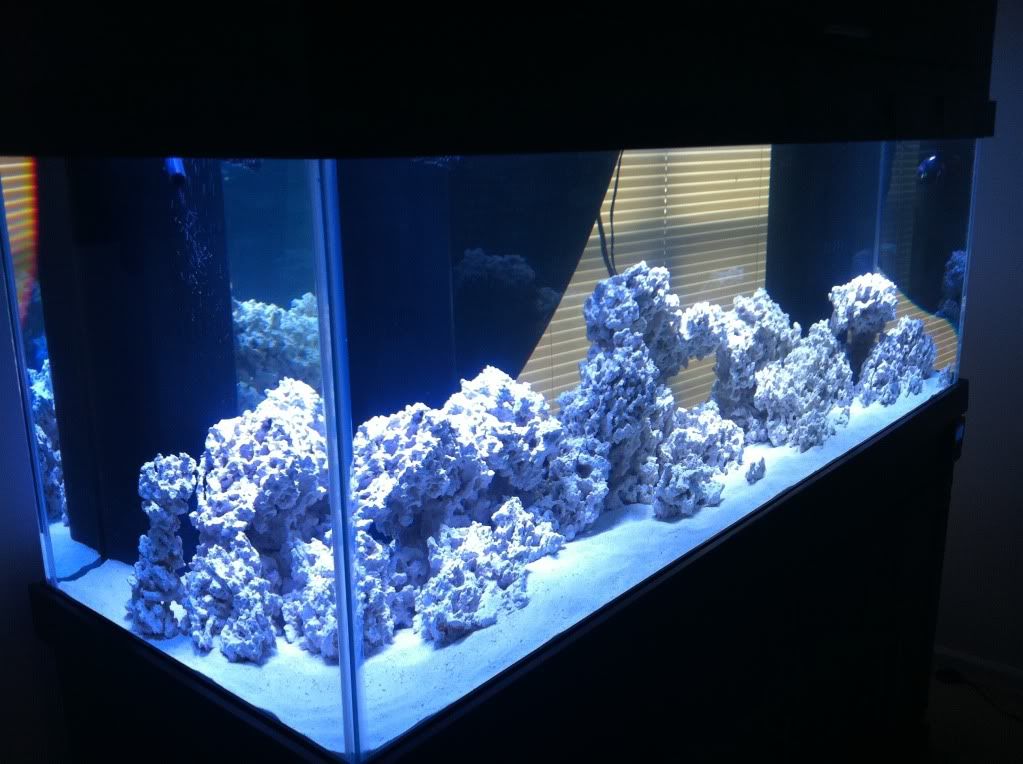 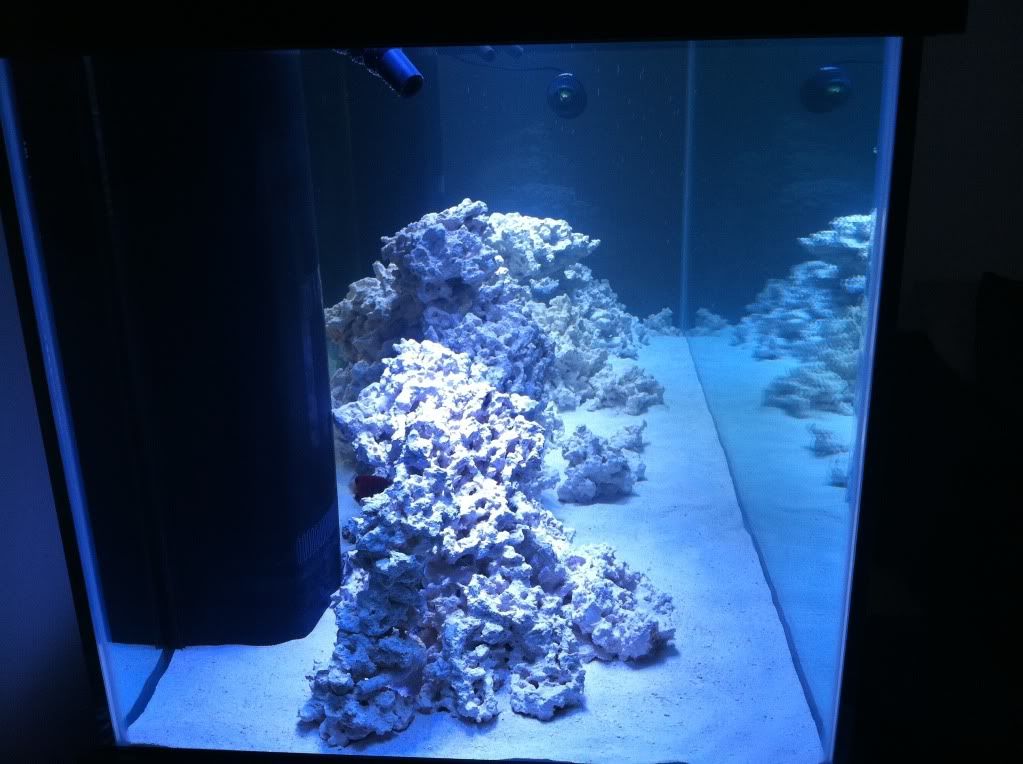 I am going to get something for the backdrop. I was going to use poster board in like a royal or light blue. I found like a darker blue the other night and tried it. I had to connect 3 together and you could see where it came together. I was unhappy with it and took it down. What have you guys used for backdrops? I would like something plain blue so i can later get it airbrushed to look like a reef in the distance to add some depth. I really like this picture i found and would like to do something of this nature. but for now i just need to block the window behind it.... 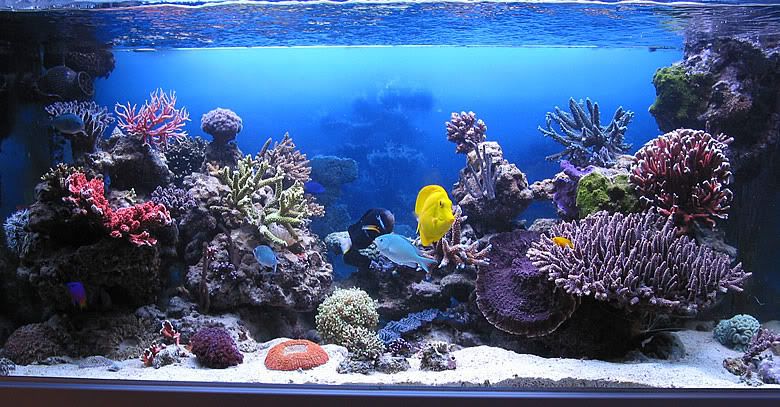
|
|
|
|
|
06/23/2011, 03:32 PM
|
#45 |
|
Registered Member
Join Date: Oct 2010
Location: Ontario
Posts: 57
|
looks awesome man, for the back of my tank i just painted it black. good enough for me, since its just gonna get Coraline algae on it over time.
|
|
|
|
|
06/23/2011, 09:22 PM
|
#46 |
|
Registered Member
Join Date: May 2011
Location: Cleveland, Ohio
Posts: 277
|
Thanks alot DeLucs. Yea i was thinking about painting it. I also was just thinking of putting like some black cloth behind since the coraline will take over.
|
|
|
|
|
06/24/2011, 02:36 PM
|
#47 |
|
Registered Member
Join Date: Oct 2010
Location: Ontario
Posts: 57
|
Yea my uncle used velcro and a black piece of cloth on his tank. Guess you could try that, worked for him lol
|
|
|
|
|
06/24/2011, 02:53 PM
|
#48 |
|
Registered Member
Join Date: May 2011
Location: Cleveland, Ohio
Posts: 277
|
Thats what i was thinking about doing. Then it can easily be all one piece. Thanks for confirming my idea will work
|
|
|
|
|
06/25/2011, 08:59 AM
|
#49 |
|
Registered Member
Join Date: Jun 2011
Posts: 3
|
Krdof congratullations! The tank is awesome!
Could you please take a couple of pics on your led system? About the plumbing, in each overflow you have two holes, one in one out? I'am amaze with the work you've done with the stand and canopy. Congratullations again!!! |
|
|
|
|
06/27/2011, 03:24 PM
|
#50 |
|
Registered Member
Join Date: May 2011
Location: Cleveland, Ohio
Posts: 277
|
Thanks a lot jotegui. I appreciate it. Its coming along. I will take some pictures of my LEDs later for you and post them tonight or tomorrow.
Yes the left and right side of the tank have overflows. Each of them have 2 drilled holes. One for return (out) and one into the sump (in) on each side. Thanks for the kind word on the stand and canopy. It came together nicely. I like the more contemporary style of it so i left it as plane as possible. Thanks |
|
|
|
 |
|
|
 Similar Threads
|
||||
| Thread | Thread Starter | Forum | Replies | Last Post |
| Ben & Em's First Tank Build - 36 Bow - Feedback Is Appreciated | Ben_n_Em | Reef Discussion | 18 | 07/19/2012 05:22 PM |
| Ben's Nano Reef Tank (Jbj Nano Cube 24 Gal) | 1$R | Nano Reefs | 17 | 05/24/2012 02:44 PM |
| azreefgeek 100g Automated In-Wall Tank Build | azreefgeek | Arizona - Fish & Reef Aquarium Group (FRAG) | 32 | 12/25/2011 05:12 PM |
| 55 gallon tank build | jenreef | Reef Discussion | 8 | 06/14/2010 07:28 PM |
| BTA/Clown tank build | orthokardia | Nashville Area Reefers | 4 | 04/15/2010 04:42 PM |


